
1. Disconnect the wire from the terminal «minus» battery.
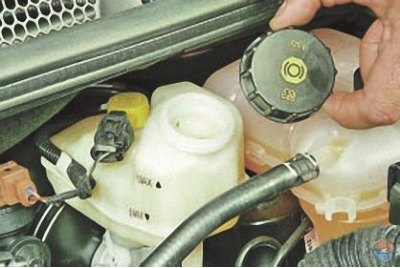
2. Remove the cap from the reservoir of the brake master cylinder…
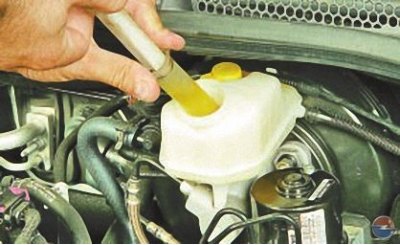
3.... and pump out, for example, with a large medical syringe, brake fluid from the section of the reservoir of the main brake cylinder that feeds the hydraulic clutch release.
Note. The reservoir, common to the master brake and clutch release cylinders, consists of three separate sections: two for separate hydraulic brake circuits and one for the hydraulic clutch release.
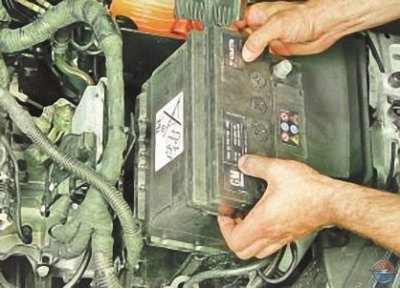
4. Remove the battery (see Removing and installing the battery).
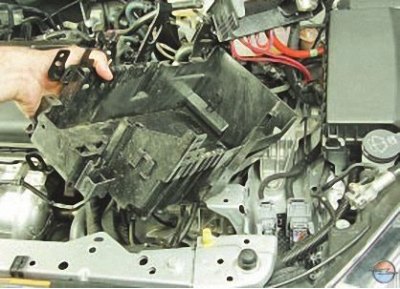
5. Remove the battery mounting shelf (see Removal and installation of the shelf of fastening of the rechargeable battery).
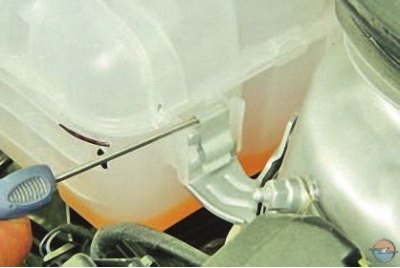
6. Pry the retainer of the expansion tank to the bracket with a screwdriver..
7.... remove the latch..
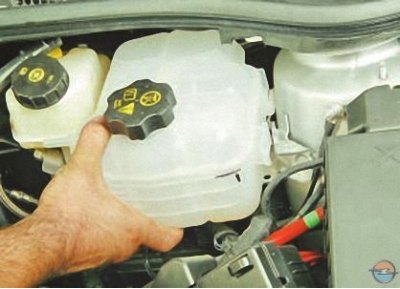
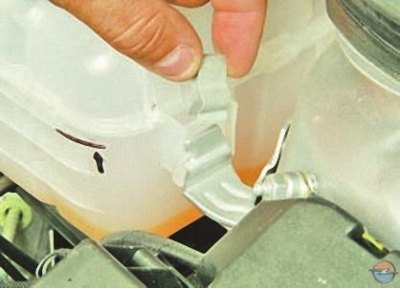
8.... and take the tank aside without disconnecting the hoses from it and without draining the coolant.
Note. Removing the expansion tank is necessary to gain access to the clutch release master cylinder.
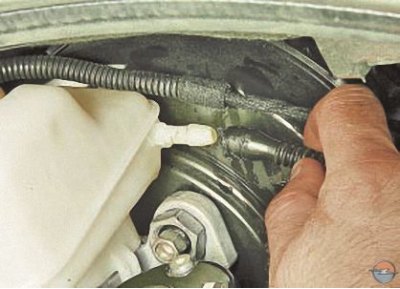
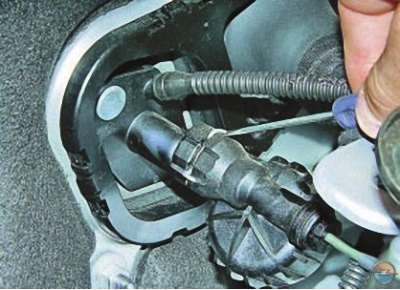
9. Disconnect the clutch release master cylinder supply hose from the brake master cylinder reservoir pipe.
10. Use a screwdriver to pry off the spring retainer of the damper of the main cylinder of the hydraulic clutch release...
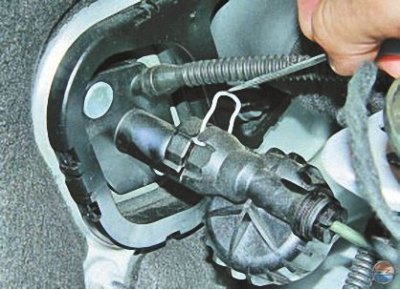
11.... raise the latch to its highest position..
12.... and disconnect the damper from the master cylinder.
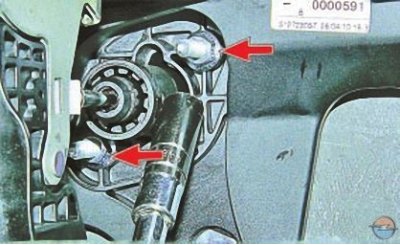
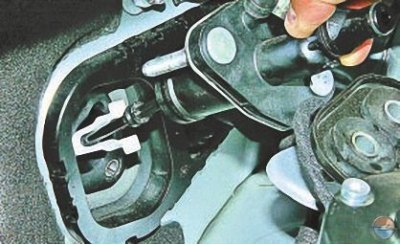
13. Under the instrument panel, unscrew the two nuts securing the master cylinder of the clutch release drive to the body panel.
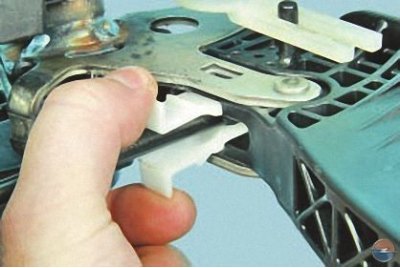
14. Disconnect the pusher of the master cylinder of the clutch release drive from the clutch pedal by squeezing the tabs of the pusher lock..
Note. For clarity, shown on the removed pedal assembly.
15.... and remove the master cylinder.
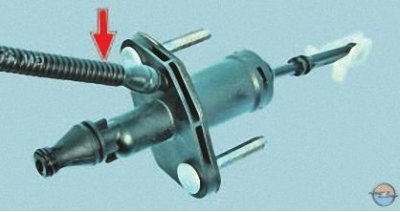
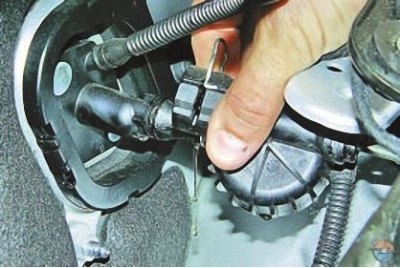
16. Disconnect the supply hose from the master cylinder.
17. Install the parts in the reverse order of removal and bleed the air from the hydraulic actuator (see Bleeding the hydraulic clutch release).
Visitor comments