


To replace the electrical equipment control unit, installed in the trunk, perform the following operations.
1. Disconnect the wire from the negative terminal of the battery.
2. Open the access hole in the trunk trim.
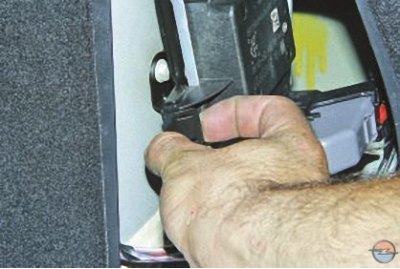
3. Press the latch..
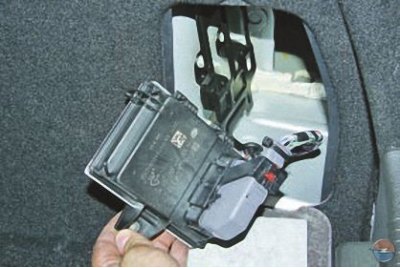
4. …and move the electrical control unit to the side.
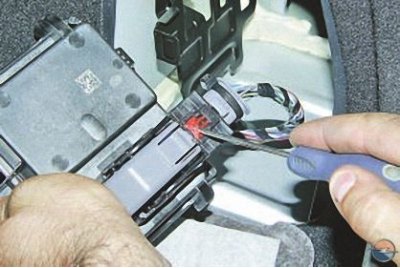
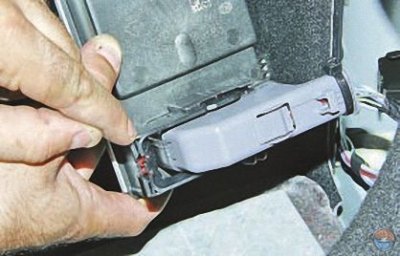
5. Pull out the locking mechanism…
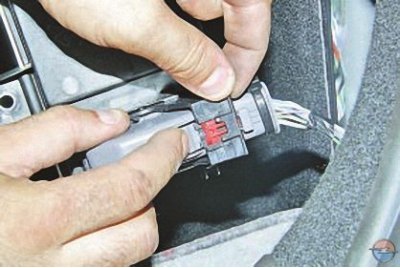
6. …and, pressing the locking device of the wiring harness block…
[The article was published on the website: www.OpelBook.ru]
7. …move the retaining clip away from the shoe.
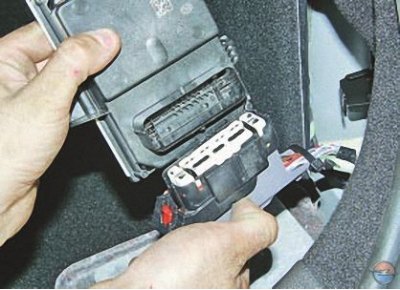
8. Disconnect the wiring harness connector from the electrical equipment control unit.
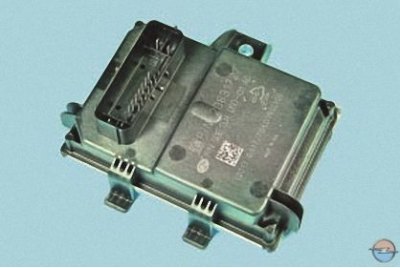
9. Remove the electrical control unit.
10. Install the removed parts in the reverse order of removal.
To replace the electrical equipment control unit, installed in the cabin, perform the following operations.
1. Disconnect the wire from the negative terminal of the battery.
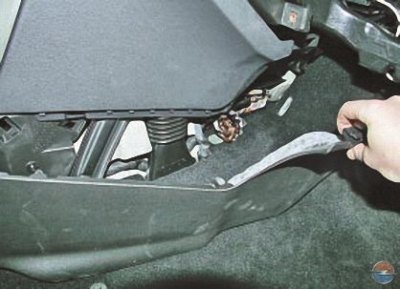
2. Remove the right front section of the floor tunnel trim (see Removal and installation the floor tunnel lining).
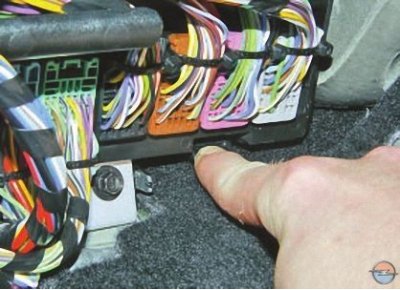
3. Press the two latches…
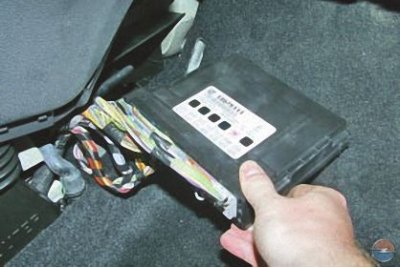
4. …and remove the electrical equipment control unit from the instrument panel console.
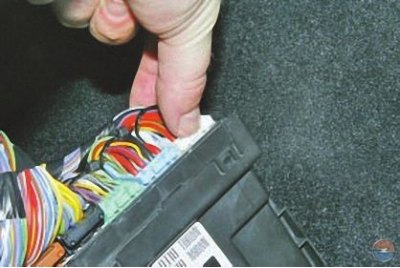
5. Squeeze the clamps…
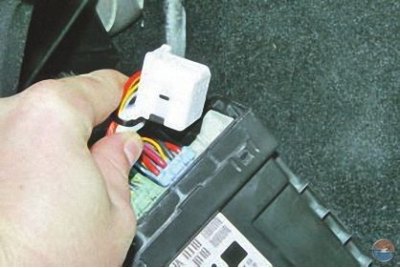
6. …and disconnect the wiring harness connectors from the electrical equipment control unit.
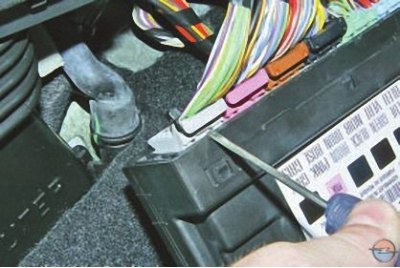
It is convenient to use a screwdriver to compress the retainer when disconnecting the gray, pink, brown and black pads.
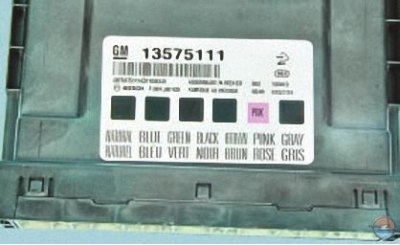
When installing the unit on the vehicle, connect the wiring harness pads in accordance with the plate on the unit.
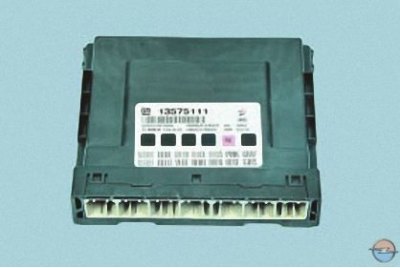
7. Remove the electrical control unit.
8. Install the removed parts in the reverse order of removal.
To replace the electrical equipment control unit,installed in the instrument panel, perform the following operations.
1. Disconnect the wire from the negative terminal of the battery.
2. Remove the car radio (see Removal and installation a car radio).
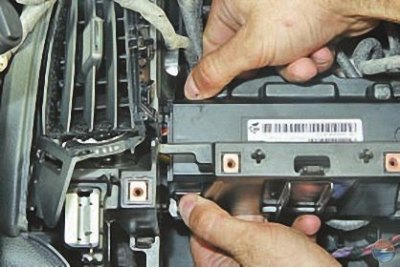
3. Press the clamps…
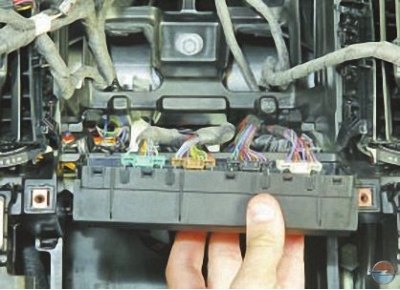
4. …and move the unit away from the instrument panel.
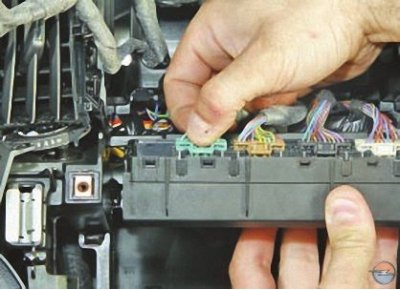
5. Squeeze the wire harness connector clips…
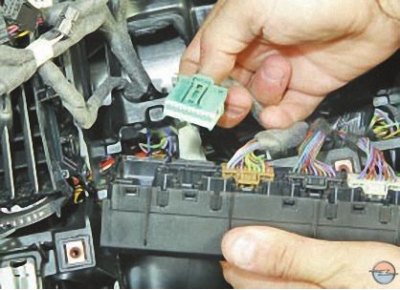
6. …and sequentially disconnect all four wiring harness connectors from the electrical equipment control unit. Remove the unit.
7. Install the removed parts in the reverse order of removal.
Visitor comments