


Contents: Removal ⬇ Installation ⬇
Removal
1. Disconnect the negative cable from the battery.
2. Set the parking brake, then jack up the front of the vehicle and place it on supports. If equipped, remove the crankcase guard.
3. Drain the engine oil (see Chapter Routine maintenance), then, replacing the sealing washer, screw the plug back into place and tighten it to the required torque.
4. Remove the exhaust pipe (see Chapter Power and exhaust systems).
5. If equipped, disconnect the oil level sensor wiring from the pan.
Stamped tray - models with air conditioning systems
1. Remove the bolts securing the oil pan flange to the transmission housing.
2. Remove the bolts securing the support brackets to the transmission dome and the underside of the block. Remove both brackets and the transmission dome lower skid plate.
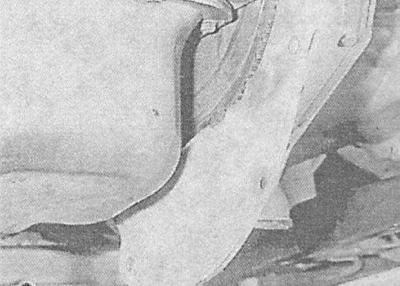
3. Loosen and then remove all oil pan mounting bolts in several stages. Lightly tap the sides of the oil pan with a soft-faced hammer to separate it from the engine crankcase, lower it and remove it from under the car. At the same time, carefully and gradually lift the engine on the beam to ensure sufficient clearance for removing the oil pan. Try not to damage the hoses, electrical wiring or exhaust system components. Throw away the oil pan gasket. It must be replaced during installation.
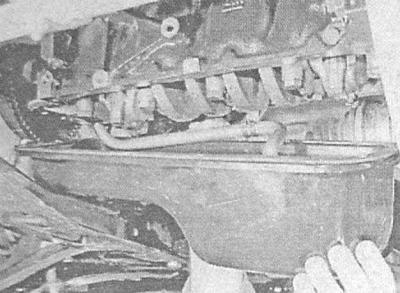
4. Check the patency of the oil intake mesh filter - wash the mesh with solvent or replace the filter.
Cast tray - models without air conditioning
1. Remove the bolts securing the oil pan flange to the transmission housing.
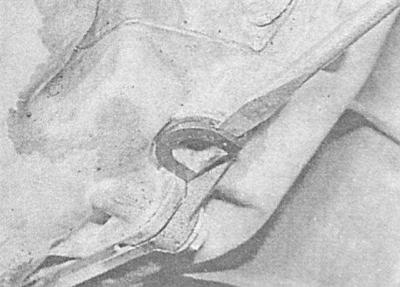
2. In several stages, loosen and then remove the oil pan mounting bolts to the block base/oil pump housing. Note that the rear oil pan mounting bolts are accessible after removing the plugs from the cutouts in the oil pan mounting flange. Lightly tap the sides of the oil pan with a soft-faced hammer to separate it from the engine crankcase, lower it and remove it from under the vehicle. At the same time, carefully and gradually lift the engine on the beam to ensure sufficient clearance for removing the oil pan. Try not to damage the hoses, wiring or exhaust system components. Discard the oil pan gasket. It must be replaced during installation. Don't forget to check the oil intake mesh filter for patency. Wash the mesh with solvent or replace the filter.
Installation
Stamped pallet
1. Thoroughly clean and wipe dry the mating surfaces of the oil pan flange and the crankcases of the power unit. Remove all traces of oil, dirt and old sealant from the threads of the oil pan and oil intake bolts.
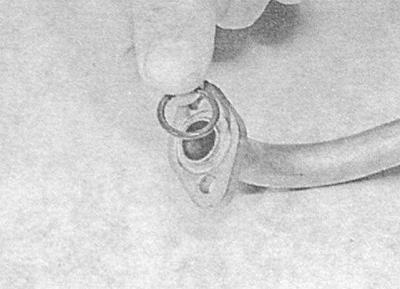
2. If necessary, replace the sealing ring and reinstall the oil pickup. Apply anaerobic sealant to the threaded portion of the mounting bolts, screw them in and tighten them to the required torque.
3. Apply a coat of suitable sealant to the mating surface of the cylinder block in the area where the oil pump and rear main bearing cap are installed.
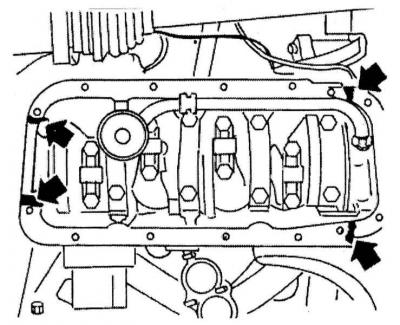
4. Place a new gasket on the pan, then press the pan onto the block. Apply anaerobic sealant to the threaded portion of the pan mounting bolts. Screw in the bolts and tighten them diagonally to the required torque, moving from the center to the edges.
5. Install the transmission dome cover and tighten its mounting bolts to the required torque.
6. Install the exhaust pipe (see Chapter Power and exhaust systems). If equipped, connect the wiring to the oil level sensor on the side of the pan.
7. If equipped, reinstall the crankcase guard, then lower the vehicle.
8. Fill the engine with fresh oil (see Chapter Routine maintenance).
Cast pallet
1. If removed, replace the oil intake (see above Stamped pallet).
2. Thoroughly clean and wipe dry the mating surfaces of the oil pan flange and the crankcases of the power unit. Remove all traces of oil, dirt and old sealant from the threads of the oil pan and oil intake bolts.
3. Apply a coat of suitable sealant to the mating surface of the cylinder block in the area where the oil pump and rear main bearing cap are installed.
4. Place a new gasket on the pan, then press the pan onto the block. Apply anaerobic sealant to the threaded portion of the pan mounting bolts. Screw in the bolts and tighten them diagonally to the required torque, moving from the center to the edges.
5. Screw in and tighten the pan mounting flange bolts to the required torque. Install rubber plugs in the flange cutouts.
6. Install the exhaust pipe (see Chapter Power and exhaust systems). If equipped, connect the wiring to the oil level sensor on the side of the pan.
7. If equipped, reinstall the crankcase guard, then lower the vehicle.
8. Fill the engine with fresh oil (see Chapter Routine maintenance).
Visitor comments