
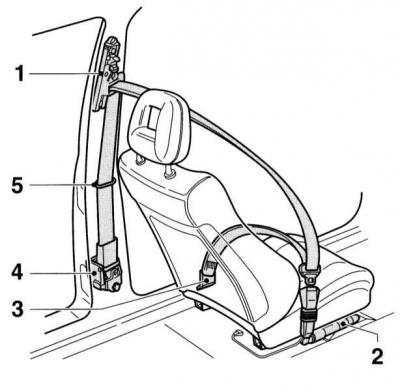
1 - Top adjustable anchor assembly
2 - Lower anchor assembly / emergency belt tensioner module
3 - Lower anchor assembly
4 - Return device
5 - Guide bracket
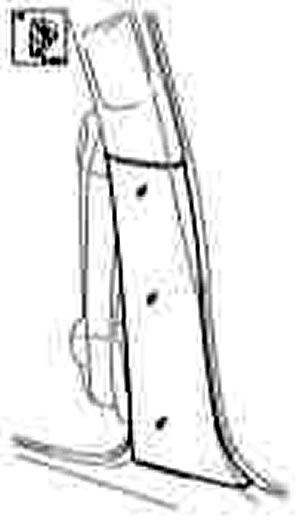
Front strap and return device
1. Remove the front seat (see Removal and installation of front seats).
2. Loosen the fasteners and remove the spool from the bottom of the B-pillar. Remove the end of the belt from the spool.
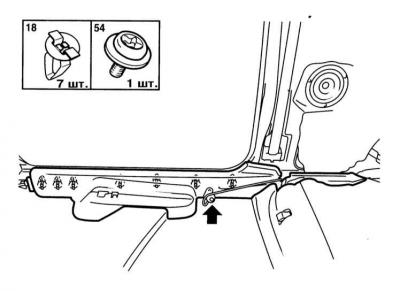
3. Pull off the rubber seal from the B-pillar and remove the upper and lower pillar trims. The pads are fastened with latches, to remove which you will need a slotted screwdriver with a wide sting - try to remember the installation position of the panels.
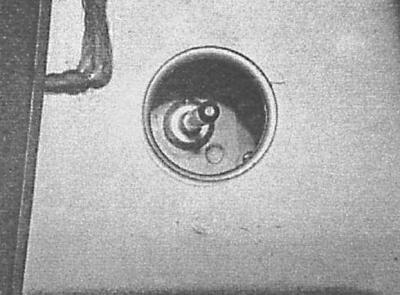
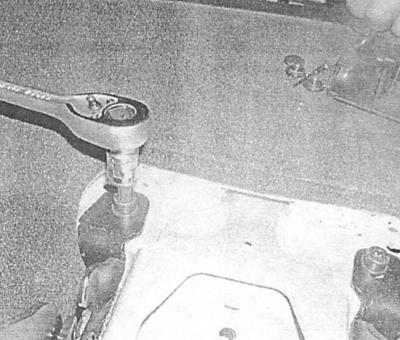
4. Slide through the groove and release the strap from the top trim panel.
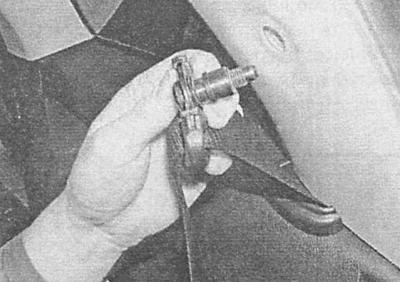
5. Unscrew the mounting bolt and remove the belt loop from the top adjustable anchor assembly (see illustration Front seat belt fastening diagram).
6. If necessary, detach the outer decorative panel, unscrew the mounting screws and remove the upper adjustable anchor assembly from the B-pillar (see illustration Front seat belt fastening diagram).
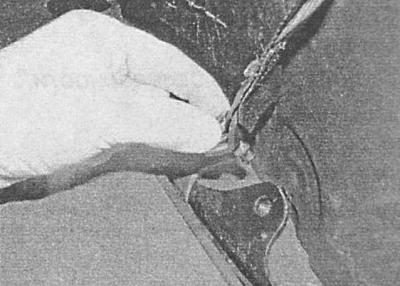
7. Release the belt from the guide bracket on the B-pillar (see illustration Front seat belt fastening diagram).
8. For the purpose of providing access to the lower part of a rack In remove an internal decorative overlay of a threshold.
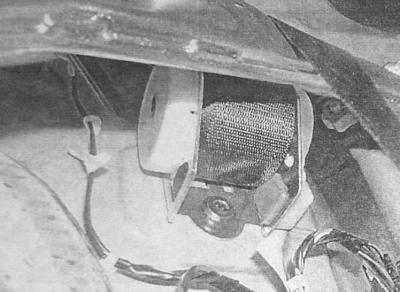
9. To gain access to the returner mounting nut, remove the plug located on the outside of the B-pillar. A deep socket will be required to unscrew the nut from the stud welded into the post. The stud is installed so that the nut does not fall into the rack and under the threshold. Give the nut and remove the return device drum from the rack together with the belt wound around it (see illustration Front seat belt fastening diagram).
10. The seat belt anchor assembly is bolted to the inside of the seat - the same bolt is also used to attach the emergency belt tensioner module.
11. Installation is carried out in the reverse order. Before screwing in the mounting bolts, grease their threaded part with an anaerobic fixing sealant. Make sure all fasteners are tightened to the correct torque.
Rear seat belt and reel
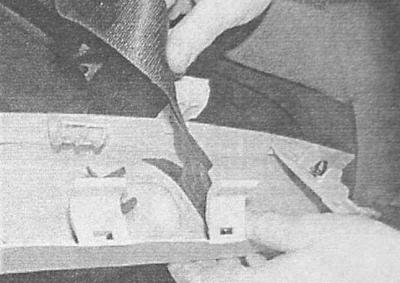
1. Remove the rear interior trim panel (see Removal and installation of interior trim panels), - one of the constituent elements of this procedure is to unscrew the bolt securing the lower belt loop.
2. Turn out a fixing bolt and remove the top loop, - on Zafira models it is screwed to the height adjuster.
3. On Zafira models remove the trim and unscrew the bolt securing the belt to the lower side panel.
4. On Zafira models Disconnect the guide from the C-pillar and remove it from the belt.
5. Turn out a fixing bolt and remove the coil from a body element a drum of the returnable device.
6. On Zafira models unscrew the mounting screws and remove the upper adjustable anchor assembly of the belt from the column C.
7. The lower anchor assembly is removed by releasing its fastening bolt after removing the rear seat cushion.
8. Installation is carried out in the reverse order. Before screwing in the mounting bolts, grease their threaded part with an anaerobic fixing sealant. Make sure all fasteners are tightened to the correct torque.
Third row seat belt and reel (Zafira)
1. Remove the luggage compartment floor covering.
2. Remove the upper section of the side trim of the luggage compartment.
3. Remove the plug and give the screw securing the seat belt anchor assembly to the C-pillar.
4. Also remove the bottom hinge.
5. Turn out fixing screws and remove from a rack With directing a belt.
6. Remove the lower section of the side trim of the luggage compartment.
7. Turn out a fixing bolt and remove from the body panel a drum of the returnable device of a belt.
8. To remove the lower anchor unit, it is necessary to dismantle the central trim.
9. Installation is carried out in the reverse order. Before screwing in the fixing bolts, grease their threaded part with an anaerobic fixing sealant. Make sure all fasteners are tightened to the correct torque.
Third row center belt (Zafira)
1. Remove the cushion and rear seat back (see Removal and installation of rear seats).
2. In order to provide access to the anchor nodes of the central seat belt, unscrew the fixing screws and remove the cover.
3. Turn out fixing bolts and remove anchor knots from the floor panel.
4. Disconnect the cable from the coil and unscrew the bolt securing the coil to the back.
5. Installation is carried out in the reverse order - make sure that all fasteners are tightened with the required force.
Visitor comments