
- glass gluing kit;
- sharpened knife;
- glue gun;
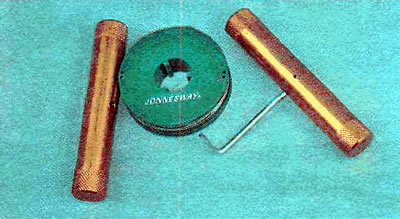
- string for cutting glue-sealant;
- a heated room in which you can leave the car without moving while the glue dries.
We work with an assistant.
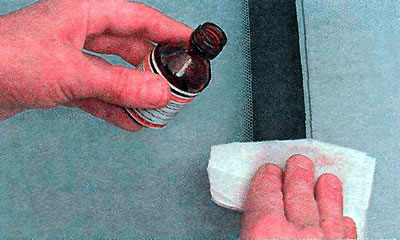
The set for gluing glass consists of a tube with adhesive-sealant, an activator for degreasing the surface, a primer, a cloth for degreasing and a swab for applying the primer.
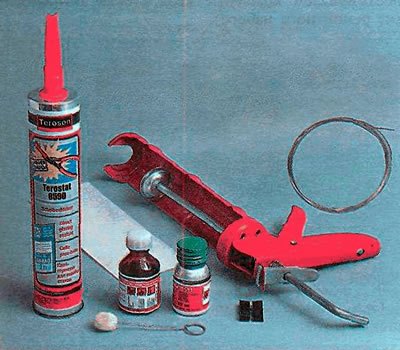
Comment. Since the materials used by different manufacturers may vary, read the instructions that come with the repair kit before starting work.
Kits (from different manufacturers) can be supplemented with spacers for glass and a string for cutting the glue line. The string breaks very often. It can be purchased separately, but, as a rule, complete with handles.
In extreme cases, you can use a fishing line or welding wire with a diameter of 0.8 mm from a semi-automatic type «Kempi».
Execution sequence
1. We prepare the car for work (see «Preparing the car for maintenance and repair»).
2. Remove the ventilation grill (see «Astra front wiper drive - replacement» or «Zafira front wiper drive - replacement»).
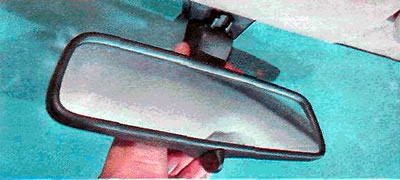
3. Overcoming the resistance of the latch, move down and remove the interior rear-view mirror.
4. On the Astra model, we remove the sealant of the right doorway along the A-pillar and, using a slotted screwdriver with a wide blade, remove the lining of the A-pillars.
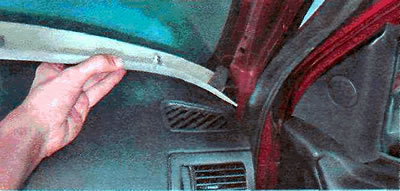
On the Zafira model, remove the lining of the front pillars and dashboard lining (see «Zafira Front Side Window - Replacement»).
5. We pry with a thin slotted screwdriver and remove the windshield trims on the right and similarly on the left side (shown on Astra model, similar on Zafira model).
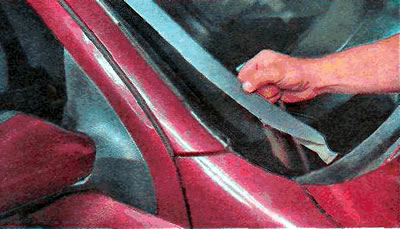
6. Similarly, remove the upper and lower trims of the windshield.
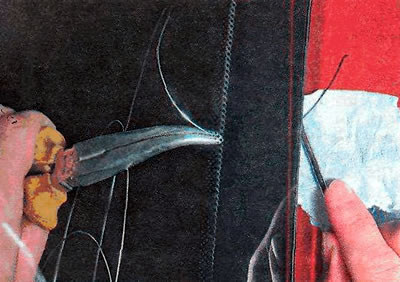
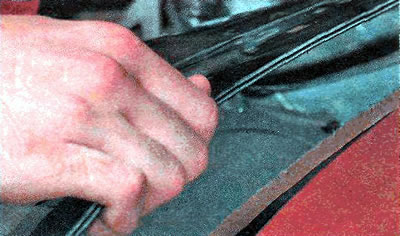
7. With wire cutters we bite off a string about a meter long. We pierce the adhesive-sealant with a string and we start the end of the string into the salon.
8. We put handles on the ends of the string.
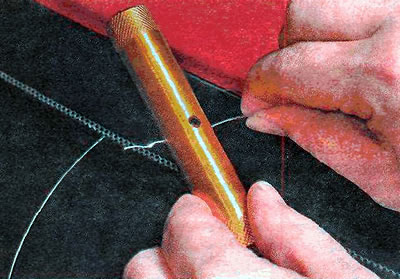
Comment. In the absence of special handles, the string can be tied to the handles of screwdrivers or to wooden bars.
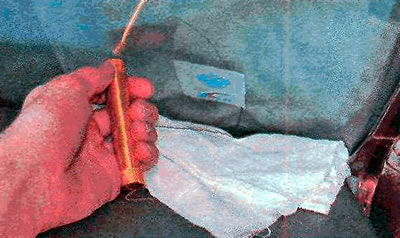
9. Together with an assistant, we cut with a string, like a two-handed saw, a seam of glue around the entire perimeter of the glass.
Comment. To prevent damage to the front panel when cutting the adhesive sealant at the bottom of the glass, place a rag between the panel and the string.
10. Remove the glass from the car.
11. With a sharp knife, carefully cut off the remnants of the adhesive seam from the body (admissible residual thickness of a seam no more than 2 mm).
12. Open the windows of the front doors.
13. After laying the new glass on a flat surface, degrease the painted edges of the glass with an activator (from repair kit).
14. Using a swab, apply primer around the perimeter of the glass.
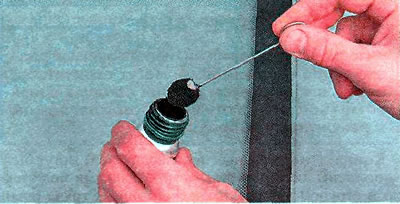
15. Similar operations are repeated on the window opening of the body.
16. We put a sealant on the glass.
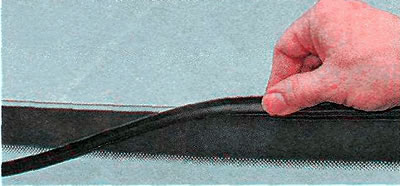
17. Apply adhesive-sealant evenly along the perimeter of the glass, stepping back from the edge of the glass 8-10 mm. The adhesive-sealant is applied with a roller 10-12 mm high.

18. Install the windshield in such a way that its seal fits evenly against the A-pillars and the roof panel.
19. We press the glass to the windshield frame and fix it in any way possible (e.g. masking tape).
Warning! During the day, do not move the car, do not open the doors, exclude any actions associated with rocking the car.
Visitor comments