


Sequence of execution
1. Prepare the car for work (see "Preparing the car for maintenance and repair").
2. Using a TORX T20 key, unscrew the two bolts of the lower bumper trim mount on the left side and similarly on the right side.
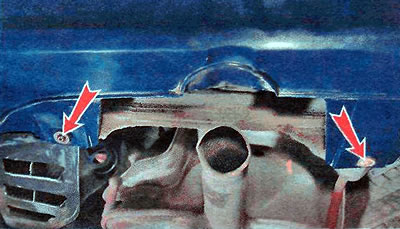
3. Using the same key, unscrew the bolt of the front fastening of the rear bumper trim on the left side and similarly on the right side.
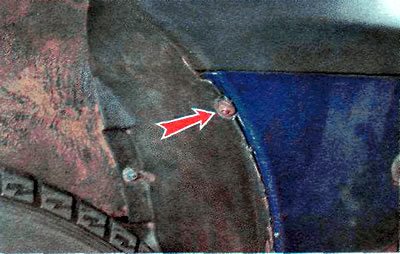
4. Using the same key, unscrew the bolts of the upper bumper trim mount on the left side and similarly on the right side.
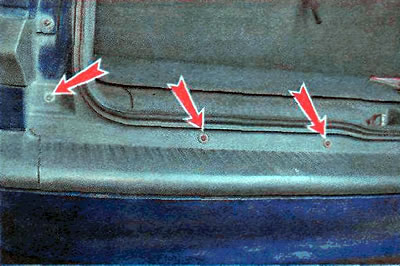
5. Carefully, trying not to damage the paint, remove the rear bumper trim.
[Information taken from the website OpelBook.ru]
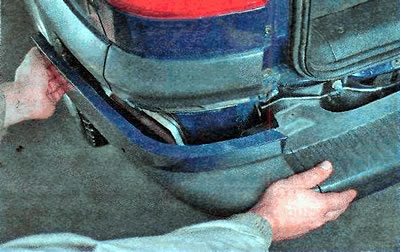
6. If necessary, use a TORX T20 key to unscrew the bolts securing the aerodynamic shields to the pad.
7. If it is necessary to replace the amplifier, use a 13 mm wrench to unscrew the two mounting nuts on the left side and similarly on the right side.
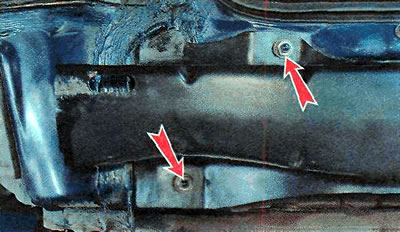
8. Remove the amplifier.
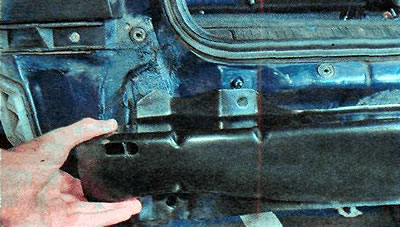
9. Install the parts in reverse order.
Visitor comments