


Contents: Removal ⬇ Installation ⬇
Removal
1. Disconnect the negative (-) battery terminal from the battery.
2. Remove the windshield wiper motor (see the relevant chapter).
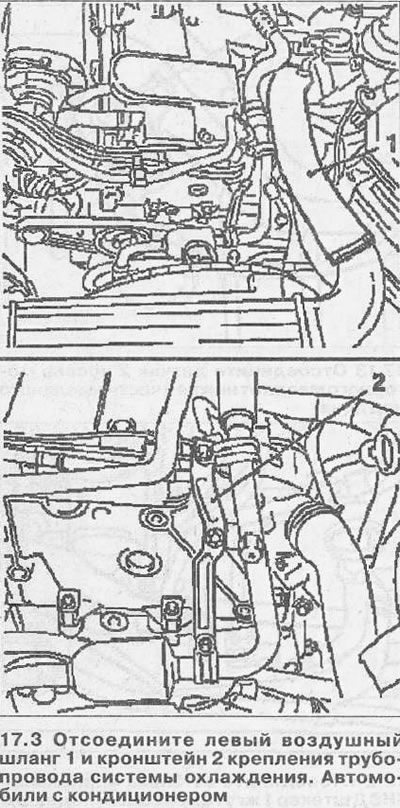
3. Vehicles with air conditioning. Disconnect the left air hose 1 and the cooling system pipe mounting bracket 2 and set them aside from the work area (see illustration).
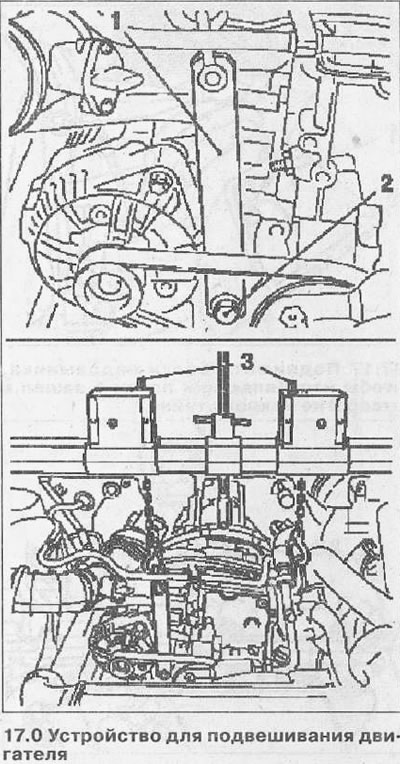
Attention! Diesel engines with a volume of 2.0 and 2.2 liters have a so-called double crankcase. To remove the lower part of the crankcase (oil pan) the engine needs to be supported from below and lifted. For this purpose, a special device MKM-883 and a beam for hanging the engine are used (see illustration 17.0).
4. Attach a lifting device to the engine.
5. Remove the engine splash guard, unscrew the drain plug and drain the engine oil into a container.
6. Screw the plug into the drain hole and tighten it to 10 Nm.
7. Unscrew the bolts securing the front engine mounts to the cross member.
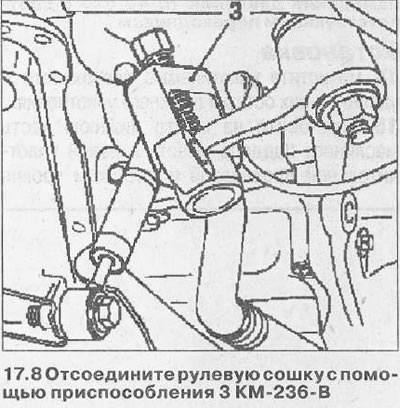
8. Disconnect the steering arm using the 3 KM-236-V tool (see illustration).
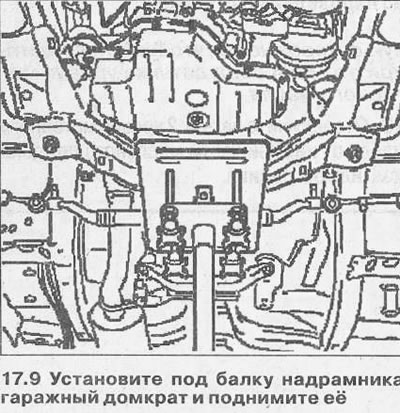
9. Place a garage jack under the subframe beam and lift it up (see illustration).
10. Loosen bolts 1 by about two turns and unscrew bolts 2 (see illustration).
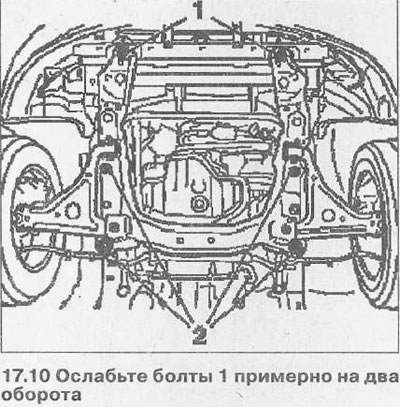
11. Carefully lower the subframe beam by approximately 10 cm.
12. Unscrew the bolts securing the lower part 1 of the oil pan and carefully lower it by about 15 cm (see illustration).
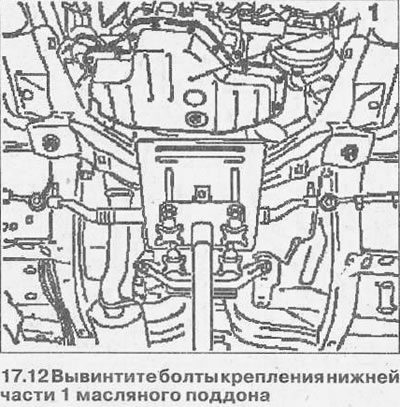
Caution: Be careful not to damage the engine oil level sensor wires when doing this.
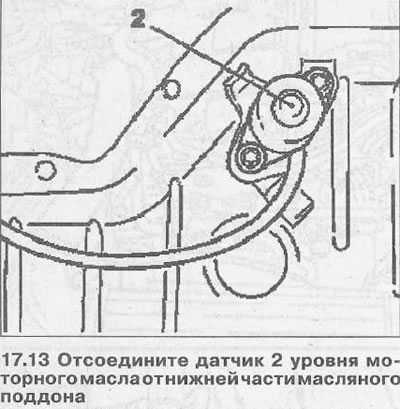
13. Disconnect the 2nd engine oil level sensor from the bottom of the oil pan (see illustration).
Installation
14. Clean the sealing surfaces and remove any remaining old sealant.
15. Reinstall the lower part of the oil pan together with a new sealing gasket and the engine oil level sensor. The tightening torque of the sensor bolts is 8 Nm.
16. Fasten the lower part of the tray to the upper part with a tightening torque of 8 Nm for the mounting bolts.
17. Raise the subframe beam so that the guide pin 1 enters the hole in the bracket (see illustration).
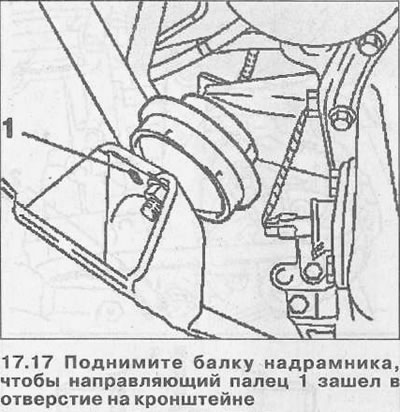
18. Secure the subframe to the mounting location and secure the engine mount supports to it (see the relevant chapter). The tightening torque of the support bolts is 55 Nm.
Further installation is carried out in the reverse order of removal.
19. Fill with engine oil, start the engine and check the oil pan for leaks. Add oil if necessary.
Visitor comments