
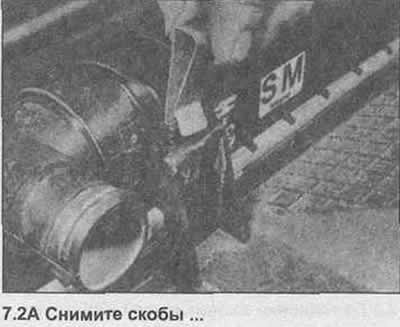
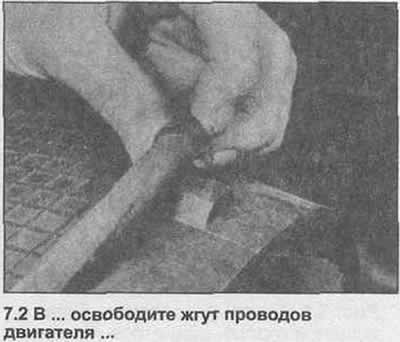
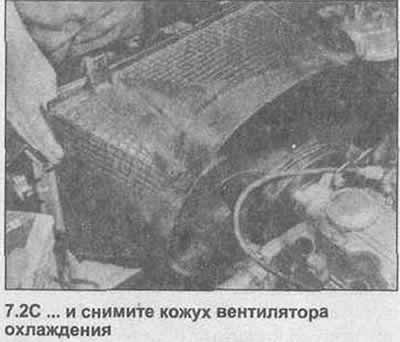
2. Pull out the top brackets, release the cooling fan shroud from the slots in the heatsink base. The shroud can now be installed over the cooling fan blades, however for additional work space unfasten the engine wiring harness and remove the shroud completely (photo).
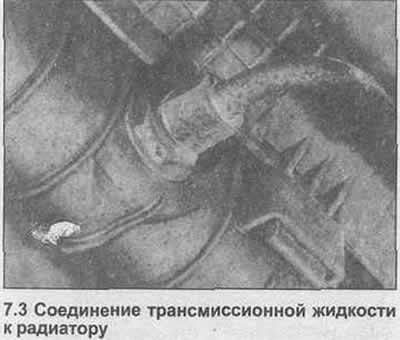
3. On automatic transmission models, place a container under the radiator, then unscrew the union nuts and disconnect the cooling coils from the radiator (photo). Drain and plug pipes to prevent dust and dirt from entering.
4. Where available, disconnect the expansion tank hose on the right side of the radiator.
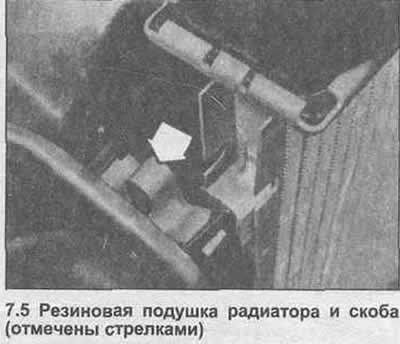
5. Squeeze and remove the spring clips securing the rubber pads on each side of the radiator (photo).
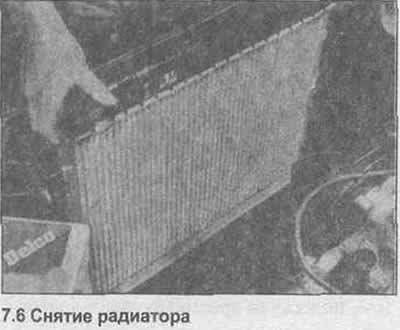
6. Lift the radiator straight from the side and bottom mounts, remove it from the engine compartment (photo).
7. Check the side and bottom rubber pads, replace if necessary. If a new radiator is being installed, move the side cushions to the new unit.
8. Installation is carried out in the reverse order. Fill the cooling system as described in chapter 5. On models with automatic transmission, tighten the cooling hose connections to the torque given in Section 6, and top up the transmission fluid level.
Visitor comments