
1. Raise and place the front of the vehicle on stands. Remove the wheel.
2. Remove the engine mudguard (see Removal and installation of mudguards and engine crankcase protection).
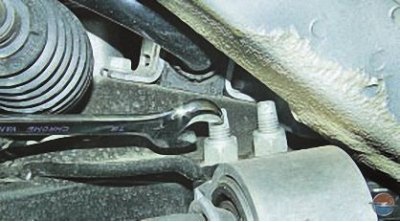
3. Treat the terminal connection of the ball joint and the steering knuckle with a special penetrating compound (e.g. WD-40) to facilitate loosening the nut of the coupling bolt securing the support pin to the steering knuckle.
4. While holding the bolt from turning, unscrew the nut of the coupling bolt of the terminal connection of the steering knuckle with the ball joint..
5.... and remove the bolt.
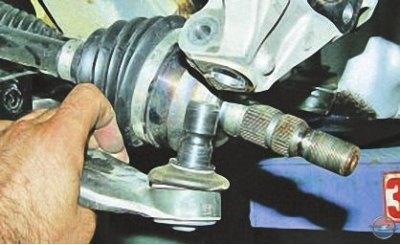
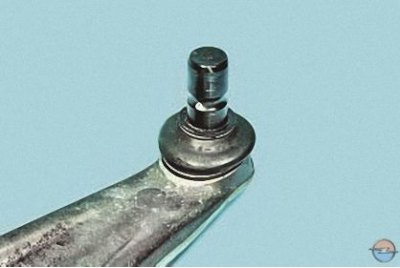
6. Disconnect the ball joint pin from the steering knuckle.
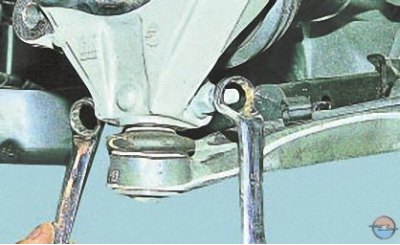
7. Holding the bolts from turning..
8.... unscrew the two nuts securing the suspension arm bracket..
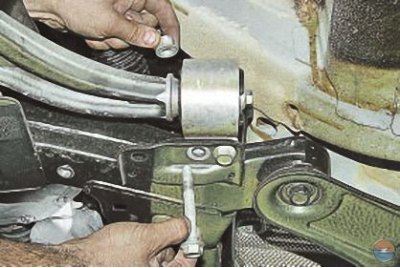
9.... and remove the bolts.
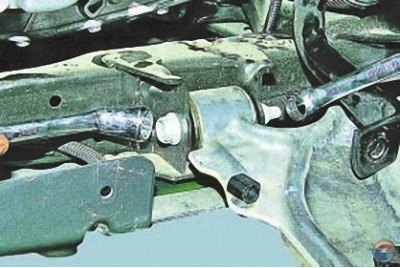
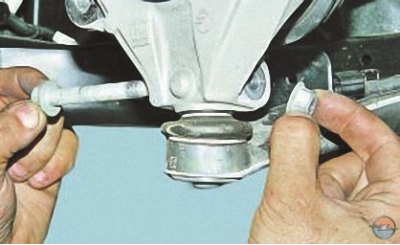
10. Turn away a nut of forward fastening of the lever to a stretcher..

11.... and remove the bolt.
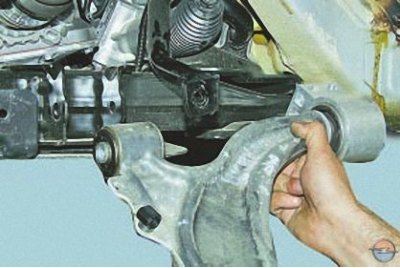
12. Remove the front suspension arm from the vehicle.
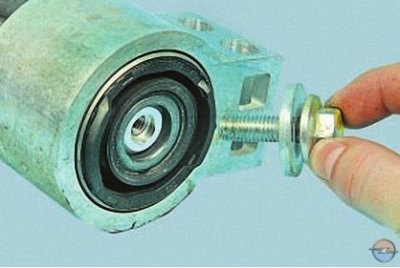
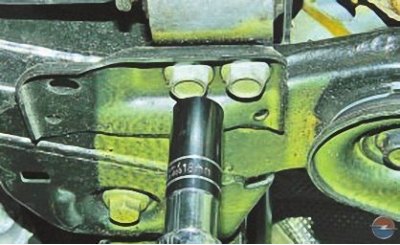
13. Turn out a bolt of fastening of an arm of the lever …
14.... and remove the bracket..
15.... and a thrust washer from the lever.
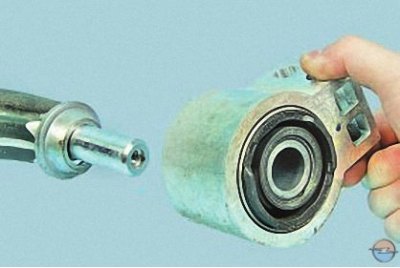
16. Check the integrity of the rubber-metal hinge of the lever bracket..
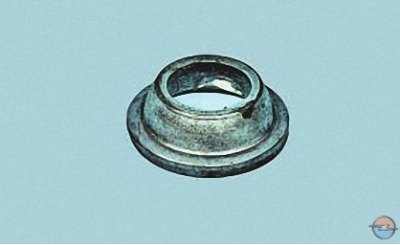
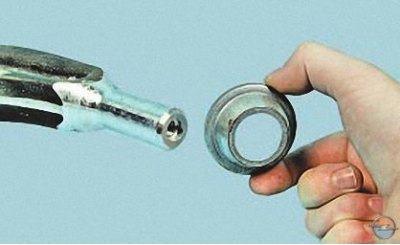
17.... and thrust washer. Replace damaged parts with new ones.
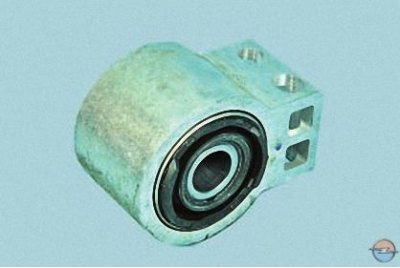
Since the original front suspension lower control arms are supplied in spare parts assembled with a ball joint..
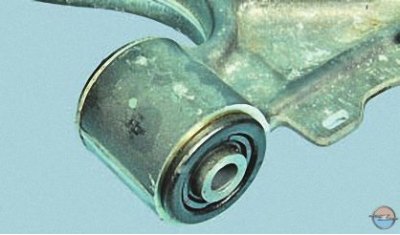
... and a silent block, and they are not supplied separately, further disassembly of the lever does not make sense.
18. Install the parts in the reverse order of removal, without finally tightening the silent blocks of the lever hinges.
19. After lowering the car to the ground, rock it hard several times. Finally tighten the suspension bolts with the vehicle on the ground to a torque.
Note. After replacing the front suspension arm, have the wheel alignment checked and, if necessary, adjusted by a specialist workshop.
Visitor comments