
1. Disconnect the wire from the terminal «minus» battery.
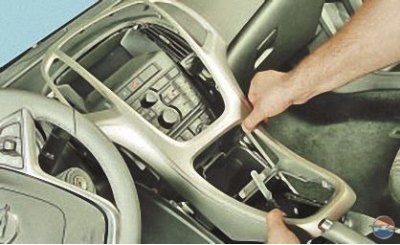
2. Remove a decorative overlay of the console of the panel of devices (see Removal and installation of floor tunnel lining).

3. Prying off the lower edge of the lining of the handle for adjusting the amount of air supplied on the left nozzle of the ventilation system..
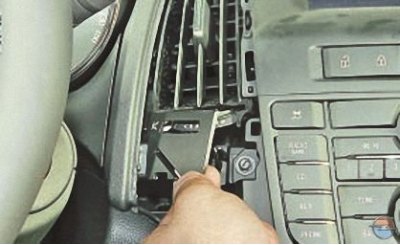
4.... disconnect the lining from the nozzle, overcoming the resistance of its clamps, and take it aside. Remove the right nozzle cover in the same way.
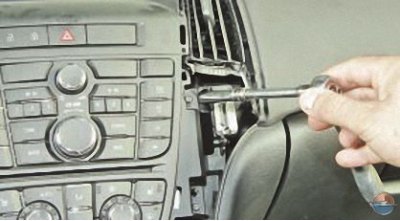
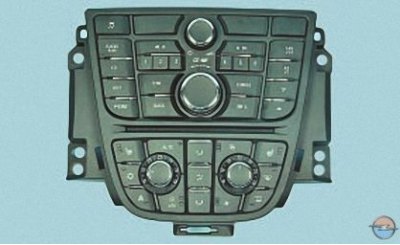
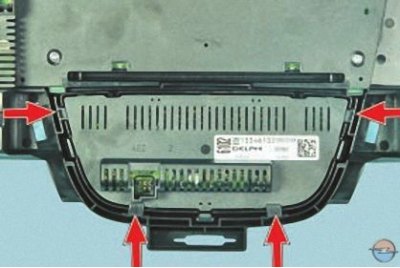
5. Remove the four screws securing the audio and heating control module (ventilation) and air conditioning to the dashboard..
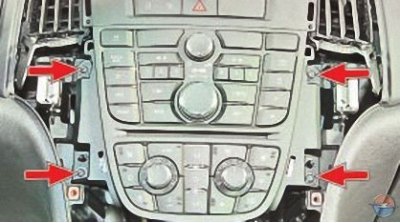
Note. This is how the mounting screws for the audio and heating control module are located (ventilation) and conditioning.

6.... and take the module away from the instrument panel.
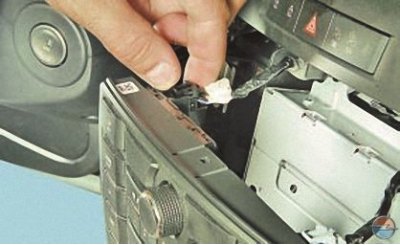
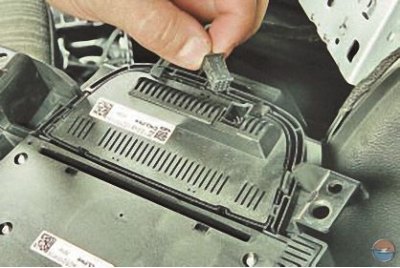
7. While pressing the latches, disconnect from the module..
8....upper left..
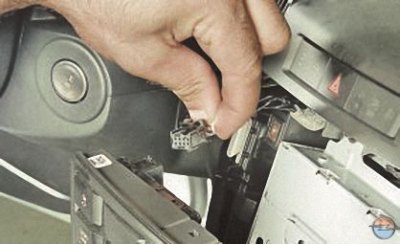
9.... and the upper right block of the audio system wiring harness..
10.... and flip the module down.
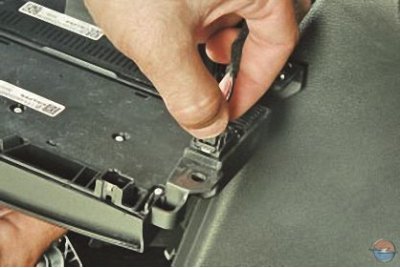
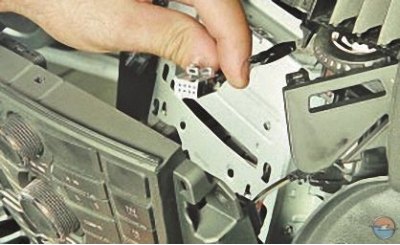
11. Pressing the latches..
12.... disconnect the right lower block of the audio system wiring harness from the module..
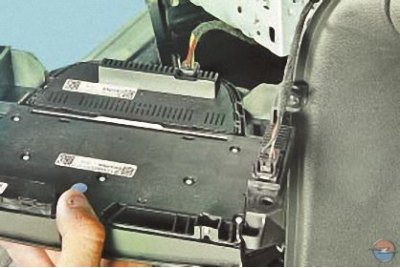
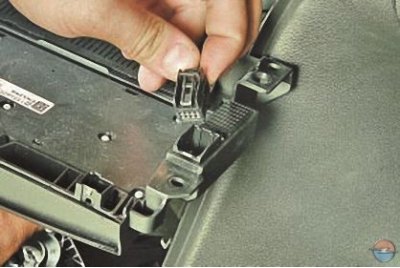
13.... and a block for the control unit of the heating, air conditioning and ventilation system..
14.... and remove the module.
15. Alternately, carefully wring out the four latches of the control unit for the heating, air conditioning and ventilation system with a screwdriver and remove the unit from the module.
16. Install the parts in the reverse order of removal.
Visitor comments