


Contents: General information ⬇ Access ⬇ Luggage compartment shelf/curtain ⬇ Barrier net (models Universal) ⬇ Placement and securing of luggage ⬇ Storage space for spare wheel, jack…⬇ Storage space for first aid kit ⬇ Storage area for warning triangle ⬇ Roof rack ⬇
Please note: The luggage compartment must not under any circumstances be used for transporting passengers!
General information
The luggage compartment is designed for carrying hand luggage and large items. If necessary, the volume of the luggage compartment can be increased by folding the rear bench seat (see Section 12).
The dynamic characteristics of a loaded vehicle are directly dependent on the correct distribution of the load. Try to place heavy loads as far forward as possible, reserving the rear part of the luggage compartment for the transportation of lighter items, remember that the luggage should always be adjacent to the backs of the front or multi-seat rear seats. Make sure that the folded luggage does not rise above the upper edges of the seat backs.
Note: If possible, loads should be placed behind unoccupied seats with their backs in an upright position.
Remember that the total mass of the vehicle, including the mass of passengers, must not exceed the maximum permissible value (see Specifications), the same applies to the distributed load on each of the vehicle's axles.
Access
A description of the methods of access to the luggage compartment of a vehicle is given in Part A of this chapter (see Section 3).
Luggage compartment shelf/curtain
To protect items stored in the luggage compartment from prying eyes or from exposure to direct sunlight, a special decorative shelf is provided on Hatchback models, and a horizontal curtain is provided on Station Wagon models.
Hatchback models
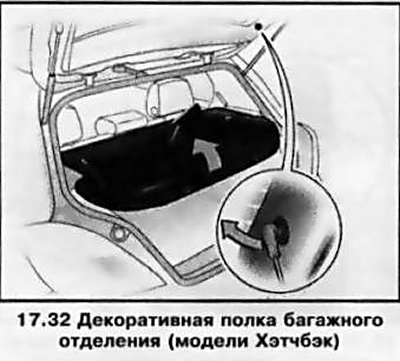
Decorative shelf (see illustration 17.32) from the passenger compartment side it is secured in special side guides and held in a vertical position using fastening cables, one end of which is secured to the shelf, and the other is inserted into the mounting socket on the tailgate. If dismantling is necessary, it is necessary to remove the fastening cables from the mounting sockets of the tailgate, lift the shelf and pull it towards you from the side guides. Installation is carried out in the reverse order.
Models Universal
Attention: Never place any objects, even very light ones, on the stretched horizontal curtain - the spring effect of the curtain may cause these objects to fall into the passenger compartment during sudden braking of the car and lead to unforeseen consequences!
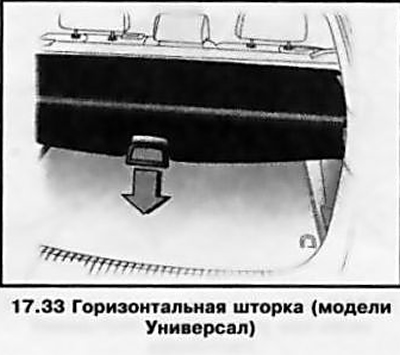
Horizontal curtain casing (see illustration 17.33) is mounted in a spacer in the front part of the luggage compartment. The curtain is pulled out through the groove of the casing and fixed in special holders near the opening of the tailgate. When there is no need to use the curtain, it is rolled up inside its casing, for which it is necessary to pull the handle of the curtain down - the curtain is rolled up automatically.
To close the curtain, pull it out of the casing using the handle until it locks into place.
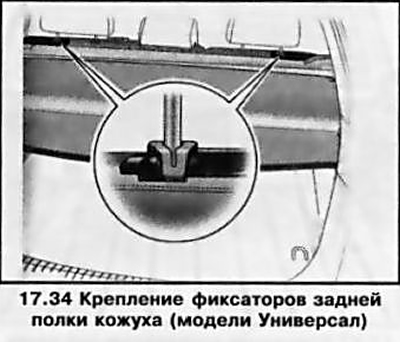
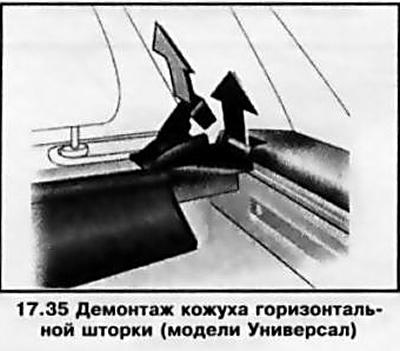
The gap between the curtain casing and the backs of the rear seats is closed with a shelf attached to the rear side of the casing. The other side of the shelf is attached with special fasteners to the guide rods of the headrests (see illustration 17.34), with the protective net installed (see below), the fasteners are threaded through the grid cells. To remove the curtain, you must first roll it up into the casing, disconnect the rear shelf fasteners from the headrest guide rods, pull the locking lever (see illustration 17.35) on the right side of the casing upwards and remove the right side of the casing from the installation socket, then remove the casing from the left mount. Do not leave the removed curtain casing unfastened in the car. Installing the horizontal curtain casing is done in the reverse order.
Barrier net (models Universal)
To prevent accidental movement of cargo from the luggage compartment into the passenger compartment, a protective net can be installed on the station wagon models. It is possible to install the net both behind the rear multi-seat bench seat and behind the front seats with the rear seat fully folded.
Installing a net behind the rear bench seat
Before installing the mesh, it is necessary to dismantle the horizontal curtain casing (see above).
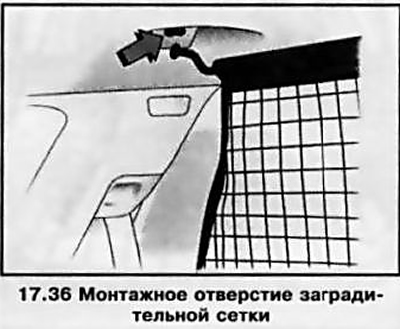
The roof frame is equipped with two mounting holes (see illustration 17.36). The upper anchor supports of the net must be inserted into the mounting holes first from one side and then from the other and fixed by moving them forward. Then it is necessary to adjust the length of the fastening straps on the lower side of the net and fix them in special lugs (see illustration 17.37) on the floor of the luggage compartment on the right and left.
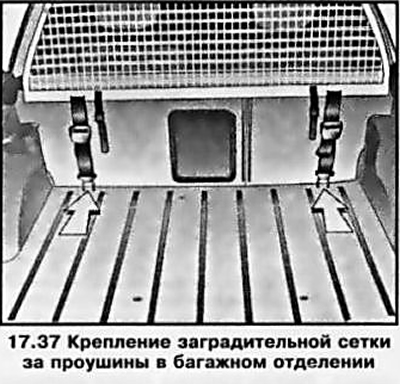
Note: On models equipped with a rear bench seat with the ability to adjust its longitudinal movement (see Section 12), the fastening straps are attached to the eyelets on the back of the rear seat backs on the right and left.
If necessary, after installing the mesh, the horizontal curtain casing is installed.
The mesh is removed in reverse order.
Features of installing the net behind the front seats
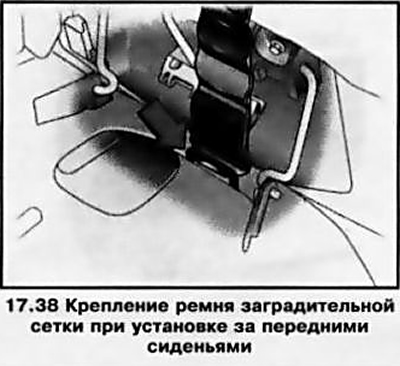
For installing the safety net with the rear bench seat fully folded down, there are similar mounting holes in the roof frame at the level of the front seat backs (see illustration 17.36). The tie-down straps are secured in eyelets under the raised rear seat cushions (see illustration 17.38).
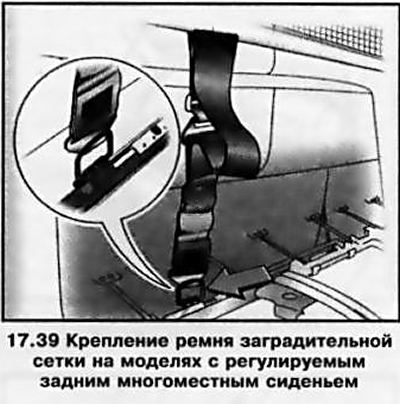
Note: On models equipped with a rear bench seat with the ability to adjust its longitudinal movement (see Section 12), the tie-down straps are attached to the eyelets on the back of the folded rear seat cushions (see illustration 17.39).
Placement and securing of luggage
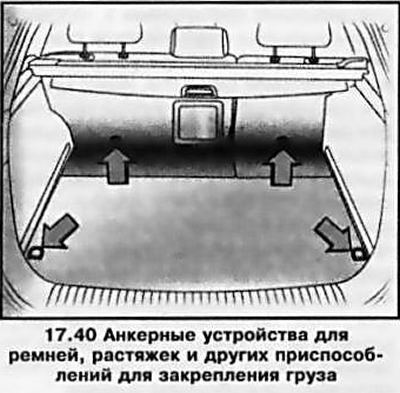
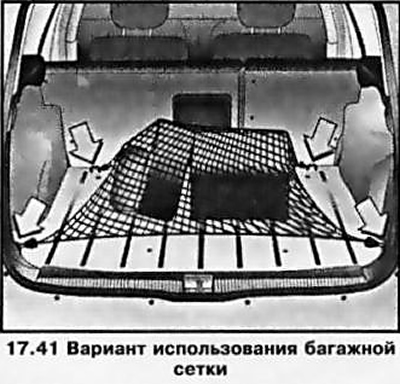
On models with the appropriate configuration, the cargo carried in the luggage compartment of the vehicle must be secured using belts and elastic bandage straps (for fastening light objects) or special tie-down straps (for fastening heavy objects), hooked onto special anchor eyes or hooks fixed to the floor of the luggage compartment (see illustration 17.40), as well as with the help of a special luggage net (see illustration 17.41). If equipped accordingly, small items that are rarely needed can be stored in a lidded compartment in the luggage compartment, in the cells of a special luggage box (see illustration 17.42) Access to the box is only possible when the rear bench seat backrests are locked in the upright position.
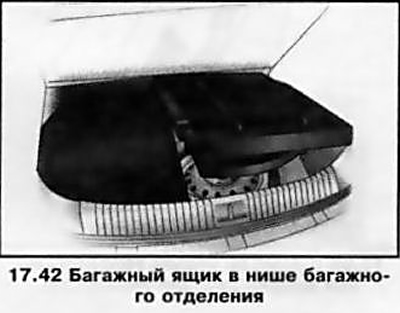
To remove the luggage compartment, you need to remove the floor cover and then remove the right and then the left half of the compartment one by one.
Note: On models equipped with a towing hitch, first release the ball joint retaining strap and pass it through the eye (see Section 32).
Installation is carried out in reverse order.
Models Universal
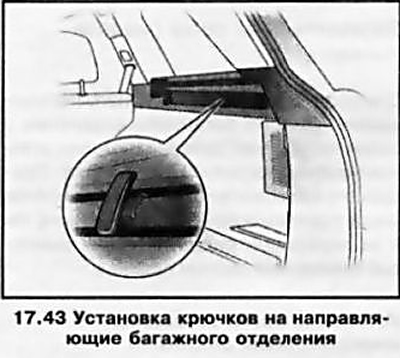
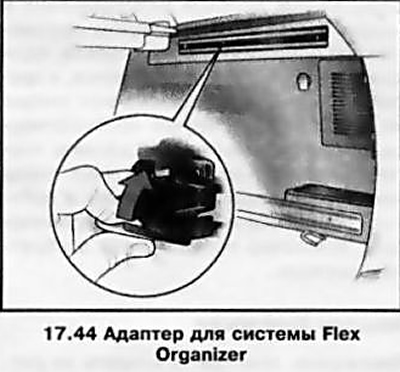
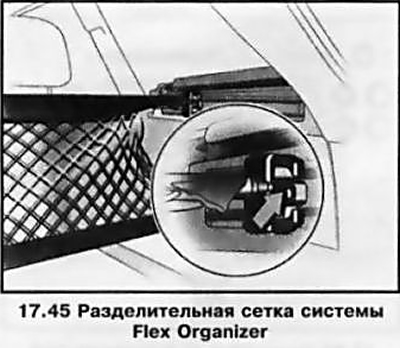
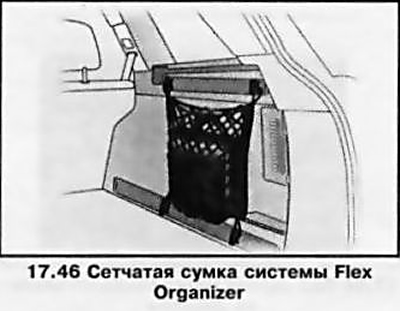
There are two guides fixed on the side walls of the luggage compartment. They are designed for installing special fasteners and hooks on them to secure the cargo (see illustration 17.43). If equipped accordingly, guides for the Flex Organizer system can be installed. The system kit includes special adapters, an adjustable divider grid, mesh bags for the side walls and hooks (see illustrations 17.44, 17.45, 17.46). By moving the dividing net along the guides, you can distribute the space for loading various types of luggage in the most convenient way.
Storage space for spare wheel, jack and wheel wrench
Depending on the variant, the vehicle may be supplied with a spare wheel, a special compact type wheel, or a tire repair kit (see Chapter 1, Section 5). Space for a spare wheel is provided in the luggage compartment niche equipped with a removable cover (see illustration 17.47).
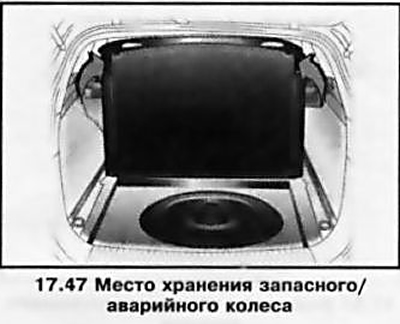
Note: On Estate models, all hooks and adapters must be removed from the luggage compartment rails before lifting the lid.
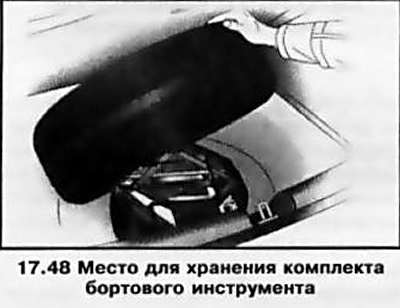
If equipped, the luggage compartment must first be removed to remove the spare/compact wheel (see illustration 17.42). On-board tool kit (including jack and wheel wrench) stored under the spare tire (see illustration 17.48).
Storage space for first aid kit
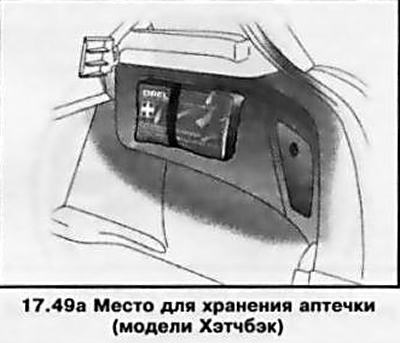
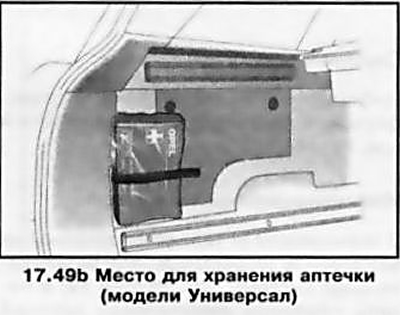
The first aid kit is attached to the left or right wall (depending on the model) luggage compartment using a special belt (see illustrations 17.49a, b)
Storage area for warning triangle
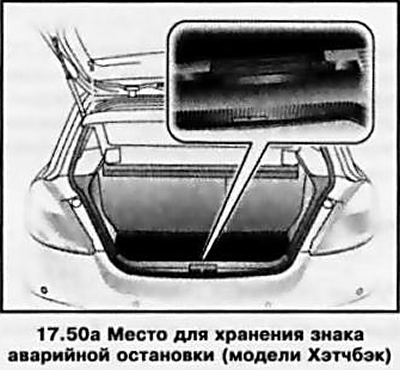
On Hatchback models, storage space for the warning triangle is located on the rear wall of the luggage compartment (see illustration 17.50a). To remove the sign, lift its right edge and remove the left edge from the opening. For models equipped with a luggage compartment, the emergency stop sign is attached to the right section of the compartment. Lift the right section of the luggage compartment and remove the emergency stop sign, pushing it to the right.
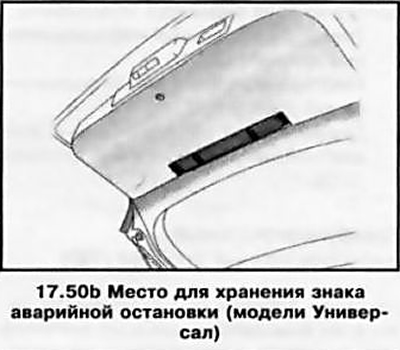
On station wagon models, the warning triangle is secured with fastening straps to the console of the inner trim of the tailgate (see illustration 17.50b).
Roof rack
Note: The roof rack is not included with the vehicle and must be purchased separately.
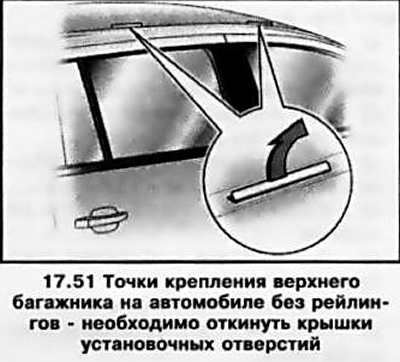
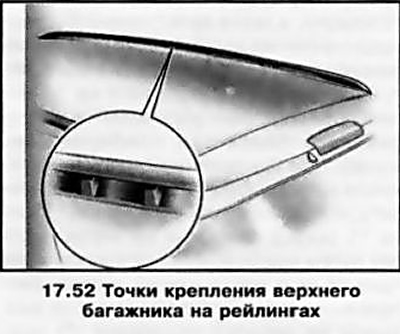
Before purchasing a roof rack, consult an Opel service station about the rack designs approved for a specific car model. The rack must be installed in accordance with the instructions supplied with it and only using the special fasteners with which the car roof is equipped (see illustrations 17.51 and 17.52).
Visitor comments