
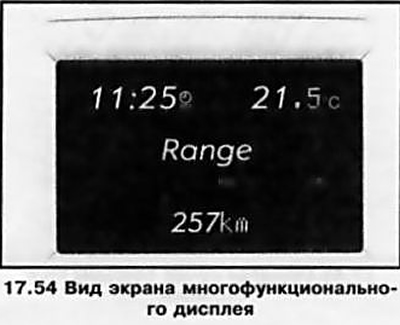
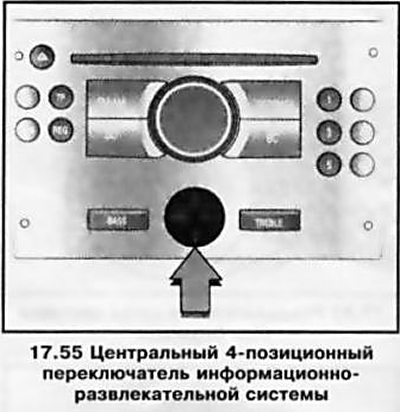
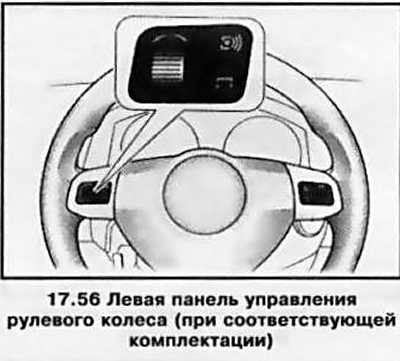
When displaying warning messages of the monitoring system (with appropriate equipment) viewing other information is not available until the message is acknowledged by pressing the right/left sector of the 4-position switch or by pressing the left roller control on the steering wheel. When multiple warning messages are received, they must be acknowledged one at a time.
Appearance on the display «F» warns of a system malfunction - as soon as possible, contact an Opel workshop to have the problem rectified.
Outdoor temperature display
See the relevant subsection for the three-function display.
Setting display functions
To enter the menu for setting the display functions, press the button «Settings» on the infotainment system control panel (see Section 19), the menu item System will appear on the multifunction display. If the inscription is displayed «Audio» - press the lower sector of the 4-position switch to go to the menu item System.
After pressing the right sector of the 4-position switch, the first function of the System menu will be displayed. Each subsequent press will show the names of the selected function in the display field in the following order:
time synchronization -> time, clock setting -> time, minute setting -> date, day setting date, month setting -> date, year setting -> ignition logic -> language selection -> unit selection
Note: The names of some functions are displayed in abbreviated form.
Changing the settings is done by pressing the upper/lower sector of the 4-position switch.
Time Synchronization
The current time and date can be set automatically when receiving an appropriate signal from a radio station that supports the Radio Data System format (RDS). When the automatic time synchronization function is activated, an icon appears in the display field.
Some RDS radios broadcast inaccurate times. If this causes the chronometer to frequently show inaccurate times, turn off automatic synchronization and set the time manually (see below).
Setting the time and date
In the Settings menu, select the time and date settings in sequence. Set the desired values. The settings are stored in the system memory after exiting the menu.
Ignition logic (with appropriate equipment)
This menu allows you to activate/deactivate the automatic activation/deactivation of the infotainment system when the ignition is switched on/off (see Section 19).
Language selection
Using this menu item, you can set the language of text messages for some functions. In the Settings menu, select the language selection item and set the desired parameter value.
Selecting units of measurement
Units of measure can be selected. In the Settings menu, select the item for selecting the system of units of measurement and set the desired parameter value.
Selecting functions of the on-board computer (with appropriate equipment)
The on-board computer receives electrical signals from various sensors that monitor the operating parameters of various systems. All signals are continuously collected and analyzed electronically, after which the main resulting performance indicators are displayed on the information display.
To enter the on-board computer functions menu, press the BC button on the control panel of the infotainment system (see Section 19) or on the left steering wheel jog dial - each time you press the display field, the names of the selected parameter will be displayed in the following order:
current fuel consumption -> average fuel consumption -> absolute fuel consumption -> average speed -> mileage -> range -> stopwatch (current trip time)
Note: The names of some functions are displayed in abbreviated form. When the audio system is activated, the bottom line of the selected display parameter (digital indicators) on-board computer continues to appear on the display.
Current fuel consumption
Units of measurement change depending on the speed - below 13 km/h the calculation is in l/h, above 13 km/h in l/100 km.
Average fuel consumption
The calculation of the average fuel consumption is made since the last reset of the readings (see below).
Absolute fuel consumption
The display screen shows the amount of fuel used since the last reset (see below).
average speed
The calculation of the average speed is made from the moment of the last reset, for example, before the start of each trip.
Note: Stops along the way with the ignition off are not taken into account.
Mileage
The mileage traveled by the vehicle is displayed on the display screen. The start of the countdown at any time at the request of the operator can be done again (see below).
Power reserve
The range is calculated based on the current remaining fuel in the tank and the current fuel consumption - the average value is displayed on the display. Some time after refueling the vehicle, the range display is automatically updated. When there is less than 50 km of fuel left in the tank, the display shows the message «Range».
Stopwatch
The stopwatch is designed to keep track of the time spent on the road, while turning off the ignition entails stopping the stopwatch. When the ignition is switched on, the countdown resumes. The start of a new countdown can be made at any time at the request of the operator. The stopwatch is controlled by a 4-position switch. Pressing the right sector of the switch will start / stop the stopwatch, holding the left sector of the switch pressed for more than 2 seconds will reset (zeroing) testimony.
If equipped, the stopwatch can be operated using the left roller control on the steering wheel - each time the control is pressed (when the corresponding indication is displayed on the display) start/stop the stopwatch.
Resetting the on-board computer (reinstallation)
The following trip computer data can be reset (measurement or calculation will restart):
- average fuel consumption;
- absolute fuel consumption;
- average speed;
- mileage.
Resetting is carried out by holding down the right / left sector of the 4-position switch or the left control wheel on the steering wheel:
- within 2 seconds - zeroing the indications of the parameter selected on the display;
- more than 4 seconds - zeroing of all parameters.
Note: If the power supply is interrupted or if the battery voltage is insufficient, the values stored in the memory of the on-board computer are erased.
Visitor comments