
1. Remove the steering gear from the car (see Steering gear replacement).
2. Remove outer tie rod ends (see Replacing the outer tie rod end), counting the number of revolutions, so that when reinstalling, if possible, do not violate the wheel alignment angles.
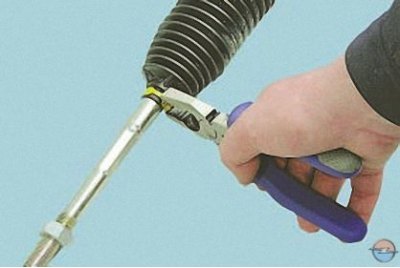
3. Squeeze the bent ears of the clamp..
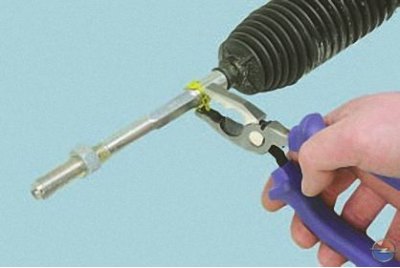
4.... slide the clamp along the steering rod and remove it.
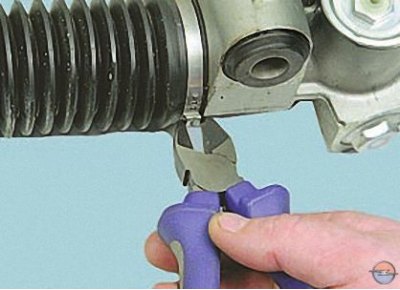
5. Snip the second clamp securing the protective cover..
Note. The clamp for fastening the protective cover is disposable. When assembling, be sure to replace it with a new one.
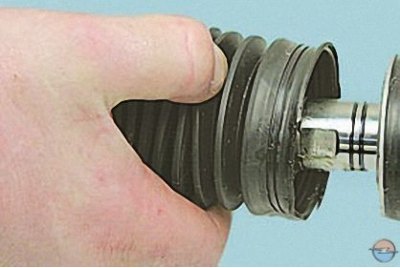
6.... and remove the protective cover.
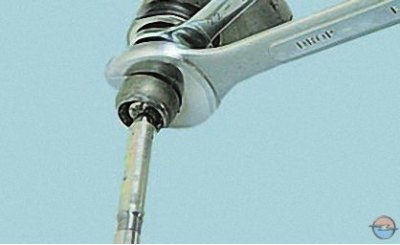
7. Holding the rod from turning, unscrew the nut..
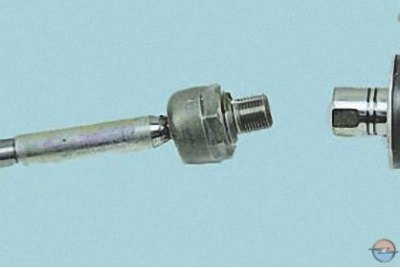
8.... and remove the tie rod.
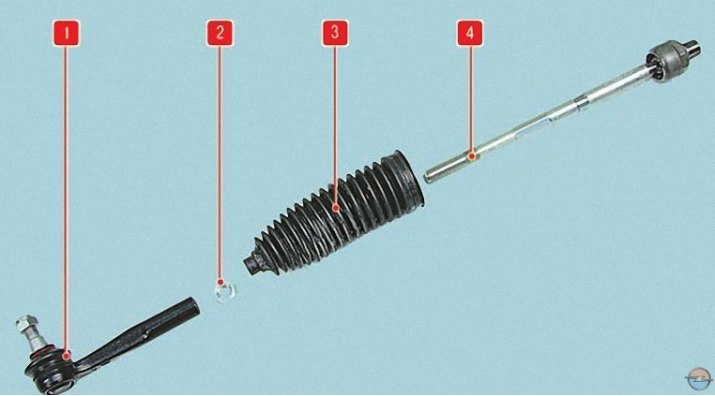
Pic. 1.Tie Rod Details: 1 - tip; 2 - nut; 3 - cover; 4 - thrust
Note. Details of steering draft are shown on fig. 1.
9. Install the parts in the reverse order of removal. In order to maintain the alignment of the wheels as much as possible, when assembling the rod, screw the tip onto the steering rod, performing as many turns as calculated in paragraph 2. Tighten the bolts and nuts with torque.
10. Check and, if necessary, adjust the angles of the front wheels (see Checking and adjusting wheel alignment) at a service station with special equipment.
Visitor comments