
Notes:
- It is more convenient to perform work on a lift.
- You can also perform it on a car mounted on supports.
- Replacement of a tip is shown on an example of the left steering draft, replace the right tip similarly.
- The thread of the left tip is right-handed, and the right one is left-handed.
1. Raise and support the front of the vehicle on the side of the tip to be replaced. Remove the wheel.
Attention! Brake the vehicle with the parking brake and place wheel chocks under the rear wheels («shoes»).
Helpful light. If the connections of the parts are very dirty, clean them with a wire brush and treat with a penetrating liquid.
2. Measure and remember the length of the free part of the thread of the steering rod, so that when assembling, if possible, do not violate the toe angle.
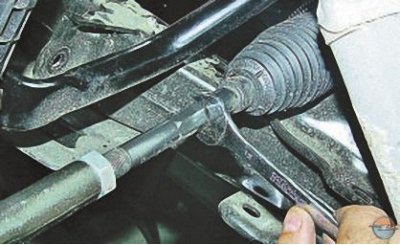
3. Holding the tie rod from turning..
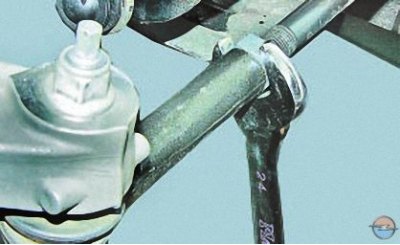
4.... Loosen the tie rod end locknut.
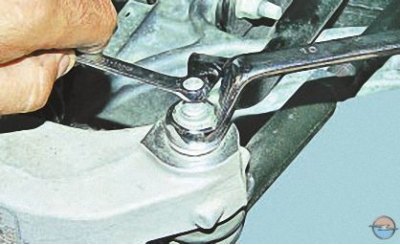
5. Turn away a nut of fastening of a finger of the hinge of an external tip of steering draft to the rotary lever, holding a finger by the second key from turning.
Note. Nuts of fastening of pins of external tips of steering rods are self-locking. Replace the nuts with new ones each time you remove them.
6. Install ball joint puller..
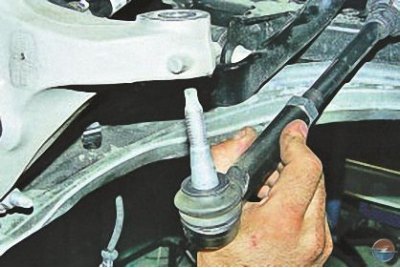
7.... and press the pin out of the pivot arm boss.
Note. In the absence of a puller, the ball joint pin can be knocked out with sharp hammer blows on the end face of the pivot arm boss, striking along the axis of the lever.
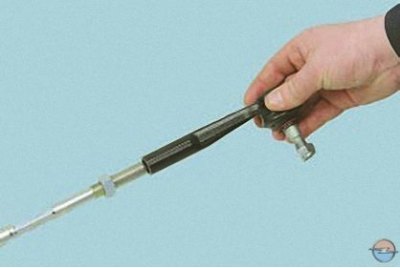
8. Unscrew the tip from the steering rod, counting the number of revolutions, so that when installing a new tip, the wheel alignment does not change if possible.
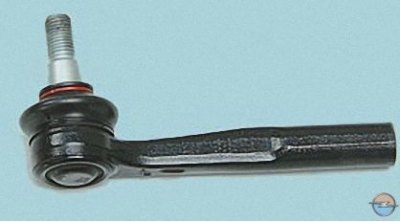
9. Install a new tip in the reverse order of removal, screwing it onto the tie rod for the number of turns that was calculated during removal, and tighten the lock nut.
10. Re-measure the free length of the tie rod thread. It should match the value measured in step 2. If it is not, loosen the lock nut and either screw in or unscrew the tip depending on whether the length of the free thread has increased or decreased. Tighten locknut and recheck.
11. Check and, if necessary, adjust the wheel alignment (see Checking and adjusting wheel alignment) at the service station.
Visitor comments