


2. Remove the decorative radiator grille (see section 12).
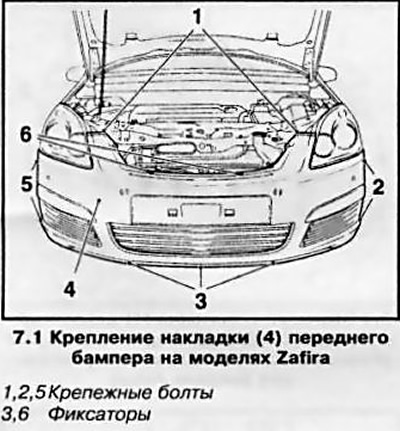
3. Remove the fasteners (see accompanying illustration) front bumper pads.
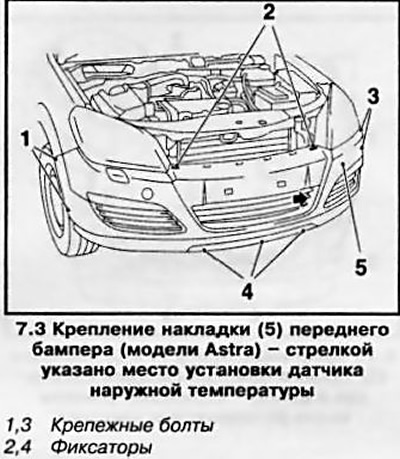
4. Release the temperature sensor from the holder on the decorative grille of the bumper cover (see also Chapter 3, Section 10).
5. If equipped, disconnect the fog light wiring and the headlight washer hose from the windshield washer fluid reservoir – collect any spilled fluid.
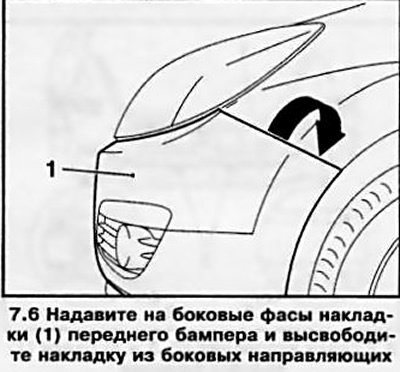
6. Press the side edges of the bumper cover upwards and release the cover from the side guides (see accompanying illustration). Be careful not to damage the bumper cover mount.
7. Release the bumper trim from the front guide located on the bumper beam between the headlights and, with the help of an assistant, remove the trim.
8. Remove the headlights (see Chapter 12).
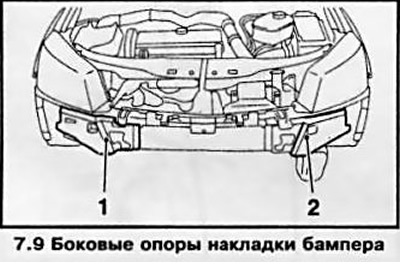
9. Remove the side supports of the bumper cover (see accompanying illustration).
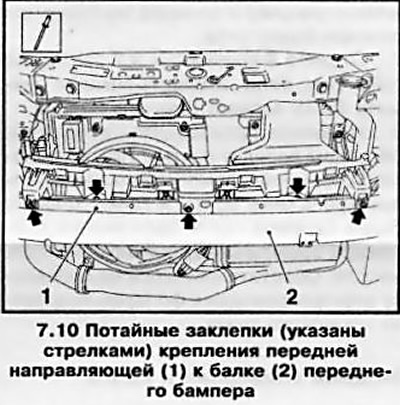
10. Drill out the heads of the five countersunk rivets, knock out the rivets and remove the front guide from the bumper beam (see accompanying illustration).
11. Cut the wiring harness fastening and disconnect the harness from the bumper beam.
12. Unscrew the mounting bolt and remove the windshield washer fluid reservoir from the bumper beam (see accompanying illustration), then loosen the 4 nuts, remove the mounting bolts and remove the beam from the frame.
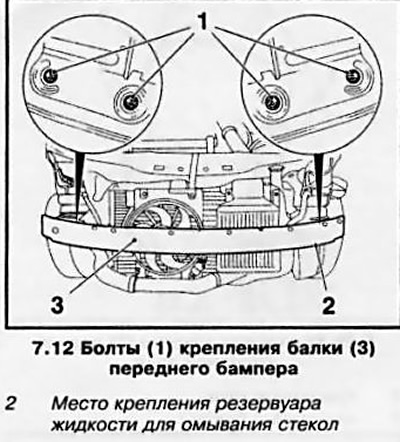
13. When installing the beam, it is necessary to use new mounting bolts and nuts. The bumper beam flange should be sealed with wax for protection after tightening the bolts.
14. Further installation is carried out in the reverse order of removal. New rivets are used to secure the front guide, and the guide must be aligned with the central hole.
Visitor comments