
2. Clamp the rear of the driveshaft in a vise.
3. Mark the front and back against each other, then spread the front out of the slots.
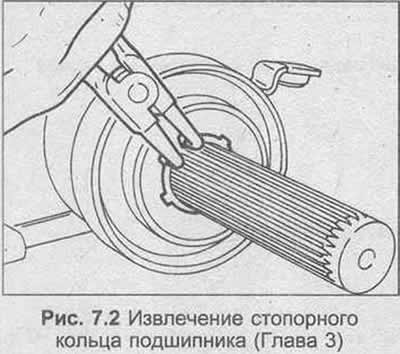
4. Using pliers, remove the circlip from the groove in front of the center bearing.
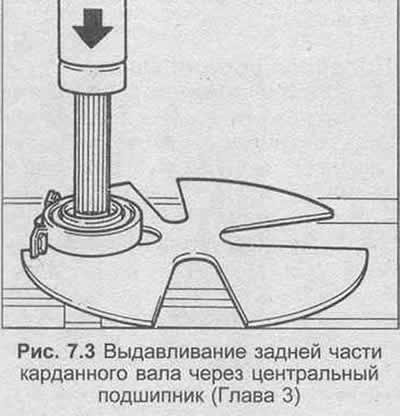
5. Clamp the center bearing in a vise, press the back of the driveshaft through the bearing.
6. Similarly, press or remove the ball bearing from the central bearing housing, remove the dust cap.
7. Clean the components and end of the propeller shaft. Lightly grease the grooves.
8. Press new ball bearing into housing, align dust cap.
9. Clamp the rear universal joint in a vice, press the center bearing into the grooves using a metal pipe. Make sure the bearing is in contact with the bearing surface.
10. Clamp rear in vise, install front dust cap and retaining ring.
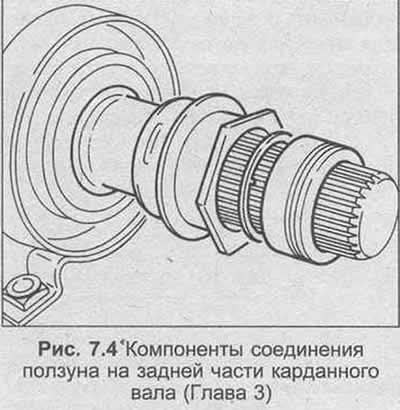
11. Place the dust cap on the grooves, then slider nut, washer and plastic bushing.
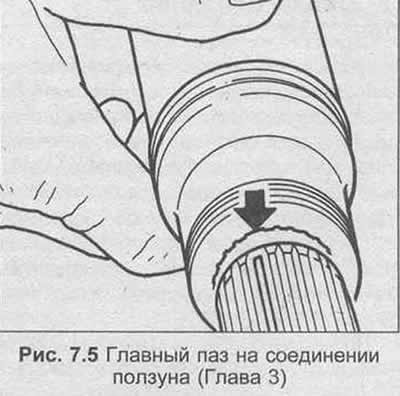
12. Fit the front piece onto the slots on the back piece, making sure the pre-marked marks are aligned. Note that the main slot is provided to ensure correct assembly.
13. Screw the slider coupling nut onto the threads, but do not tighten until the driveshaft is installed.
Visitor comments