


Contents: Replacing the oil pan gasket ⬇ Installation ⬇
Replacing the oil pan gasket
Raise the car, see item 26.13.
Drain the engine oil, see item 28.2.
After draining, immediately tighten the drain plug with a new gasket.
Diesel engines and ONS engine
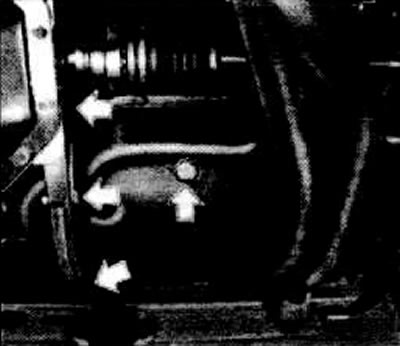
Remove the cover on the OHC engine (arrows).
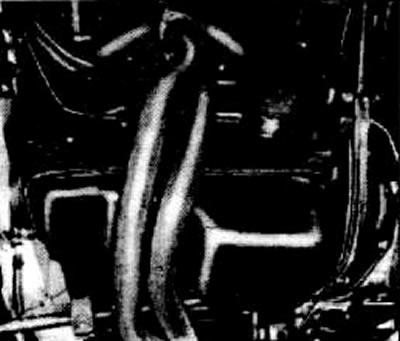
Remove the exhaust pipe assembly. The picture shows a gasoline engine.
Unscrew the oil pan.
OHV engine
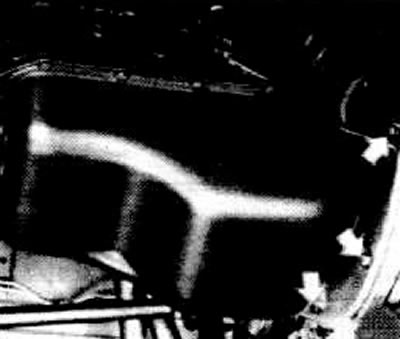
Unscrew the engine support on the clutch housing and engine block.
Unscrew the oil pan.
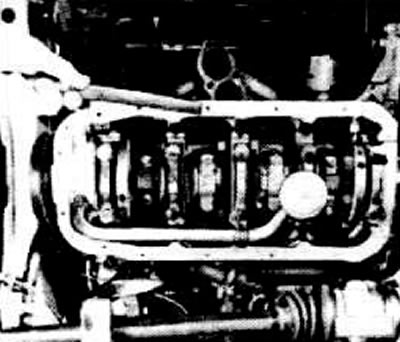
Remove the gasket and clean the mating surfaces.
Installation
Diesel engines and ONS engines
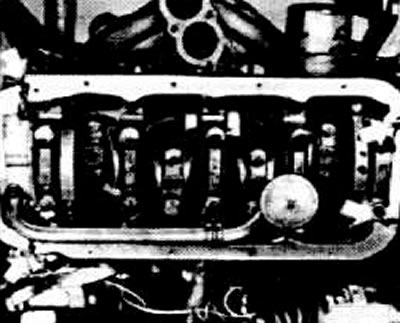
But the mating surfaces are front and back (look at the arrows) apply sealant OPEL 1503294.
Coat the cork gasket with sealant for better adhesion and press it onto the surface to be sealed.
In 1.2/1.3L engines, install a protective cover.
Install the oil pan and insert the bolts with a protective agent, for example, OPEL 1510177, and tighten them with a force of 10 Nm. Not stronger, otherwise the gasket will be flattened, Figure below.
Install the lid.
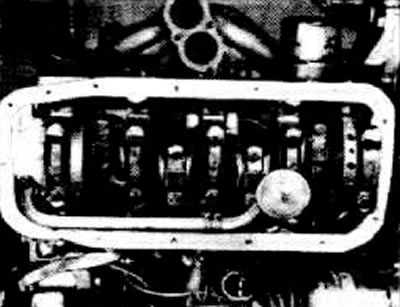
(Text copied from a web portal: «www.OpelBook.ru»)
Install the exhaust pipe with a new gasket.
OHV engine
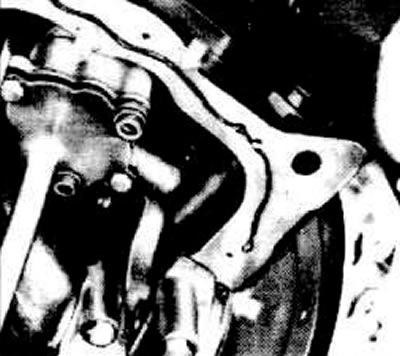
Apply a bead of sealant (approximately 3 mm thick), OPEL No.1503294, on the rear edge of the rear cover of the crankshaft and cylinder block, also between the edges of the front cover and the cylinder block and on the sealing surface itself.
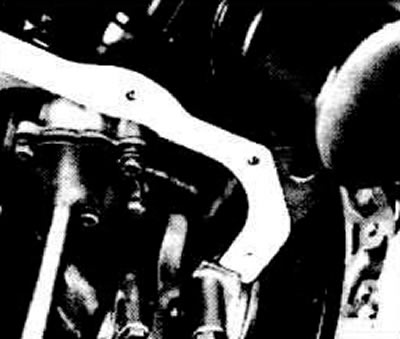
Place cork gaskets on the sealing surfaces of the cylinder block and covers.
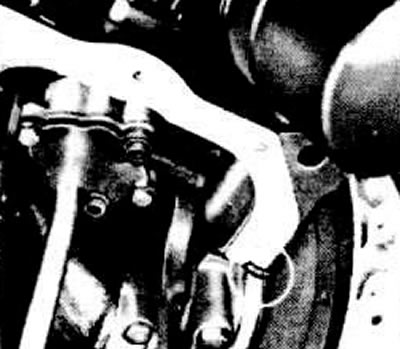
Next, apply sealant to the rear flanges and between the front flanges of the front cover.
Install the oil pan and insert the screws with a protective agent, for example, OPEL 1510177, and tighten them with a force of 5 Nm. Not stronger, otherwise the gasket will be flattened.
Lower the car, add engine oil.
Check the oil level.
Perform a test drive and check the oil pan for leaks.
Visitor comments