OpelBook.ru
Cars AvtoVAZ Cars Mitsubishi Cars BMW Cars Mercedes Cars Nissan Cars Toyota Cars Chevrolet
English Русский
Български
Беларускі
Український
Српски
Hrvatski
Română
Polski
Slovenský
Magyar
 |  Sitemap  |  Contacts  |    


Main Astra Corsa Insignia Kadett Omega Vectra Zafira Others Articles
Kadett D (1979-1984) Kadett E (1984-1995)
  • Main
  • Kadett
  • Kadett D
  • Chassis
  • Rear suspension
  • Adjusting the play of the hub bearings

Adjusting the play of the hub bearings (Opel Kadett D)

            0

Note: For cars with light metal rims, the wheels must be removed when adjusting the play. For cars with steel rims, installation is performed with the wheels still on.


Raise the vehicle with steel wheels so that the wheel to be adjusted rotates freely.

For vehicles with light metal rims, remove the wheels.

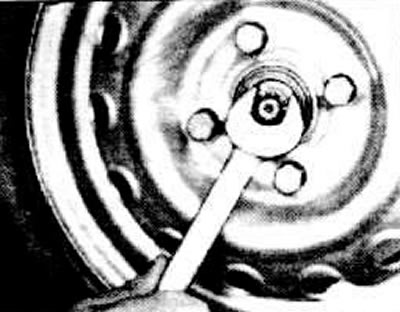
Crush the wheel cap.

Before checking the bearing play, you need to make sure that the rotation is smooth and quiet by rotating the wheel. If you hear noise when rotating the wheel or the rotation is uneven, you should remove the hub, clean it and check if the bearing is damaged. Otherwise, replace the bearing.
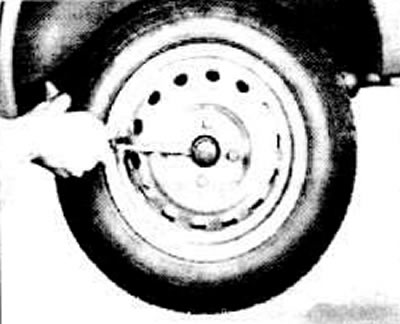
Before checking the bearing play, you need to make sure that the rotation is smooth and quiet by…


(Original posted on the website opelbook)

Remove the hub dust cap with a screwdriver.

Remove the cotter pin from the hub axle nut.

To adjust the bearing, tighten the hub axle nut to 25 Nm. At the same time, rotate the wheel with the other hand. In cars with light metal disks, remove the wheel and rotate the brake drum.
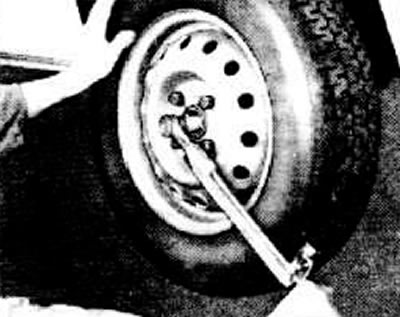
To adjust the bearing, tighten the hub axle nut to 25 Nm. At the same time, rotate the wheel with…

Then loosen the hub axle nut until the protective washer can barely move.


Checking the play
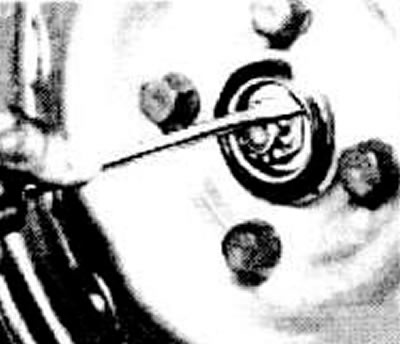


Checking the play


The play is checked using a screwdriver. The bearing play is set correctly if the protective washer barely moves when pressed with a finger using a screwdriver.

Caution: In this case, under no circumstances should you apply rotational or squeezing force with a screwdriver to the hub.
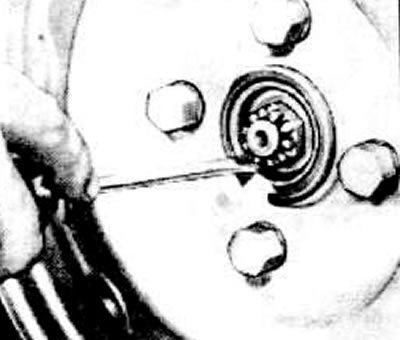

Caution: In this case, under no circumstances should you apply rotational or squeezing force with a…


If the cotter pin cannot be inserted, tighten the castle nut until the groove and hole for the cotter pin align.

Check if the protective washer moves.

If it does not move, then you need to loosen the crown nut instead of tightening it until the groove and the hole for the cotter pin match.

Secure the hub axle nut with a cotter pin.

Install the hub cap and wheel cover.

On cars with light metal rims, install the wheels, tighten the bolts crosswise with a force of 90 Nm. Lower the car.


This article is available at russian, bulgarian, belarusian, ukrainian, serbian, croatian, romanian, polish, slovak, hungarian
Checking the article: Kornev Georgy

Share information:

Previous articles
Opel Kadett D: Rear suspension
Next articles

Removal and installation rear springs (station wagon)
Removal and installation rear springs (sedan)
Removal and installation the stabilizer
Removal and installation a hydraulic shock absorber (station wagon)
Removal and installation a hydraulic shock absorber (sedan)
Rear suspension — design description
Replacing the rear wheel hub bearing


See similar ones from other Opel car manuals:
▶ Checking and adjusting the play of wheel hub bearings Opel Vectra A (1988-1995)
▶ Adjusting the steering wheel free play Opel Frontera A (1991-1998, petrol)
▶ Main and connecting rod bearings — inspection Opel Astra F (1991-1998, petrol)
▶ Checking and adjusting idle speed and maximum speed Opel Corsa B (1993-2000)
▶ Adjusting the position of the steering wheel Opel Insignia A (2008-2017)
Link to this page in different formats

Visitor comments


No comments yet


How much will 13 + 16 =


Kadett E (1984-1995) 
  • General information
  • Vehicle description
  • Operation and maintenance
  • OHV power unit
  • Engine design
  • Check and repair
  • Engine work
  • OHC power unit
  • Engine design
  • Engine repair
  • Ignition system
  • Cooling and lubrication
  • Supply system
  • Fuel injection «LE-Jetronic»
  • Fuel injection «LE3-Jetronic»
  • Motronic ML4.1 system
  • Motronic M1.5 system
  • Motronic M2.5 system
  • Transmission
  • Clutch
  • Gearbox F10 and F13
  • Gearbox F16 and F20
  • Automatic gearbox
  • Drive shafts
  • Chassis
  • Front suspension
  • Rear suspension
  • Steering
  • Brake system
  • Electrical equipment
  • Equipment and devices
  • Electrical circuits
Kadett D (1979-1984) 
  • General information
  • Car care
  • Maintenance
  • Power unit
  • Gasoline engines
  • Lubrication system
  • Cooling system
  • Power system (gasoline)
  • Carburetor Solex 35 PDSI
  • Carburetor Varajet II
  • Carburetor 1B1
  • Fuel injection (gasoline)
  • Diesel engines
  • Fuel system (diesel)
  • Transmission
  • Clutch
  • Manual gearbox
  • Chassis
  • Front suspension
  • Rear suspension
  • Steering
  • Brake system
  • Wheels and tires
  • Body
  • Body elements
  • Doors and windows
  • Electrical equipment
  • Equipment and devices
  • Lighting system
  • Power devices
  • Ignition system
  • Electrical circuits
OpelBook.ru © 2017–2026 · Mobile version · · Sitemap: EN BG BY UA RS HR RO PL SK HU · Feedback · Site search
Astra F, petrol · Astra G, petrol · Astra G · Astra H · Astra J, petrol · Corsa B · Corsa C, petrol · Corsa C · Insignia A · Kadett D · Kadett E · Omega A · Omega B · Omega B2 · Vectra A, petrol · Vectra A · Vectra B, petrol · Vectra B · Vectra C · Zafira A, petrol · Frontera A, petrol · Frontera B · Ascona C · Vivaro A ·
We want your visit to be comfortable 🤝! We use cookies 🍪 to make that happen.