


Contents: Inspection ⬇ Replacement ⬇
Inspection
1. If better access is required, jack up the front of the vehicle and support it securely on axle stands. Loosen the mounting bolts and remove the lower shield from under the engine.
2. Check the rubber pad for cracks, hardened areas, or separation from the metal base. Replace the hanger if any damage is found.
3. Make sure all suspension fasteners are securely tightened; use a torque wrench for this.
4. Using a large screwdriver, check the suspension for play (he talks about wear and tear); where this is not possible, have an assistant move the engine/transmission assembly back and forth or side to side and observe the suspension. There is some play even with new components, but excessive wear will be obvious. If play is significant, first check that fasteners are securely tightened. Replace any worn components as described below.
Replacement
Left and right engine mounts
Note: It is recommended to replace these hangers simultaneously, as a matched pair.
5. Apply the handbrake, then jack up the front of the car and place it on axle stands. Unscrew the mounting screws and remove the lower shield from under the engine.
6. Support the power unit with a jack, placing a piece of wood between them. Alternatively, hook a winch to the mounting eyes on the cylinder head.
7. Unscrew the mounting bolts and remove the vibration dampers from the hangers (where are there).
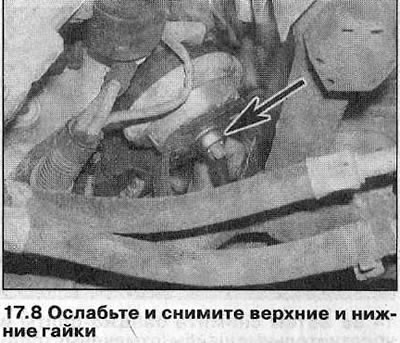
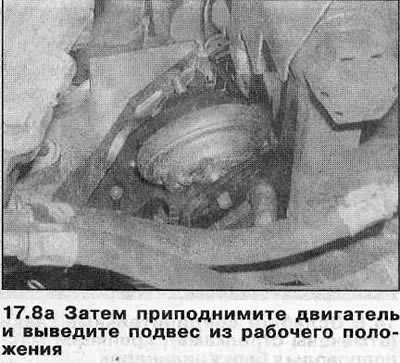
8. Unscrew the upper and lower nuts securing the engine mounts to the bracket on the cylinder block and to the engine subframe, then lift the engine slightly and remove the mounts from the working position (see illustrations). If necessary, unfasten and remove the suspension brackets from the cylinder block.
Material was taken from a resource (www.OPELBOOK.ru)
Visitor comments