
You will need a socket «on 10».
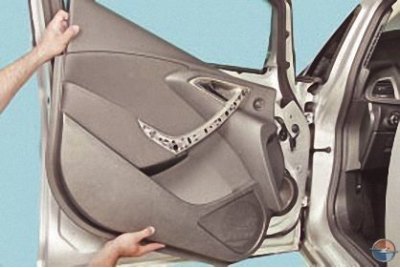
1. Remove the front door upholstery (see Removal and installation of an upholstery of a forward door).
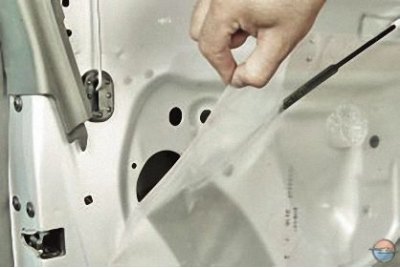
2. Peel off the waterproof film from the inner door panel.
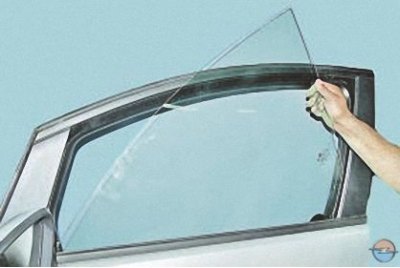
3. Remove the front door glass (see Front door glass replacement).
Note. It is not necessary to remove the glass from the front door, it is enough to disconnect it from the power window and fix it in the highest position with the help of pieces of a suitable diameter of vinyl chloride tube or masking tape.
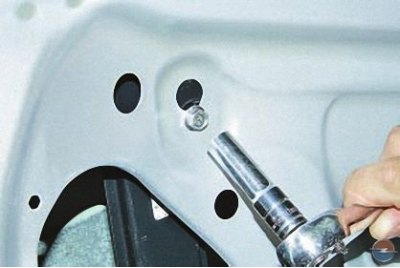
4. Loosen the rear window guide bolt and unscrew it a few turns (do not remove the bolt completely).
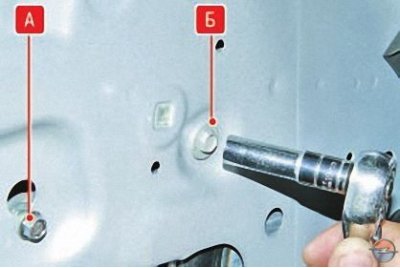
5. Similarly, loosen the tightening and unscrew the bolt a few turns A fasteners of the front guide of the window regulator and completely unscrew the bolt B fixing this guide.
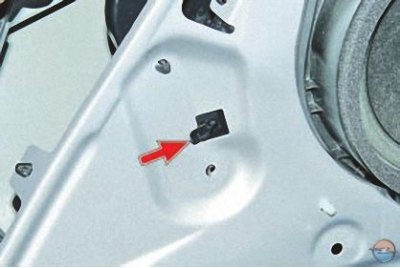
6. Press forward the lower holder of the front window guide..
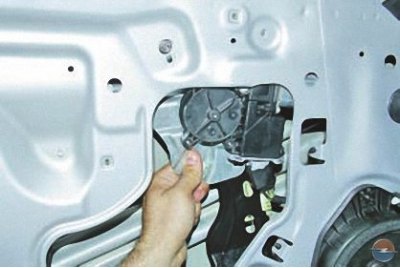
7....raise the guide just enough so that the bolt A (see point 5) its fasteners coincided with the enlarged part of the hole in the door panel, and the lower holder came out of the corresponding hole..
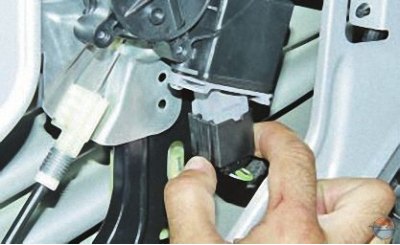
8.... press the lock of the power window gearmotor wiring harness block..
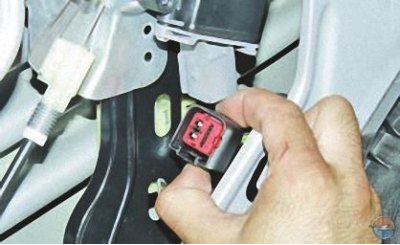
9.... disconnect the block..
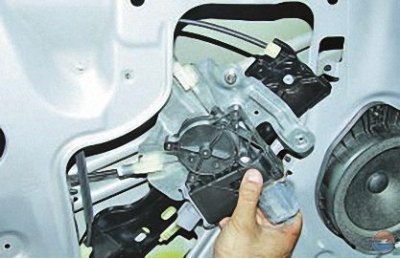
10.... and remove the front guide from the door cavity along with the gearmotor..
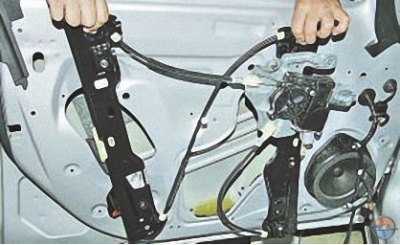
11.... then the rear guide, disconnecting it from the door panel in the same way as the front guide, and remove the power window.
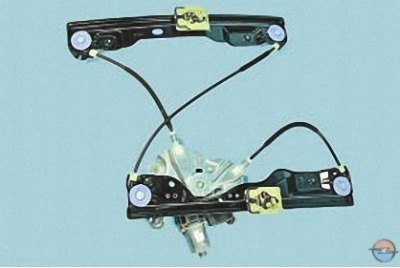
12. Install the power window in the reverse order of removal.
Visitor comments