
2. Remove the toolbar as described in Chapter 12.
3. Remove the bottom cover from underneath the bottom surface of the front panel.
4. Remove switches, switch panels, clocks and other electrical accessories as described in Chapter 12.
5. Disconnect the heater control panel as described in Chapter 2.
6. Remove the glove compartment (see Section 38 of this Chapter).
7. Through the holes created after removing the devices, reach the nuts securing the front panel to the mounting brackets and unscrew them (see photo 37.7).
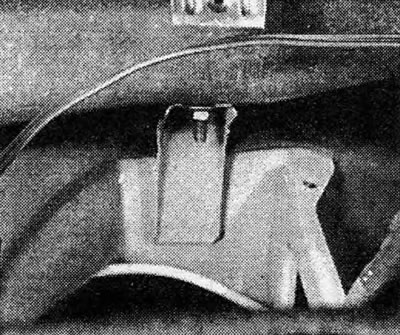
Photo 37.7 Front panel mounting bracket
8. Remove the lower front panel mounting screws (see photo 37.8 A and B).
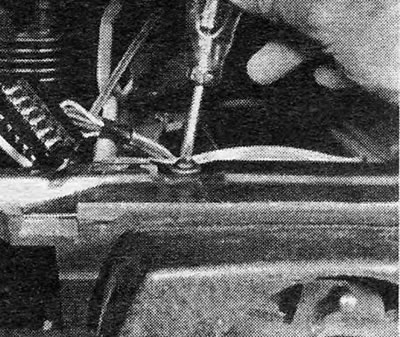
Photo 37.8A Lower front panel mounting screw (above the steering column)
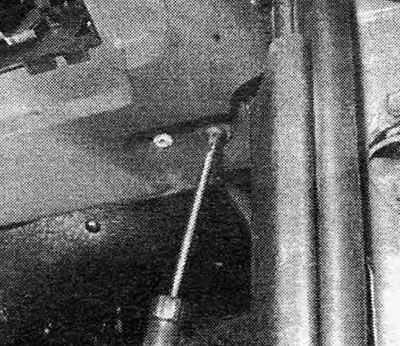
Photo 37.8B Lower front panel mounting screw - bottom right, next to the fuse box
9. Remove the covers from the top of the steering column.
10. Disconnect the air blower pipes from the external outlets of the windshield defroster.
11. Remove the air vent grilles from the front panel (see photo 37.11).
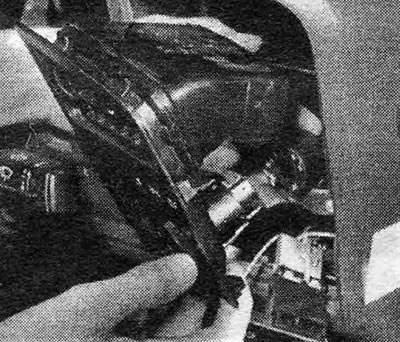
Photo 37.11 Removing air blowers and switch panel
12. Pull the front panel towards you and remove it, sliding it to the side, from the vehicle.
13. Reinstallation is carried out by performing the above steps in reverse order.
Visitor comments