


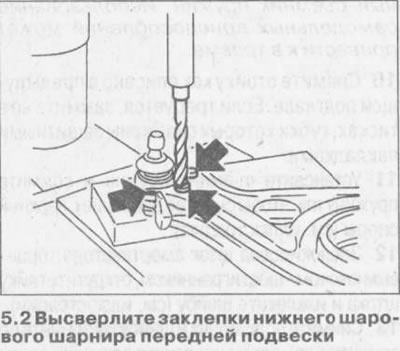
2. During production, the ball joint is attached to the lower control arm with rivets, when replacing it, the new joint should be attached with bolts. Where necessary, drill out the rivets using a 12.0 mm drill. Each rivet has a recess to facilitate drilling and prevent the holes in the arm from becoming larger (see illustration).
3. Cover the drilled holes with a suitable anti-corrosion compound.
4. Install the new ball joint, insert the special bolts supplied with the joint and tighten the nuts to the specified tightening torque Specifications. The nuts should be facing down.
5. Install the lower arm (see Chapter 4).
(Information taken from the website: «OPELBOOK»)
Visitor comments