


Contents: Hood Lock Cable - Replacement and…⬇ Door - removal and installation ⬇ Outside door mirror (with electric…⬇ Trunk lid lock - removal and…⬇ Rear Door Lock - Removal and…⬇
Hood Lock Cable - Replacement and Adjustment
1. Open the hood and remove the radiator grille as described in Section 11.
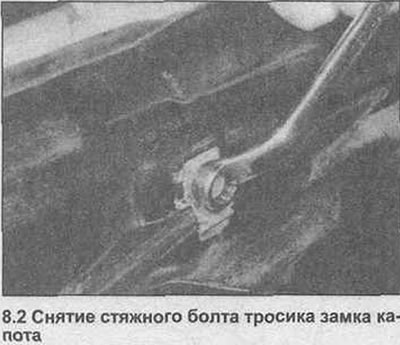
2. Loosen and remove the cable clamp bolt and the clamp from the hood lock platform (photo).
3. Disconnect the inner cable from the bonnet lock, then along the length of the cable, release it from any necessary mounting brackets, noting their position.
4. From inside the vehicle, unhook the hood release lever from the side trim panel and remove the lever from the vehicle. Remove the cable. Remove the rubber seal ring and inspect for signs of damage, replacing as necessary.
5. Install the sealing ring onto the new cable and lift the assembly up. Then have an assistant pass the cable through the bulkhead from the inside of the car while you check that the cable is positioned correctly in the engine compartment.
6. Once the cable is properly positioned, lock the release lever into place on the side trim panel and press the sealing ring into the partition slot.
7. Connect the cable to the hood latch, then install the cable clamp bolt and plate, pinching the bolt with your fingers. Secure the cable with all necessary clamps and ties.
8. To adjust the hood lock cable, place the cable housing in the clamp bar so that there is no play between the lock and the inner end of the cable. If the cable housing is correctly installed, tighten the clamp bolt securely. Have an assistant pull the release lever while you check that the latch travel allows the hood to open. Close the hood and check the release lever action. Adjust as necessary.
9. Open the hood again and install the radiator grille as described in Section 11.
Door - removal and installation
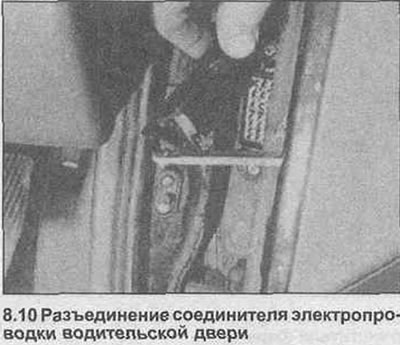
10. Note that on later models, when removing the door assembly (see Section 11, Chapter 18), there is no need to remove the trim panel to access the various wiring connectors. All wiring connectors are connected to a master wiring connector mounted on the A-pillar of the door, which can be disconnected when the door is open (photo).
Outside door mirror (with electric drive) - glass removal and installation
Removal
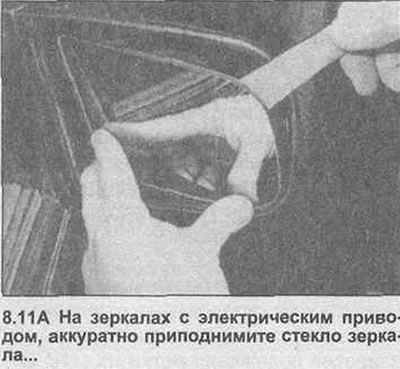
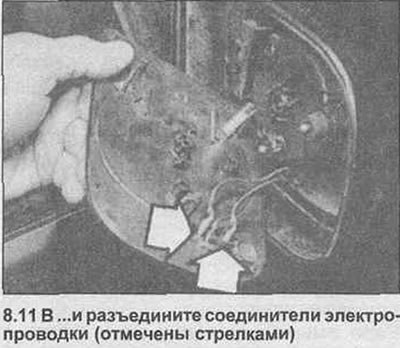
11. Position the mirror glass so that it is completely in the lower, inner corner. Press the mirror glass in at the lower, inner corner and gently lift the glass at the upper, outer corner using a suitable flat tool to pry the glass out of the mounting brackets. Remove the glass from the mirror, disconnecting the wiring connectors as they become accessible (photo).
Installation
12. Check that both mirror adjustment rods are fully seated in the motor assembly, then re-attach the glass and reconnect the wiring connectors.
(Material was taken from a resource: «opelbook»)
13. Align the glass with the center top mark and the adjusting rods and press it until it seats.
14. Turn on the ignition and adjust the mirror to the required position.
Trunk lid lock - removal and installation
15. The trunk lid lock can be removed and installed using the information given in Section 11, Chapter 8, points 5 and 6.
Rear Door Lock - Removal and Installation
16. The rear door lock can be removed and installed using the information given in Section 11, Chapter 9, points 3, 6 and 8.
Visitor comments