


2. Unscrew the bolts and remove the glove box from the passenger side. Disconnect the backlight wiring (photo).
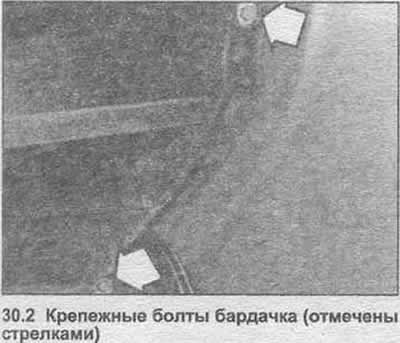
3. Unscrew the bolts from the ashtray or remove the cassette holder.
4. Remove the car radio as described in Section 12 or 13.
5. Remove the heater instrument panel (Chapter 32).
6. Remove the instrument panel switches (Section 12).
7. Remove the center air duct (Chapter 36) and disconnect the rod.
8. Remove the steering wheel (Section 10).
9. Remove the switches (Section 12).
10. Disconnect the electrical wiring from the ignition socket.
11. Remove the instrument panel (Section 12).
12. Remove the watch as described in Section 12, or an on-board computer as described in Section 13 (if available).
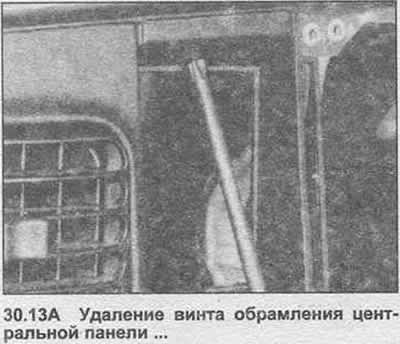
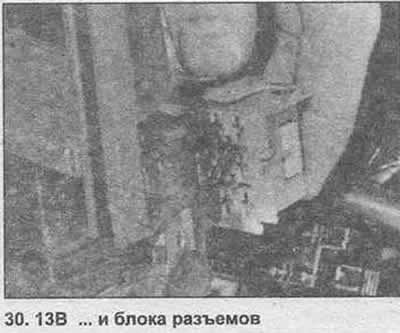
13. Remove the screws securing the center of the panel frame and disconnect the connector (photo). Disconnect the wiring from the cigarette lighter and the backlight lamp, and remove the frame panel.
14. Remove the heater matrix (Chapter 33).
15. Remove the side air ducts (Chapter 37).
16. Remove the fuse box (Section 12).
17. Remove the decorative strips from the front pillars and remove the front speaker covers. Remove the speakers.
18. Disconnect all air ducts.
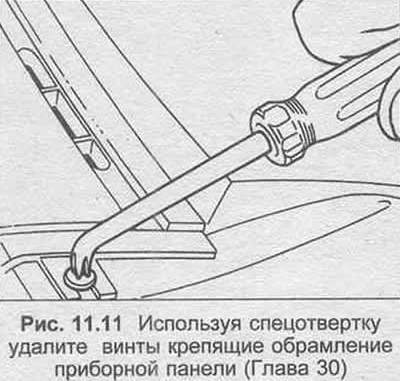
19. Using a screwdriver, remove the screws from the center and remove the instrument panel cover.
20. Mark the location of the wiring harness. Then, starting from the left, disconnect and pull it into the compartment by the driver's feet.
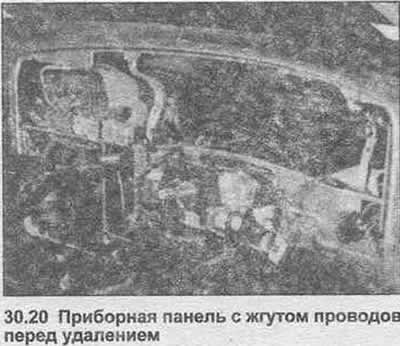
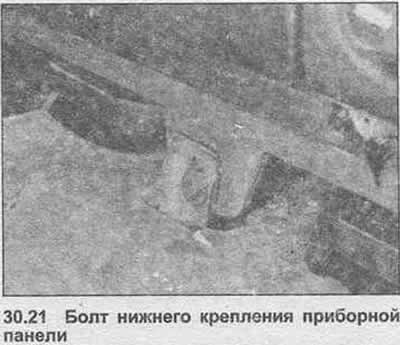
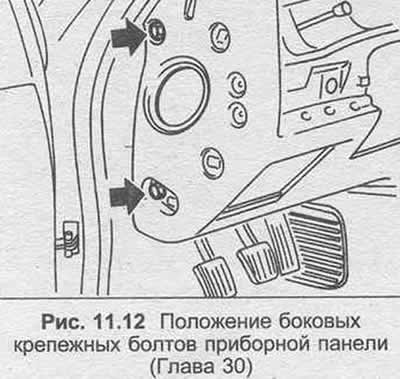
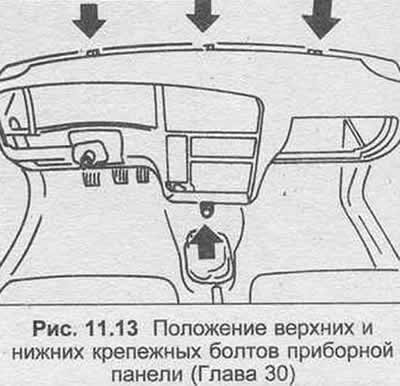
21. Remove the instrument panel mounting bolts. Two on each side, three at the top front, and one at the base (photo).
22. With the help of an assistant, remove the instrument panel from the vehicle.
23. Assembly is carried out in reverse order.
Visitor comments