
Light switch
2. Turn the handle of the dipped beam switch and remove it.
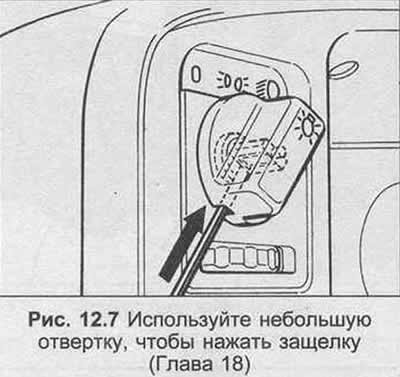
3. Using a small screwdriver, press the latch and remove the button as shown in Fig. 12.7.
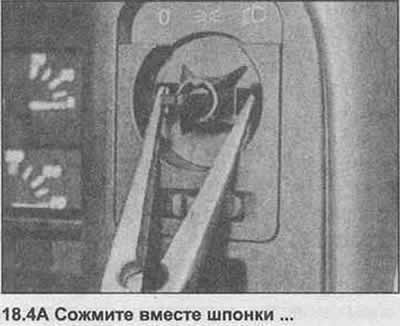
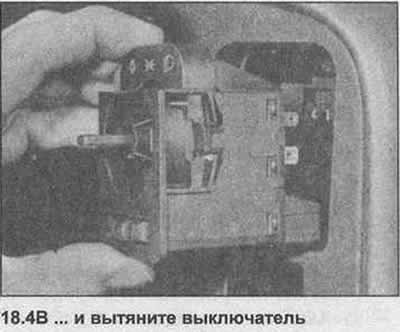
4. Squeeze the clips together and pull out the switch (photo).
5. Installation is carried out in the reverse order.
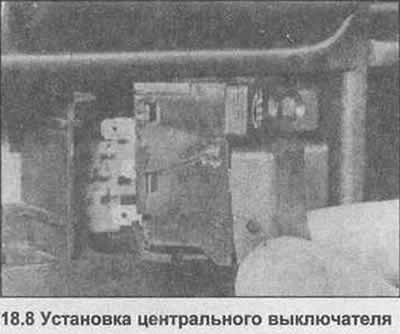
Central panel switches
6. Cover the panel above the switch with a strip of adhesive tape.
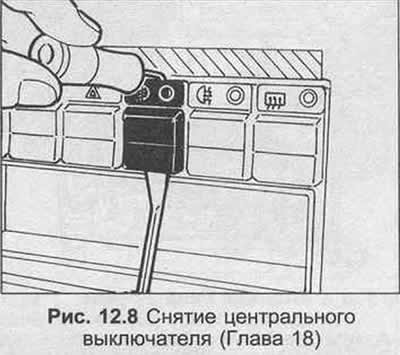
7. Two screwdrivers (one below the switch and one above the switch), remove the switches as shown in Fig. 12.8.
8. Switches are installed by pressing the switch in place (photo).
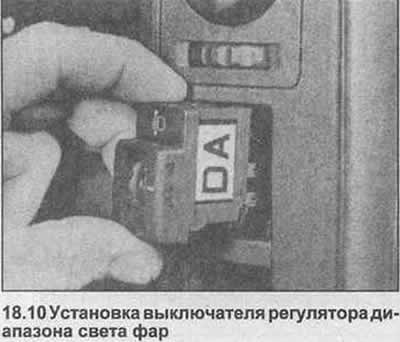
Headlight Range Switch
9. Use a screwdriver under the switch to pry up the switch.
10. Installation is carried out by simply pressing the switch in place (photo).
Glove compartment light switch
11. Remove the glove compartment as described in Section 11.
12. Pull off the switch (photo).
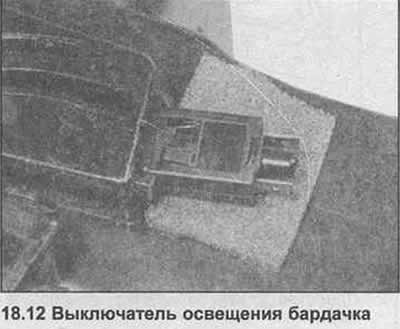
13. Installation is carried out in the reverse order.
Visitor comments