


Contents: Blowing ⬇ Heating ⬇ Heating of the lower space ⬇ Removal moisture and frost from glass ⬇ Air conditioning mode ⬇ Maximum cooling ⬇ Removal moisture from glass ⬇ Removal frost from glass ⬇
Blowing
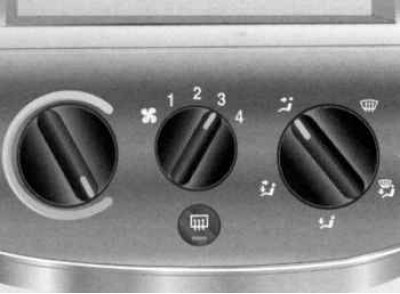
Set the temperature controller to the desired position.
Turn on the blower and set the desired blower level.
For maximum ventilation of the overhead space: install an air distributor on
 , all nozzles are open.
For ventilation of the lower space of the passenger compartment: install the air distributor on
 .
.
For simultaneous ventilation of the upper and lower spaces: install an air distributor on
 .
.
Heating
The heating power depends on the temperature of the coolant and therefore reaches its maximum value only when the engine is warm.
To quickly warm up the interior, turn the temperature control to the red sector, turn on blower stage 3, and set the air distributor to the desired position.
The convenience, well-being and comfort of passengers largely depend on the correct setting of the ventilation and heating mode.
To achieve a "head cool, feet warm" temperature distribution, set the air distribution rotary control to
 ,
,  or , set the temperature switch to the desired temperature.
Heating of the lower space
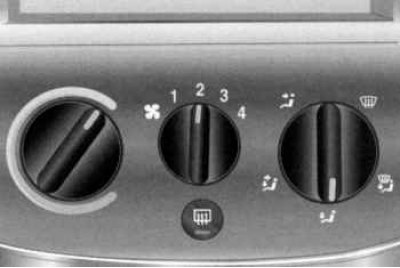
To heat the lower space, turn the temperature regulator to the red sector, turn on the blower and set the air distributor to
 .
.
Removal moisture and frost from glass
Warning! Failure to follow these rules may result in fogged windows and accidents due to reduced visibility.
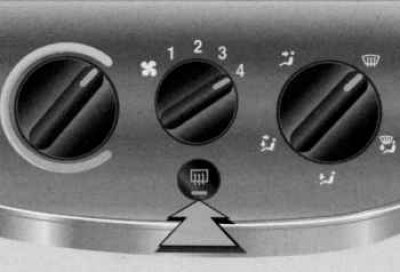
Turn the temperature control until it stops in the red sector.
Set airflow to 3 or 4.
Install the air distributor on
 .
.
Turn on the rear window heating
 .
.
If necessary, direct the side air vents towards the side windows.
To simultaneously heat the lower space, set the air distributor to the position
.
Air conditioning mode
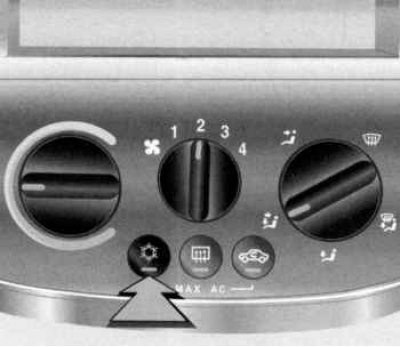
Turn off the air circulation mode.
Set the desired cooling level.
Set the temperature controller to the desired position.
Turn on the blower and adjust the air flow.
Set the air distributor to position
 or .
or .
Open the nozzles as needed.
If the temperature switch is in the middle range: warmer air enters the lower space and colder air enters the upper space; warm air exits from the side air vents and colder air exits from the middle ones.
Maximum cooling
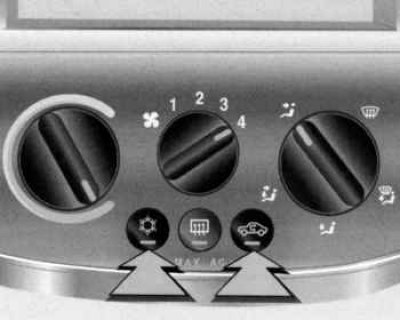
Open windows and sunroof briefly to remove hot air faster.
Turn on the air circulation mode
Turn on the cooling.
Turn the temperature control all the way to the blue sector (colder).
Set airflow to 4.
Set the air distributor regulator to position
 .
.
Open all nozzles.
Removal moisture from glass
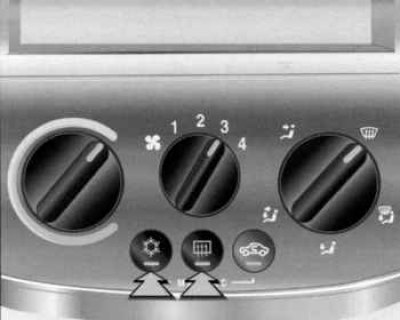
To prevent glass fogging, for example in damp weather or from damp clothing, turn on the cooling.
Set the temperature controller to the desired position.
Turn on the blower and adjust the air flow.
Install the air distributor on
 , the air circulation system will turn off automatically if there is moisture in it after the system has been running in the previous mode, the windows may fog up. To prevent this, before starting the engine, set the air distribution to the position , and approximately 5 seconds after the start – to the position .
Turn on the rear window heating.
Failure to follow these rules may result in fogged windows and accidents due to reduced visibility.
Removal frost from glass
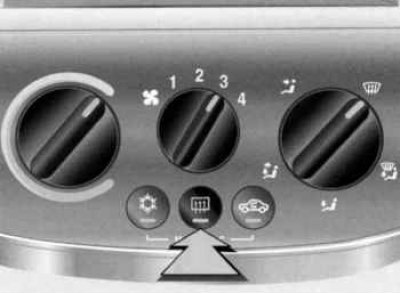
Turn off the cooling.
Set the temperature regulator to the desired position.
Adjust the airflow as needed.
Install the air distributor on
 , the air circulation system will turn off automatically.
Open the side air vents.
Turn on the rear window heating
 .
.
Cooling mode (cooling compressor) does not turn on when the outside temperature is low.
Visitor comments