


Caution: When driving without a trailer, the ball joint must be removed! The installation dimensions of the towing hitch are given in Specifications.
If equipped accordingly, the vehicle is equipped at the factory with a towing hitch with a removable ball joint.
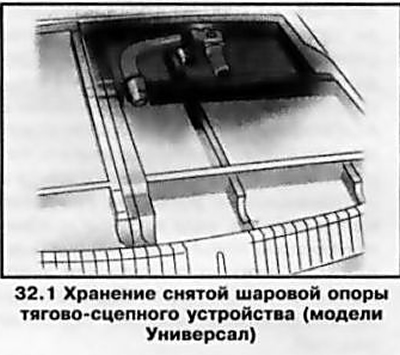
On station wagon models, the ball joint is stored in a cover in the luggage compartment under the luggage compartment lid and secured with a special fastening strap (see illustration 32.1). On the Hatchback model, the ball joint is secured with a fastening strap in the spare wheel well (see Section 17).
To install a ball joint you need:
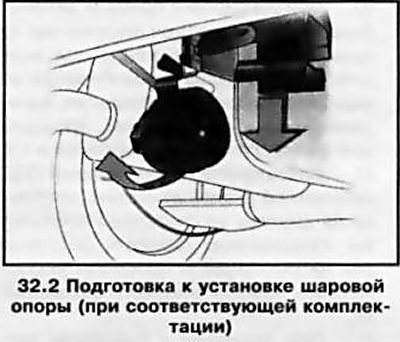
- First release the connector and fold it down (see illustration 32.2);
- Remove the plugs from the ball joint seat and put them in the luggage compartment, remove the ball joint from the luggage compartment, remove the cover;
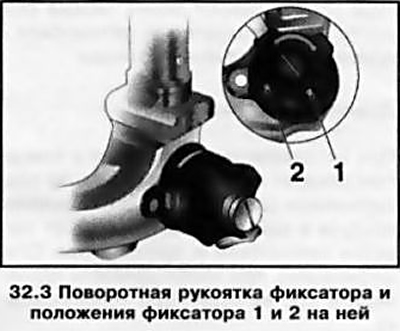
- Check the position of the installation marks - the red mark on the rotary handle of the lock should be directed towards the white marking on the ball joint - there should be a gap of about 6 mm between the rotary handle and the ball joint, insert the special key (see illustration 32.3) into the lock handle - it should be in position 1.
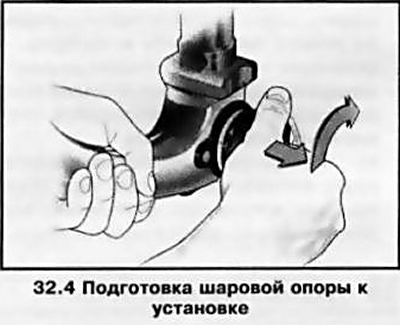
- If these conditions are not met, it is necessary to tighten the ball joint before installing it into the coupling housing (see illustration 32.4), turn the key to position 1, pull out the locking handle and turn it in the extended position until it stops to the right;
- Insert the ball joint into the mounting socket and push it upwards with force until it locks into place – the rotary handle automatically returns to its original position and fits against the ball joint.
- Turn the key to position 2 and remove it, press the protective tab back into place - after the ball joint is locked, the locking rotary handle does not extend.
Caution: To avoid injury, do not touch the rotary handle when inserting the ball joint!
When installed correctly, the green mark on the locking handle should point towards the white mark on the ball joint, the locking handle should fit snugly against the ball joint, and the ball joint should be securely fastened in the mounting socket without shifting.
Caution: Driving with a trailer is only permitted with a correctly installed ball joint.
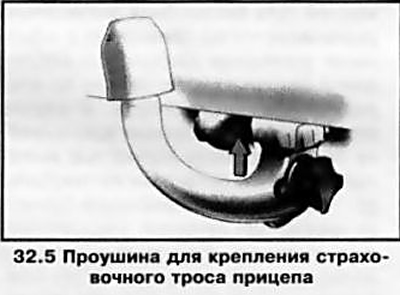
If the trailer is equipped with a brake system, attach the safety cable to the eye (see illustration 32.5). To dismantle the ball joint, you must:
- Insert the special key into the locking handle and turn it to position 1;
- Pull out the rotary handle and turn it in the extended position until it stops to the right;
- Pull the ball joint out of the mounting socket and place it in the storage compartment in the trunk;
- Install the plugs and close the connector.
Attention: Cleaning the ball joint by blowing hot steam or other high-pressure devices is not permitted!
[Material copied from this portal: www.opelbook.ru]
Visitor comments