


Note: On some models it may be desirable to remove the alternator as described in Chapter 7 due to limited access.
1. Disconnect the negative battery cable.
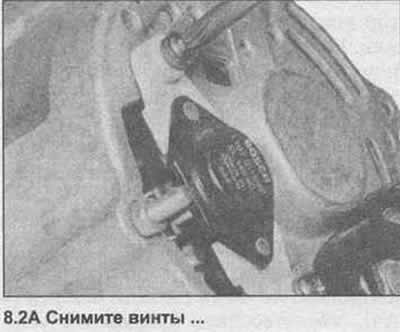
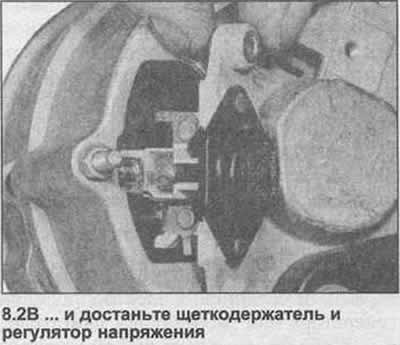
2. Remove the two screws and lift the brush holder and voltage regulator out of the back of the generator (photo).
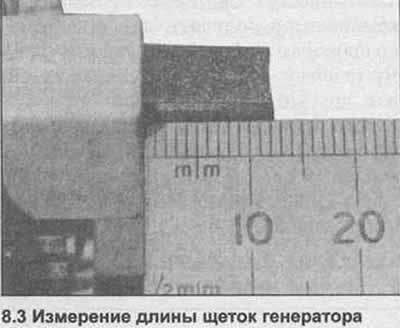
3. Measure the length of the brushes (photo). If they are worn below the minimum length, they must be replaced as follows.
4. Clamp the brush wires with pliers and unsolder them from the brush holder. Remove the two brushes.
5. Insert the new brushes and check that they move freely in their guides. If they stick, lightly polish them with a very fine file.
6. Solder the brush wire to the ends of the brush holder, being careful not to get any solder on the twisted wire.
7. Whenever new brushes are installed, new springs must also be installed.
8. Clean the generator contact rings with a cloth soaked in gasoline.
9. Installation is carried out in reverse order.
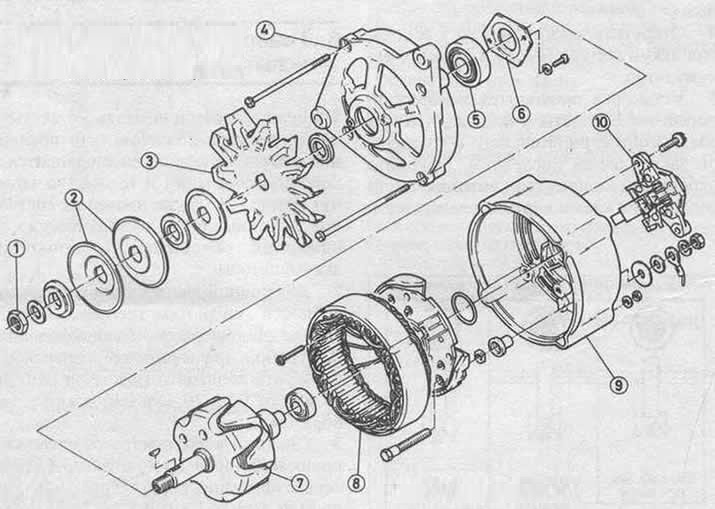
Bosch Generator View (Chapter 8)
1 Nut
2 Pulley
3 Fan
4 Drive side cover
5 Bearing
6 Mounting plate
7 Rotor
8 Stator
9 Brush casing
10 Brush holder and voltage regulator
[Text copied from an online resource: www.OpelBook.ru]
Visitor comments