


Contents: Front doors ⬇ Rear doors ⬇
Door fit gaps
The specified clearances for door fits in openings should be 4±1 mm (5-door hatchback is shown, - for other models the requirements are similar).
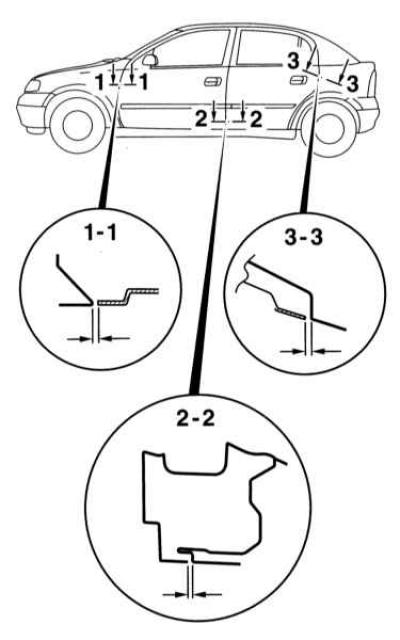
Front doors
Removal and installation
1. Open the door completely and support it from below with the posts, placing a rag underneath.
2. Disconnect the wiring connector from the front edge of the door - remove the retainer, turn the locking ring and pull the plug out of the socket.
3. Remove the TORX bolt securing the door stop to the A-pillar.
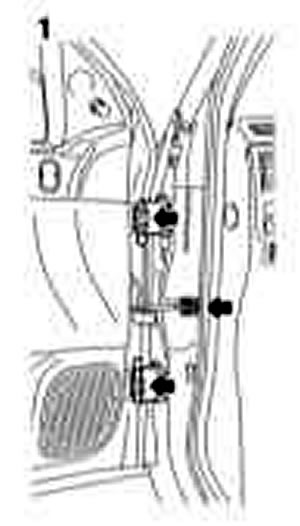
Middle arrow - Limiter
Upper and lower - Loops
4. If equipped, remove the petal caps from the hinge pins, then knock out the pins with a punch - have an assistant support the door. Remove the door from the vehicle. If replacing a door, transfer all removable components from the old one to it.
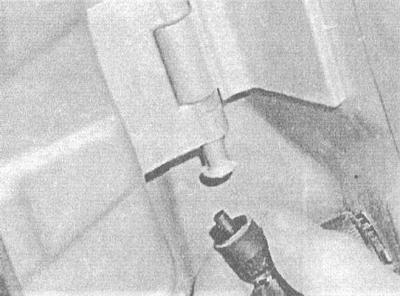
On models without side airbags, a blank must be installed inside the door.
5. Installation is carried out in reverse order.
Adjustment
The door hinges are welded to the door and body pillar, which eliminates the possibility of adjustment.
1. If necessary, the holes in the hinges can be drilled out and the axial pins replaced with thicker ones.
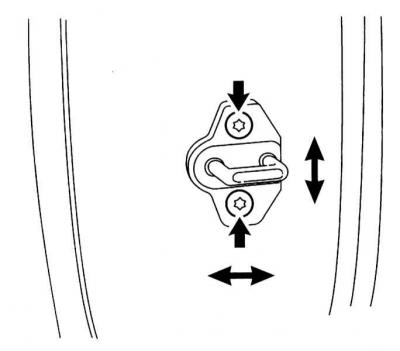
2. The density of the door closing can be adjusted by shifting the lock striker on the body post B, - to release the fastener, you will need a hex bar wrench (Allen) (see the illustration Door fit gaps).
Rear doors
Removal and installation
1. Open the door completely and support it from below with the posts, placing a rag underneath.
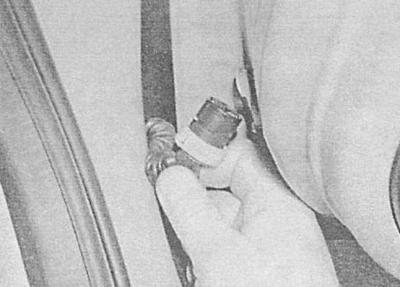
2. Disconnect the wiring connector from the front edge of the door - turn the locking ring and pull the plug out of the socket.
(The article was published on the website: «www.opelbook.ru»)
3. Remove the TORX bolt securing the door stop to the B-pillar.
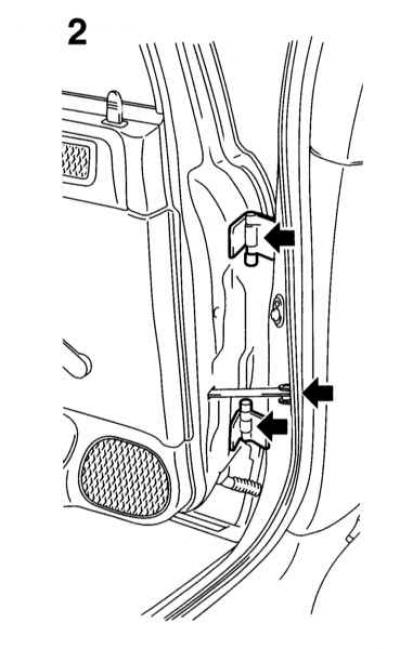
Middle arrow - Limiter
Upper and lower - Loops
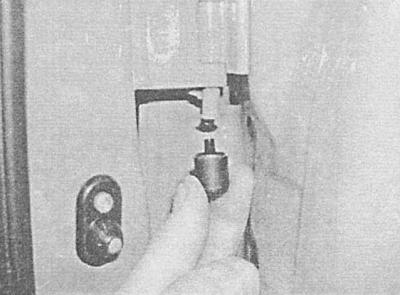
4. If equipped, remove the petal caps from the hinge pins, then knock out the pins with a punch - have an assistant support the door. Remove the door from the vehicle. If replacing a door, transfer all removable components from the old one to it.
5. Installation is carried out in reverse order.
Adjustment
The door hinges are welded to the door and body pillar, which eliminates the possibility of adjustment.
1. If necessary, the holes in the hinges can be drilled out and the axial pins replaced with thicker ones.
2. The density of the door closing can be adjusted by shifting the lock striker on the C-pillar - to release the fastener, you will need a hex key (Allen) (see illustration Door fit gaps).
Visitor comments