
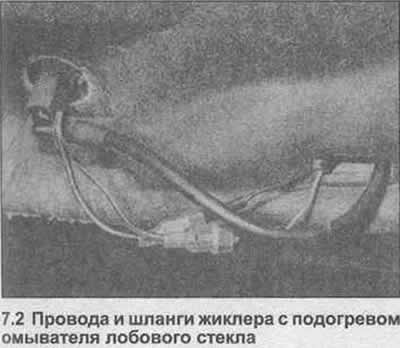
2. Disconnect the wires and hoses from the washer jet and engine compartment light and pull them out through the hood frame (photo).
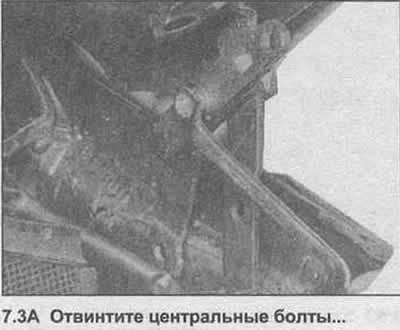
3. With the help of an assistant, hold the hood, then remove the single central bolts on both hinges and remove the hood from the car (photo).

4. If the hinges remain intact on the hood and body, then they will not need to be adjusted during assembly. If it is necessary to replace parts of the hinges, then it is necessary to unscrew the bolts from them.
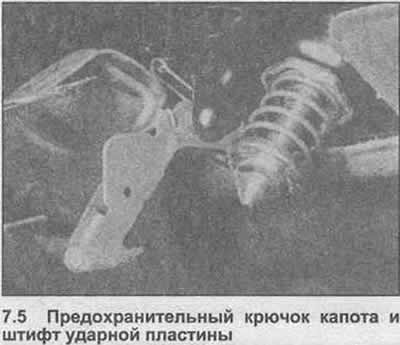
5. Assembly is carried out in the reverse order. If necessary, adjust the position of the hinge so that the hood is centered and correctly attached to the body structure. The height of the front edge of the hood can be adjusted by screwing in two rubber sealing rings. Check that the distance between the striker stud nut and the washer is 45.0mm and correct if necessary by loosening the nut and screwing the stud (photo).
Visitor comments