


Contents: Checking oil pressure ⬇ Removal and installation the oil pump ⬇ Checking the technical condition of…⬇ Oil filter ⬇
Checking oil pressure
Start and warm up the engine. Unscrew the oil pressure indicator lamp sensor and connect the pressure gauge hose fitting to the hole.
Measure the oil pressure in the lubrication system at idle speed (see values in subsection "Design and technical characteristics").
Removal and installation the oil pump
Drain the oil from the engine crankcase, crush the oil pan with the gasket.
Remove the alternator drive belt and crankshaft pulley.
Remove the front timing belt cover.
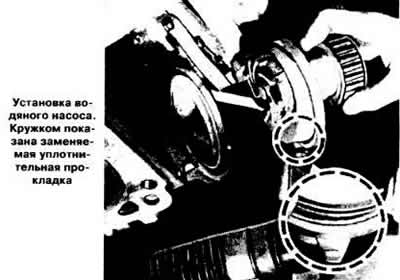
Remove the toothed belt, having first loosened its tension by turning the water pump.
Remove the crankshaft timing pulley, washer and key.
Remove the shield from the cylinder block.
Loosen the bolts securing the oil pump assembly with the oil filter. Loosen the rear bolts securing the oil receiver to the cylinder block.
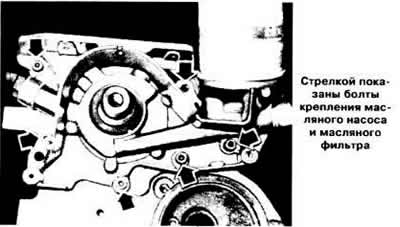
Remove the oil pump assembly with the oil filter.
The oil pump is installed in the reverse order of removal. Install the toothed belt and adjust its tension as indicated above.
Checking the technical condition of the oil pump
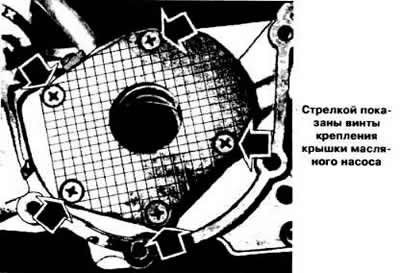
Remove the oil pump cover. Measure the gap between the gear teeth, which should be within 0.10-0.20 mm.
Check the clearance between the ends of the gears and the plane of the pump body, which should be within the limits specified in the subsection "Design and technical characteristics".
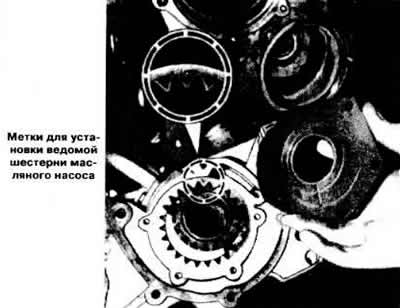
Warning: The driven gear of the pump has a punch mark which must be in the position shown in the photo when installing the gear.
The source is on the online website [opelbook.ru]
Oil filter
The full-flow oil filter is screwed manually until it stops against the sealing gasket, then turned half a turn. The filter is replaced every 10,000 km.
To make it easier to unscrew the filter, wrap a strip of sandpaper 60-70 mm wide around the filter with the sandpaper side facing the filter, or use a special device.
Visitor comments