
There are two cases of circuit failure: open circuit and short circuit.
When the circuit breaks, the circuit opens and power is not supplied to the electrical appliance. Sometimes a break is very difficult to detect due to the fact that the body of the connecting block hides oxidized contacts or improper connection. Also, a break can be detected when shaking the pads or wiring harness. This must be taken into account if there are signs of a break or intermittent operation of the appliance.
A short circuit is an unacceptable connection of a part of a circuit with «weight» or another part of the circuit. Usually a short circuit leads to a blown fuse or to spontaneous switching on of electrical appliances.
After repairing the wiring, it is necessary to check the circuit by turning on the electrical appliances included in this circuit. This confirms not only the correctness of the repair performed, but also the correctness of the diagnostics performed when troubleshooting.
Continuity Check
Checking the integrity of the circuit is carried out in the ohmmeter mode. The multimeter leads are connected to the ends of the circuit under test. When using the continuity mode, if the circuit is intact, the multimeter beeps (see multimeter instruction manual). When using the ohmmeter mode, if the circuit is intact, the resistance will be minimal, and if the circuit is open, the resistance will be very large - tend to infinity.
Short circuit search
If there is a suspicion of a short circuit in any section of the circuit, then we disconnect this section from the rest of the vehicle's wiring by disconnecting all its connecting blocks. We connect one output of the multimeter in the continuity mode of the circuit to the tested section of the circuit, and the second to «mass» car. If the circuit is closed, then there is a short circuit in this section of the circuit, which must be found by carefully examining the entire section of the circuit (wiring harness).
If a short circuit occurs due to damage to the wire insulation, it can be eliminated by restoring the wire insulation with electrical tape.
Often the cause of a short circuit is a strong oxidation of the contacts in the connecting blocks. In this case, it is necessary to carefully clean or replace the contacts. Before connecting, it is better to treat the contacts with a special conductive grease.
Wiring repair
It is recommended to connect the wires using special couplings available for sale.
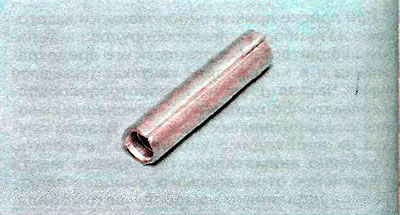
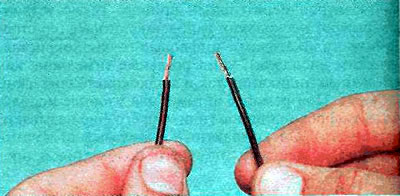
1. We clean the ends of the wires to be connected so that the stripped part is equal in length to half the coupling.
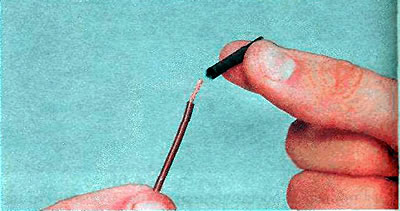
2. We put on one of the wires a heat-setting tube approximately 10 mm longer than the coupling.
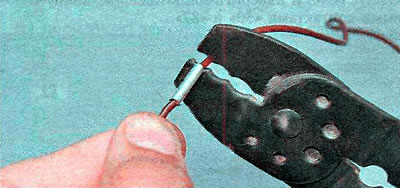
3. Insert the ends of the wires into the connector.
4. We crimp the coupling with special pliers.
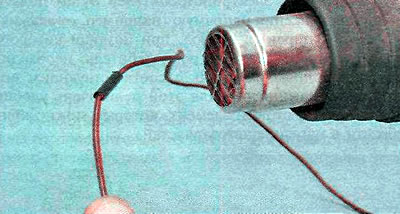
Warning! When performing the following operation, do not bring the heat gun too close to the heat deposit tube as it may melt.
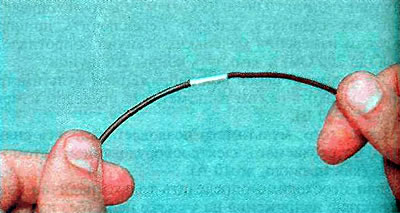
5. We shift the heat-setting tube onto the coupling and evenly heat it with a heat gun.
In the absence of a coupling, the wires can be connected by twisting.
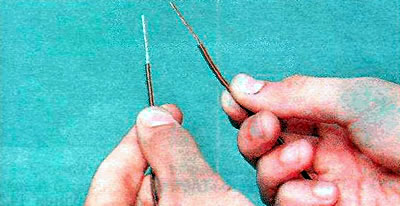
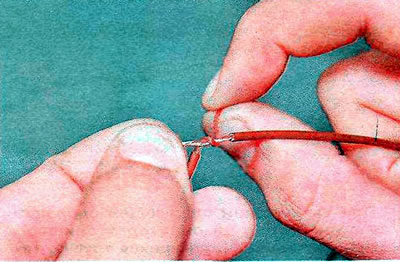
1. We clean the connected wires by about 20-25 mm.
2. We put on one of the wires a heat-setting tube about 25 mm long.
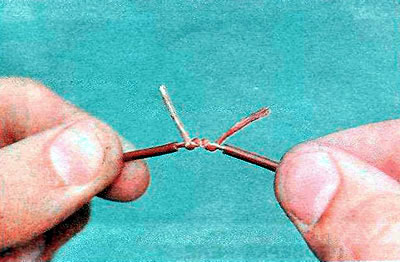
3. We cross the wires and wrap the first wire with the second one by one turn.
4. We perform a similar operation with the second wire.
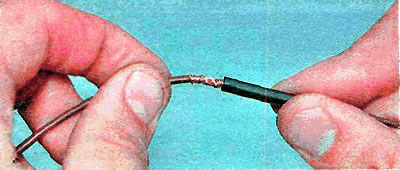
5. We cross the ends of the wires.
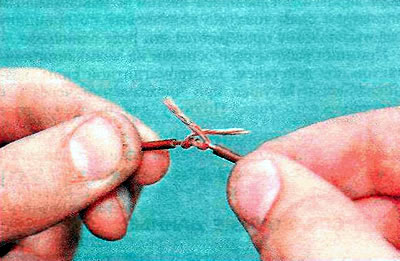
6. Tightly twist the ends around the wires.
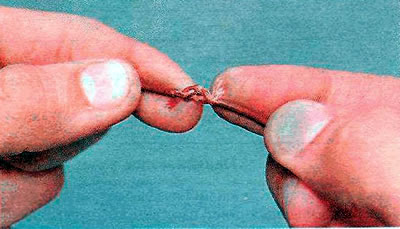
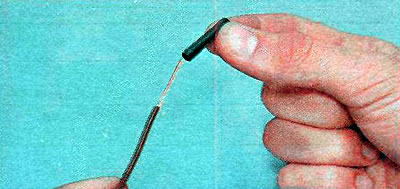
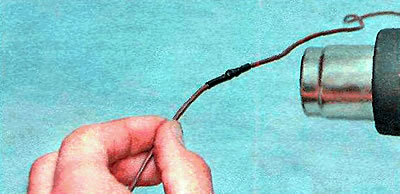
7. We shift the heat-setting tube to the twist.
Warning! When performing the following operation, do not bring the heat gun too close to the heat deposit tube as it may melt.
8. Evenly heat the heat-setting tube with a heat gun.
Visitor comments