
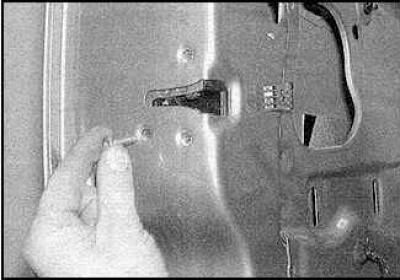
Internal handle
Removing
1. Remove the door trim panel and protective film.
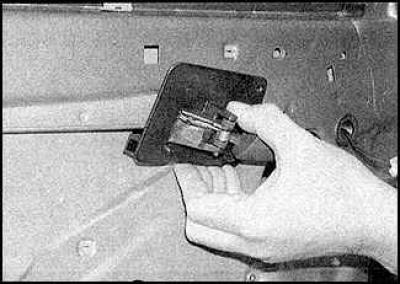
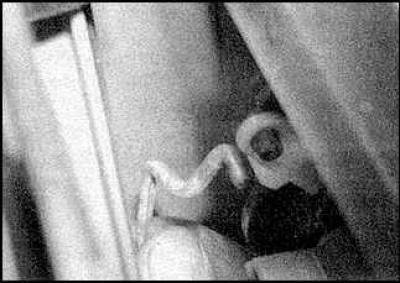
2. Slide the handle forward and remove it from the door.
3. Turn the handle counterclockwise and disconnect the lock rod.
Installation
Installation is carried out in the reverse order of removal.
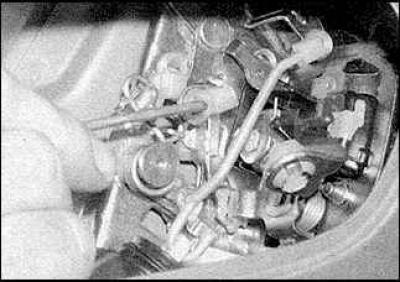
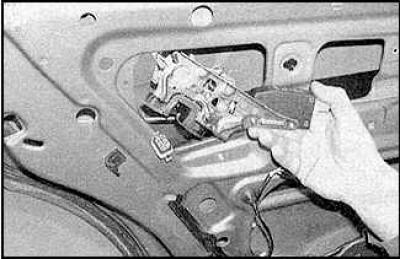
External front door handle
Removing
1. Remove the door trim panel and protective film.
2. On models with side airbags, remove the impact sensor and mounting bracket.
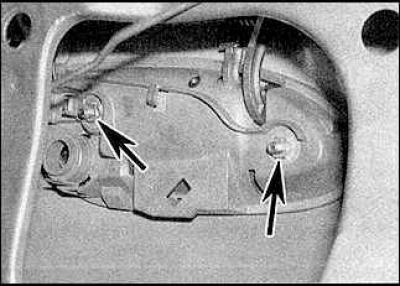
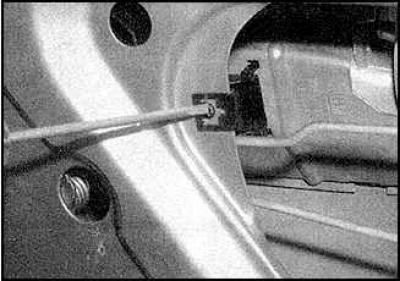
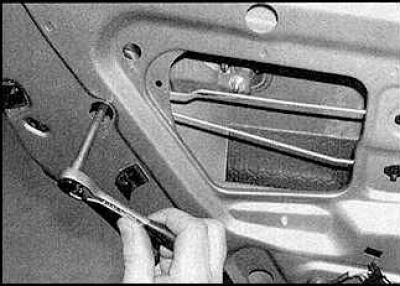
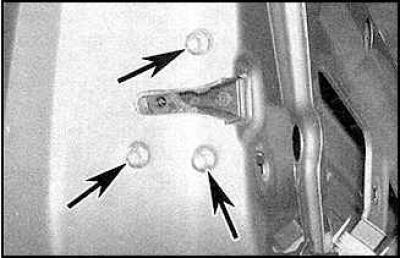
3. Loosen the handle nuts (indicated by arrows).
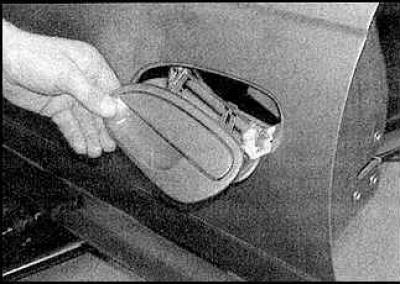
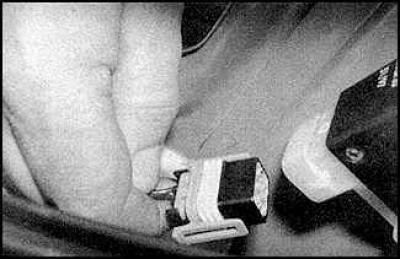
4. Remove the handle from the door. Disconnect the connector, if necessary.
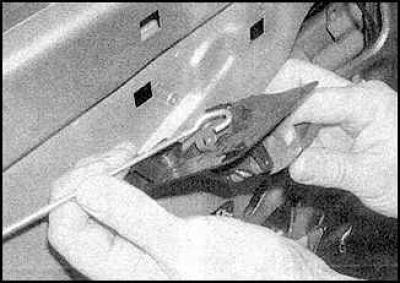
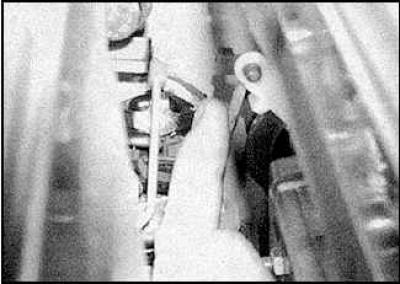
5. Remove the clamp.
6. Disconnect the lock rod.
7. Remove the handle.
Installation
Installation is carried out in the reverse order of removal.
Exterior tailgate handle
Removing
1. Remove trim panel and protective film.
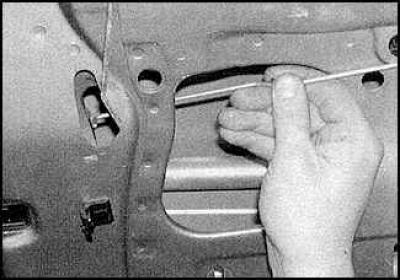
2. Loosen the fixing screws.
3. Remove the protective panel.
4. Loosen the fixing nuts.

5. Remove the fixing plate.
6. Disconnect the lock rod from the handle.

7. Remove the handle.
Installation
Installation is carried out in the reverse order of removal.
Front door lock drum (models with conventional lock drum)
Removing
1. Remove the outer door handle.
2. Insert the key into the lock and turn it to the right.
3. Remove the retaining ring and remove the drum from behind the lock.
Installation
Installation is carried out in the reverse order of removal.
Front door lock drum (models with a free-rotating lock drum)
Front door lock drum elements (models with a free-rotating lock drum)
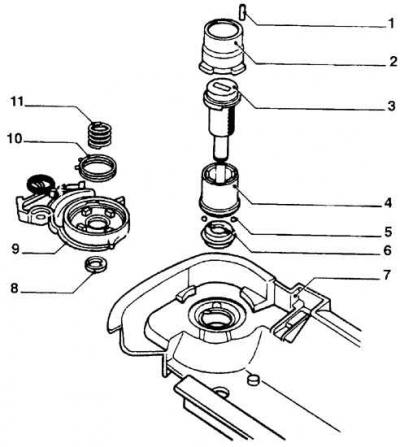
1. Pin
2. Casing
3. Lock drum
4. Sleeve
5. Ball
6. Coupling
7. Bracket
8. Washer
9. Support and lever
10. Spring
11. Spring
Removing
1. Remove the outer door handle.
2. Mark the installation position of the drum and knock out the locking pin.
3. Remove the lock drum.
Installation
Installation is carried out in the reverse order of removal.
Front door lock
Removing
1. Remove the trim panel and protective film from the door.
2. Remove the shock sensor and mounting bracket, if necessary.
3. Remove the outer door handle.
4. Disconnect the central lock connector.
5. Disconnect the rods from the lock.
6. Loosen the three fixing screws and remove the lock.
Installation
Installation is carried out in the reverse order of removal.
Rear door lock
Removing
1. Remove the inner door trim panel and protective film.
2. Remove the outer door handle.
3. Disconnect the rods from the lock.
4. Disconnect the connector.
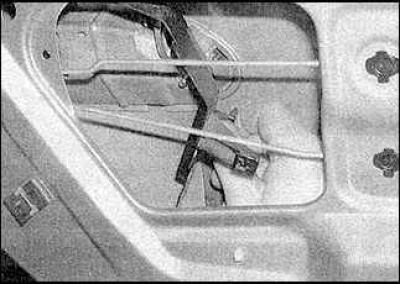
5. Loosen the fixing screws (indicated by arrows).
6. Remove the lock.
Installation
Installation is carried out in the reverse order of removal.
Visitor comments