


You will need: flat-head and Phillips-head screwdrivers.
For removal top part radiator trim, do the following.
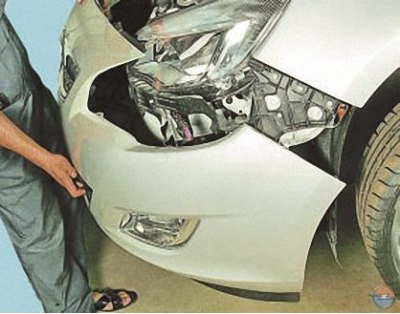
1. Remove the front bumper (see Removal and installation the front bumper).
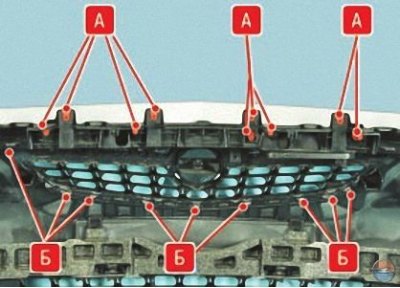
2. Remove the self-tapping screws from the nine holders A (orange color) at the top of the trim and remove the holders. Press the ten clamps one by one with a screwdriver B at the bottom of the trim and remove the trim.
(Article posted on a web portal: «OpelBook.ru»)
3. Install the upper part of the radiator grille in the reverse order of removal, alternately inserting its clips into the holes in the bumper and pressing on the grille until the clips snap into place.
For removal lower part radiator trim, do the following.
1. Remove the front bumper (see Removal and installation the front bumper).
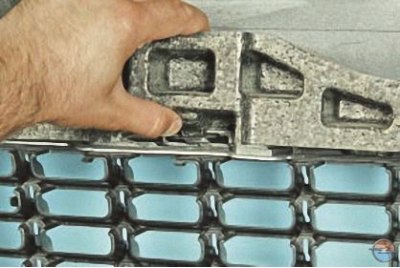
2. Press up the two energy absorbing bar clamps…
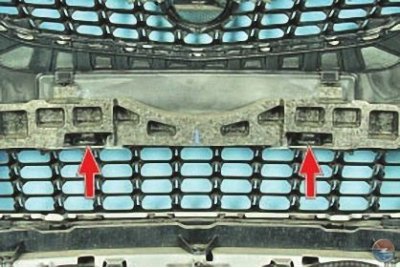
Note: This is how the energy absorbing beam clamps are positioned.
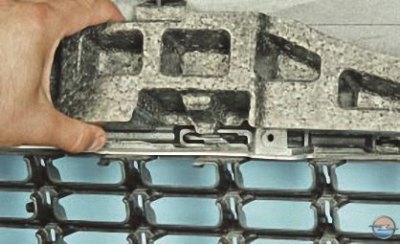
3. …and, carefully peeling the bar away from the inside of the bumper, detach it from the lower part of the radiator grille.
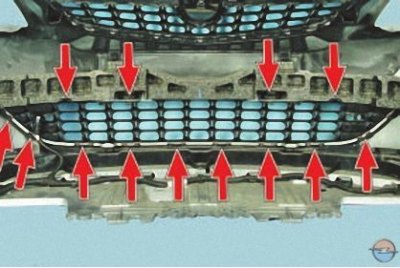
4. Using a screwdriver, press down the fourteen holders of the lower part of the radiator grille one by one and remove the lower part.
5. Install the lower part of the radiator grille in the reverse order of removal, alternately inserting its clips into the holes in the bumper and pressing on the grille until the clips snap into place.
Note: Before attaching the energy absorbing beam, apply any quick-drying waterproof adhesive to the surface where it meets the bumper.
Visitor comments