


Contents: W in·lbreaker (deflector) ⬇ Electric drive ⬇ Control cable - adjustment ⬇ Control switch ⬇ Mechanical drive ⬇
The assembly of the upper hatch is one of the rather complex components, including many parts. The authors of this Manual strongly advise against attempting to disassemble it without special need. If the hatch is faulty or needs repair, it would be wiser to seek help from car service specialists.
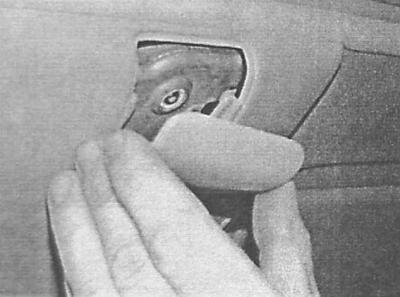
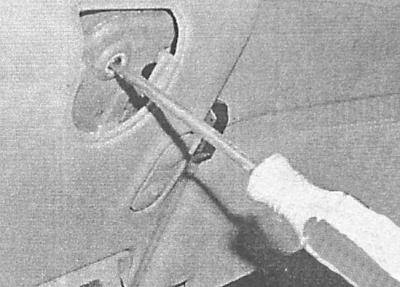
In an emergency, the sunroof can be opened manually by removing the cover from the front interior light and turning the drive motor with a screwdriver while turning the motor.
W in·lbreaker (deflector)
1. Open the sunroof glass panel and remove the bolts. Handles installed on both sides.
2. Disconnect the spring from the pin and lift the deflector up.
3. Turn and release the spring from the guides.
4. Installation is carried out in reverse order.
Electric drive
The electric drive is installed in the roof behind the ceiling trim. Removing the ceiling trim involves dismantling the front interior light, sun visors and ceiling handles, and requires special care and attention. It would be most reasonable to entrust this work to car service specialists.
1. After removing the headliner section, disconnect the electrical wiring from the drive motor.
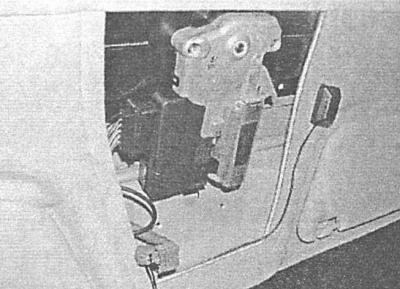
2. Remove the mounting screws and remove the electric drive assembly from the roof panel.
3. Before installing the electric drive, set the switch to its original position - the drilling inside the gear drive should be located between the two outer protrusions.
4. Further installation is carried out in the reverse order of dismantling the components.
Control cable - adjustment
1. Remove the electric drive (see above).
2. Loosen the front and rear guide screws. Align the front and rear guide pins with the holes on the guides.
3. Insert a 4.0mm drill bit through the rear guide, insert it into the bracket and screw in the screws.
4. Install the electric drive (see above).
Control switch
1. Remove the front interior light (see Chapter On-board electrical equipment).
2. Using a suitable tool, carefully pry the switch out of the ceiling trim through the hole for installing the light fixture.
3. Disconnect the wiring and remove the switch.
4. Installation is carried out in reverse order.
Mechanical drive
1. Open the hatch completely.
2. On hatches with mechanical drive unscrew the mounting screw and remove the handle from the splined part of the axle.
3. On electric hatches, using a small screwdriver, remove the emergency cover at the rear of the front interior light housing.
4. Remove the lamp lens and disconnect the electrical wiring.
5. Remove the mounting screws and lower the decorative sunroof trim down from the ceiling.
6. Remove the two screws and lower the drive down from the roof.
7. Installation is done in reverse order - make adjustments first. Turn the drive fully clockwise without aligning the locking pin (if the pin is aligned, the drive will not turn completely - if necessary, remove the pin).
Visitor comments