


Note: The sequence of execution is absolutely identical for all electric fans. The only difference is the number of terminals in the electric fan connector (three or four) on vehicles with air conditioning system before and after 2000.
Examination
1. Prepare the car for work (see "Preparing the car for maintenance and repair").
2. For ease of work, remove the electric fan (see "Electric cooling fans - checking and replacement").
3. Using a multimeter in ohmmeter mode, check for resistance between the fan connector terminals: the terminal corresponding to the brown one (or brown and white for an additional electric fan) the wire harness, and all other terminals. If there is a break (multimeter shows infinite resistance) between any one pair of contacts, the additional resistor is faulty and must be replaced.
4. To do this, use the TORX T15 key to unscrew the screw securing the additional resistor.
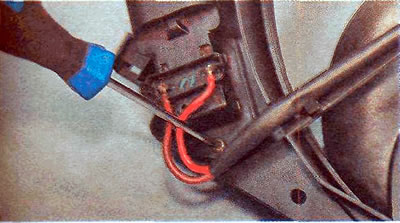
5. Unsolder the electric fan wires from the terminals of the additional resistor...
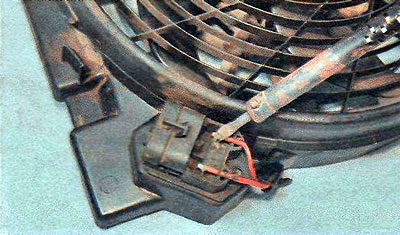
...and remove the resistor.
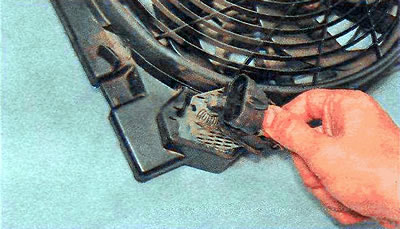
6. Install the parts in reverse order.
Visitor comments