
Execution sequence
1. We prepare the car for work (see «Preparing the car for maintenance and repair»).
2. Remove the cooling fan (see «Electric fans of the cooling system - check and replace»).
3. Drain the coolant (see «Coolant - replacement»).
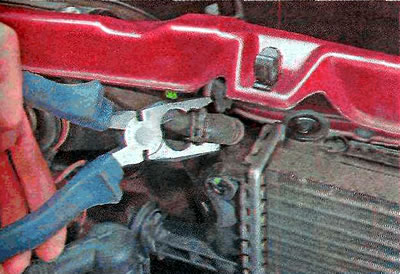
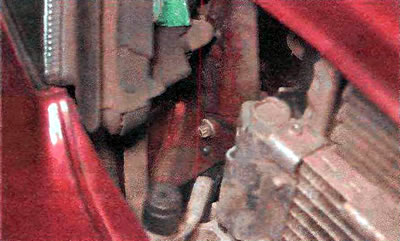
4. Using pliers, we loosen and move the clamp clamp along the hose...
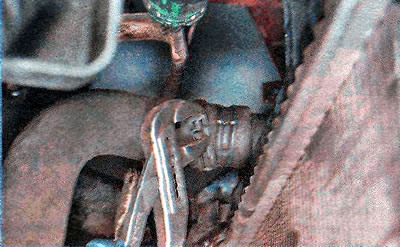
... and disconnect the lower outlet hose from the radiator.
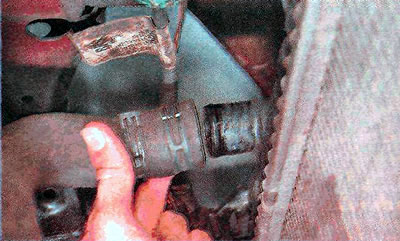
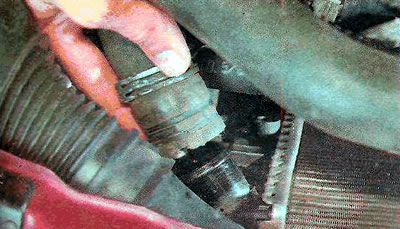
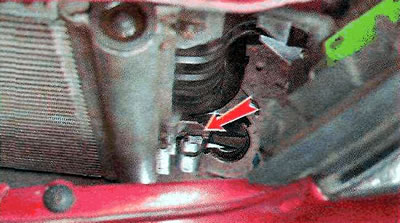
5. Using pliers, loosen and slide the clamp on the hose...
... and disconnect the upper supply hose from the radiator.
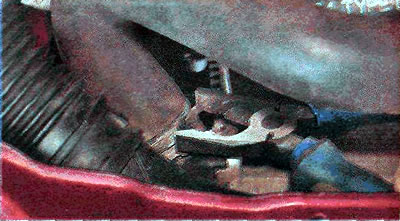
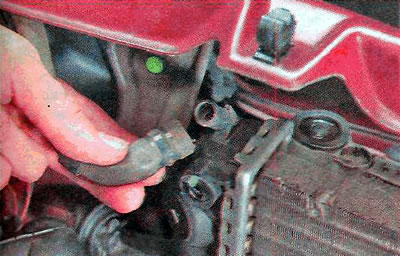
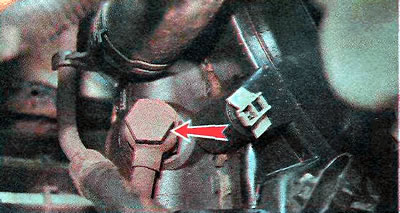
6. Using pliers, we loosen and move the clamp clamp along the hose...
... and disconnect the steam outlet hose from the radiator.
7. If the car is equipped with air conditioning, use the ORX E8 key to unscrew the upper bolts securing the air conditioning system radiator to the cooling system radiator on the left...
...and similarly on the right side.
8. Slightly lift the radiator of the air conditioning system up, disengaging its lower mounts from engagement with the cooling radiator on the left and similarly on the right side.
9. We tie the radiator of the air conditioning system to the upper cross member of the bulkhead frame.
10. On cars with automatic transmission with a 19 mm key, unscrew the two bolts-fittings of the lower...
...and the upper pipelines of the AKP heat exchanger.
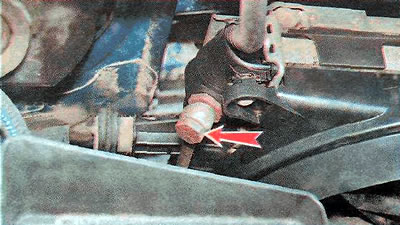
Warning! A small amount of automatic transmission fluid may leak from the pipelines. Prepare a clean container in advance to collect the liquid.
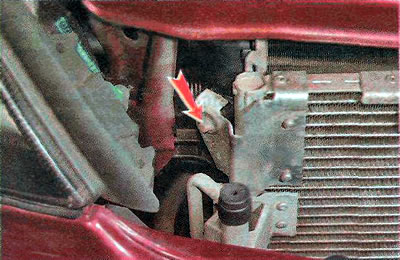
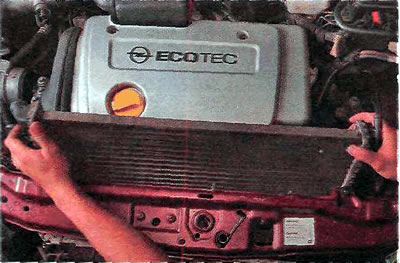
11. Using the TORX wrench, unscrew the bolts securing the radiator brackets to the body on the left...
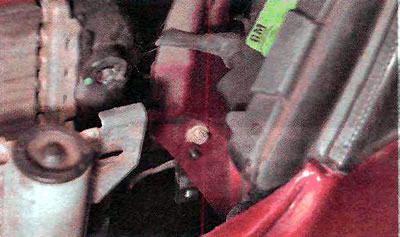
...and similarly on the right side.
12. Slightly tilting back, we remove the radiator of the cooling system upwards.
13. Remove the mounting brackets from the radiator.
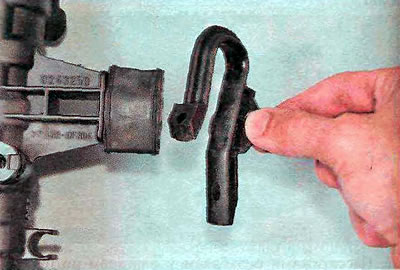
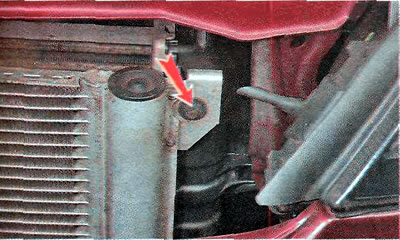
14. Check the condition of the lower rubber radiator mounts.

Cracked, hardened supports must be replaced.
15. Install the parts in reverse order.
16. Fill the system with coolant (see «Coolant - replacement»).
Visitor comments