
Warning! When replacing light bulbs, be careful not to touch the glass of the bulbs with your fingers.
Be careful not to get burned.
Use bulbs of the required power.
Headlights (low beam bulbs)
Bulb replacement
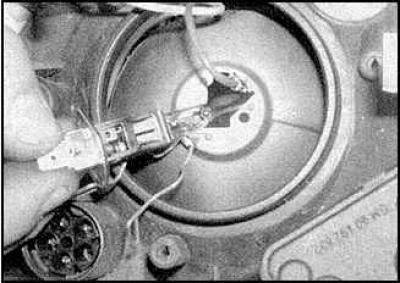
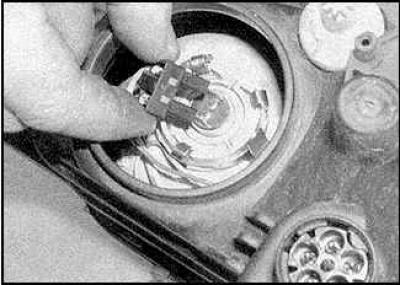
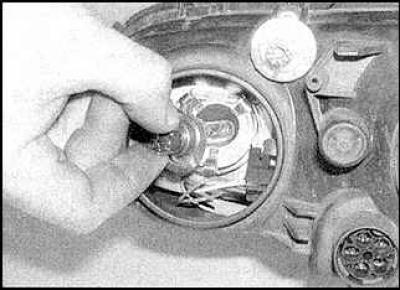
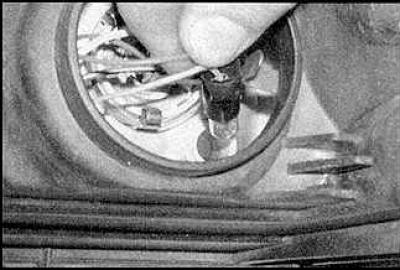
Models with regular headlights
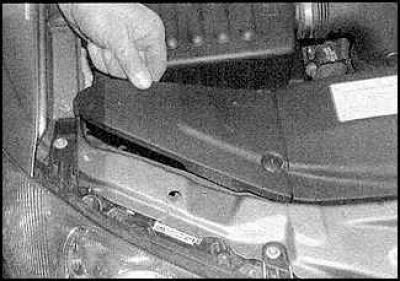
1. Remove the headlight top cover.
2. Remove the rear headlight cover.
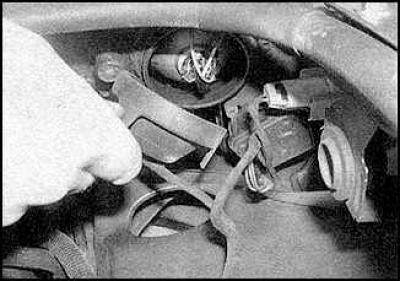
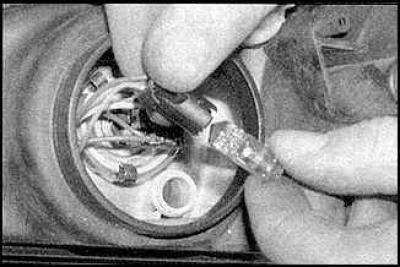
3. Disconnect the connector.
4. Remove the mounting clip.
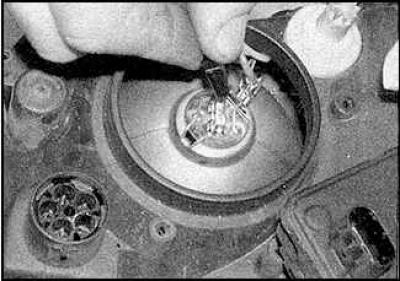
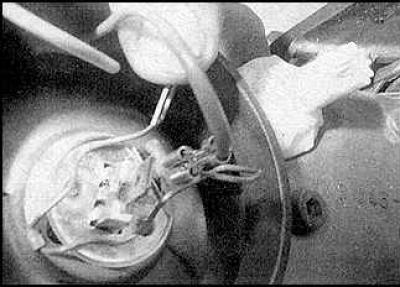
5. Remove the light bulb.
6. When installing a new light bulb, use a handkerchief to avoid touching the light bulb glass.
7. Installation is carried out in the reverse order of removal.
Models with xenon headlights
8. Remove the cover from the top of the headlight.
9. Unscrew the fixing screws and remove the casing behind the headlight.
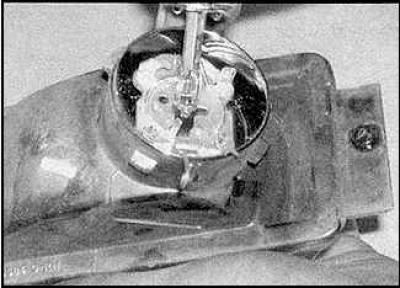
10. Turn the bulb holder to the left and remove it.
11. Turn the fixing ring to the left and remove it.
12. Remove the light bulb.
13. Installation is carried out in the reverse order of removal.
Headlights (high beam light bulbs)
Bulb replacement
Models with regular headlights
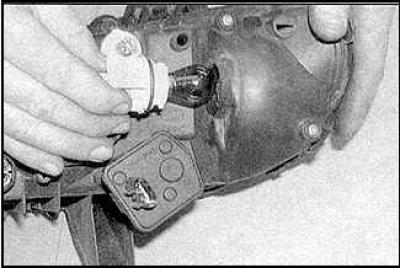
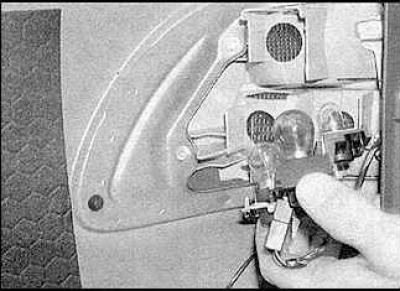
1. Remove covers from above and behind a headlight.
2. Disconnect the connector.
3. Press on the bulb and remove it.
4. Installation is carried out in the reverse order of removal.
Models with xenon headlights
5. See higher.
Sidelights
Bulb replacement
1. Remove the cover from behind the headlight.
2. Take out the bulb socket.
3. Take the light bulb out of the socket.
4. Installation is carried out in the reverse order of removal.
Front direction indicators
Bulb replacement
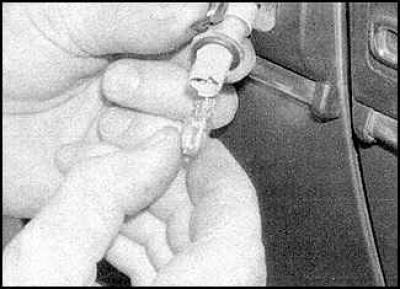
1. Remove the cover from the top of the headlight.
2. Turn the cartridge counterclockwise and remove it.
3. Press on the light bulb, turn it and remove it from the socket.
4. Installation is carried out in the reverse order of removal.
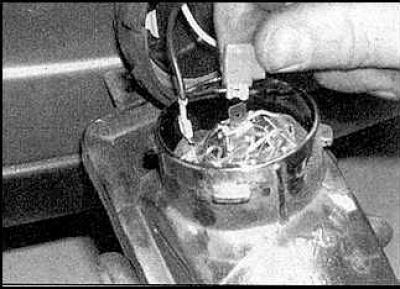
Front fog lights
Bulb replacement
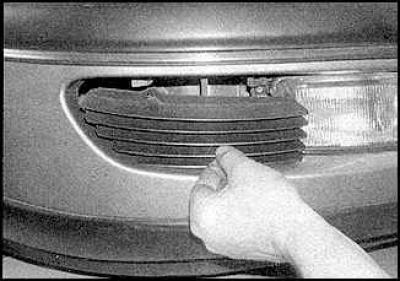
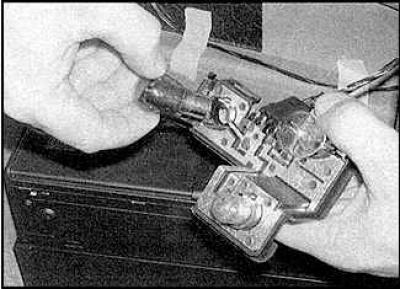
1. Unscrew the fixing screws and remove the grill near the lamp.
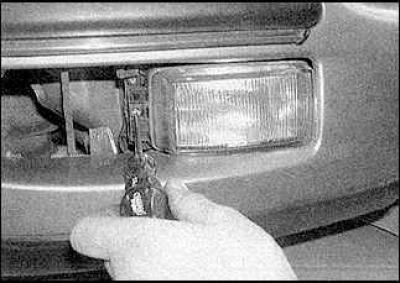
2. Loosen the fixing screws and remove the lamp.
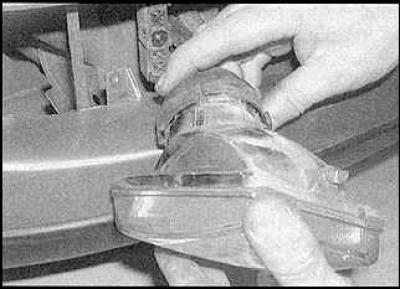
3. Turn the cap and remove it from the lantern.
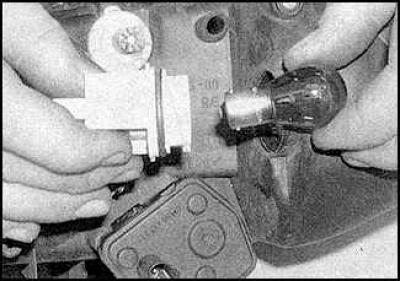
4. Disconnect the connector.
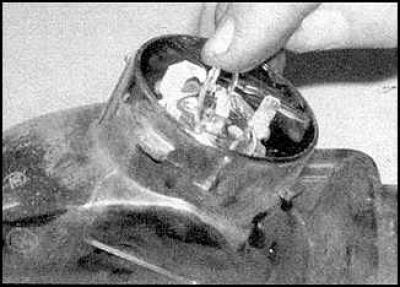
5. Release the fastening clip.
6. Remove the light bulb.
7. Installation is carried out in the reverse order of removal.
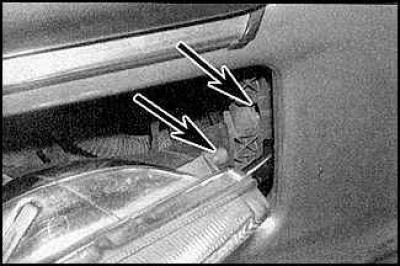
8. When installing the lamp, check that the latches (indicated by arrows) got into the grooves on the bumper.
Front side turn indicators
Bulb replacement
1. Remove the light from the front fender with a small screwdriver.
2. Rotate and remove diffuser.
3. Take out the light bulb.
4. Installation is carried out in the reverse order of removal.
Rear block headlight (rear fender)
Bulb replacement
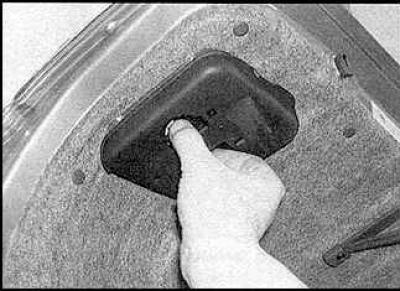
1. Remove the trunk side trim panel.
2. Press the latch and remove the cartridge.
3. Press on the light bulb, turn and remove it.
4. Installation is carried out in the reverse order of removal.
Rear block headlight (trunk lid)
Bulb replacement
1. Open the trunk lid.
2. Release the latches and remove the cartridge.
3. Press on the light bulb, turn and remove it.
4. Installation is carried out in the reverse order of removal.
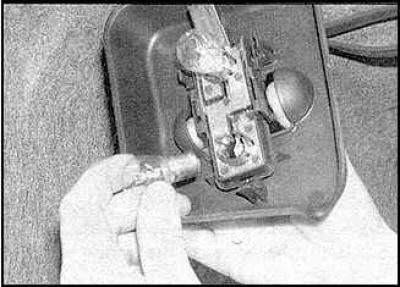
Rear license plate lights (sedan models)
Replacement
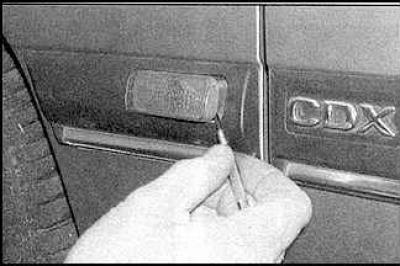
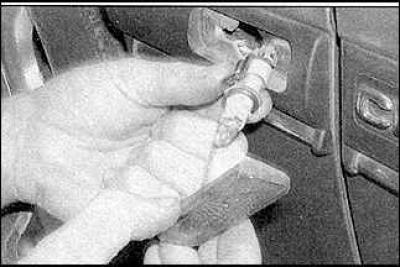
1. Open the trunk lid, press the latch and remove the lamp.

2. Remove diffuser.
3. Take out the light bulb.
4. Installation is carried out in the reverse order of removal.
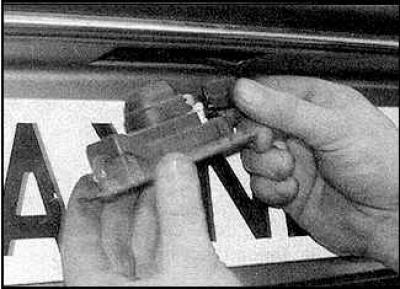
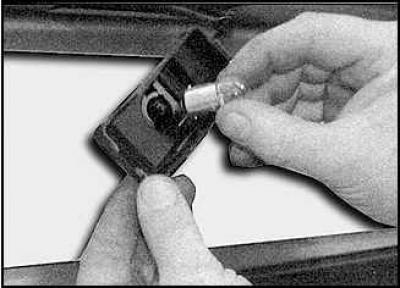
Rear license plate lights (station wagon models)
Replacement
1. Open the rear door, unscrew the fixing screws and remove the lamp.
2. Remove the light bulb.
3. Installation is carried out in the reverse order of removal.
Top brake light (sedan models)
Bulb replacement
1. Remove the lamp cover.
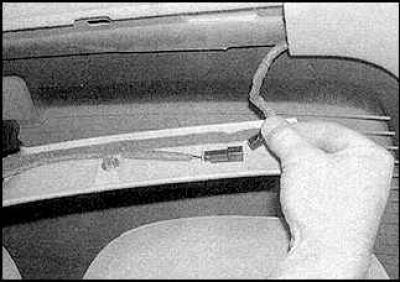
2. Disconnect the connector.
3. Remove the bulb holder from the casing.
4. Remove the light bulb.
5. Installation is carried out in the reverse order of removal.
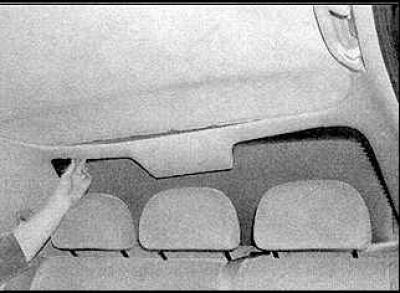
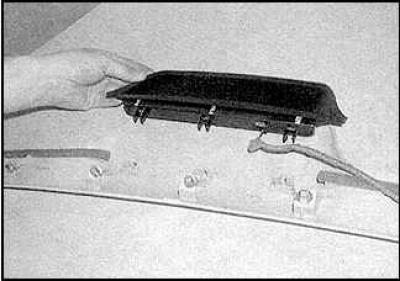
Top brake light (station wagon models)
Bulb replacement
1. Remove the center section of the upper rear door trim panel.
2. Remove the socket and replace the light bulb.
Visitor comments