
Disassembly
1. Remove the starter (see «Starter - removal and installation»).
2. Remove the retractor (see «Solenoid relay - replacement»).
Comment. If it is necessary to replace only the brush assembly, the retractor relay can not be removed, just unscrew the nut and remove the wire from its output.
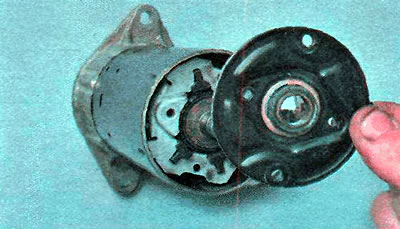
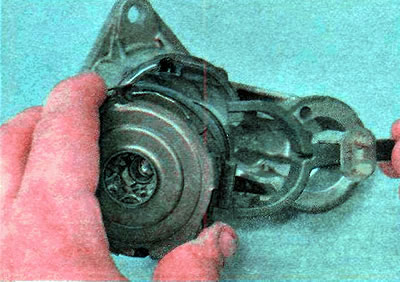
3. Using a Phillips screwdriver, unscrew the two fastening screws...
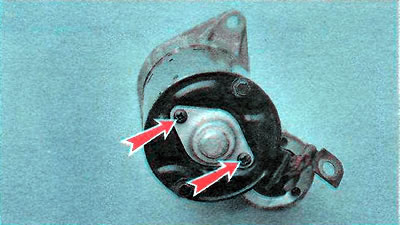
...and remove the protective cover.
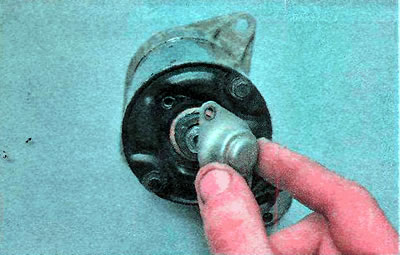
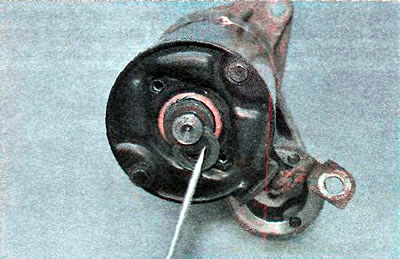
4. We pry with a screwdriver and remove the retaining ring.
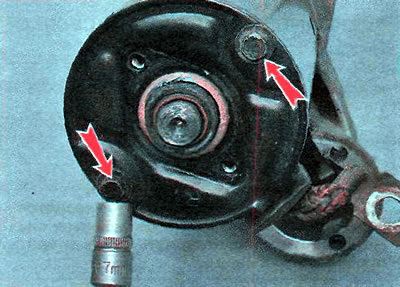
5. With a 7 mm wrench, we unscrew the two starter coupling bolts.
6. Remove the back cover of the starter.
7. We hook it with a screwdriver and remove the brush assembly from the housing.

8. We measure the length of the brushes. If the length of one of the brushes is less than 4-5 mm, the brush assembly must be replaced.
Comment. When installing the brush assembly on the rotor, it is convenient to use the end head from the tool kit to fix the brushes in the brush holders.

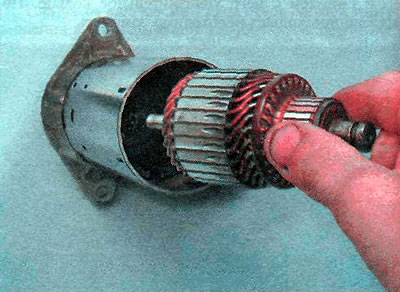
9. Remove the rotor from the housing.
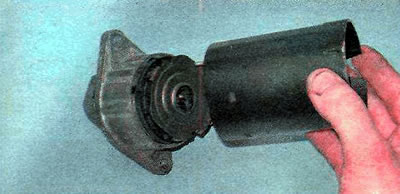
10. Remove the case.
11. Remove the drive lever support.
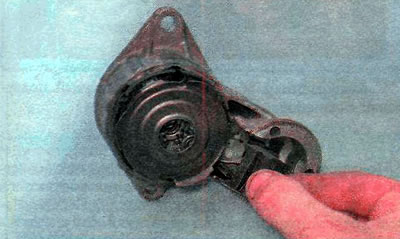
12. Remove the drive from the front cover and remove the lever from it.
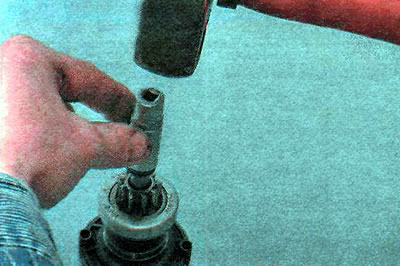
13. With a socket head of 13 mm, we upset the ring of the starter drive stroke limiter.
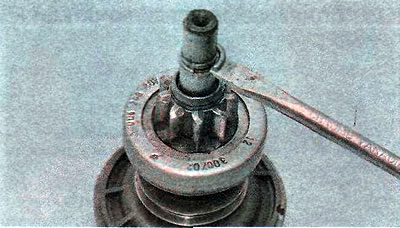
14. We pry with a slotted screwdriver and remove the retaining ring.
15. Remove the drive travel limiter ring.
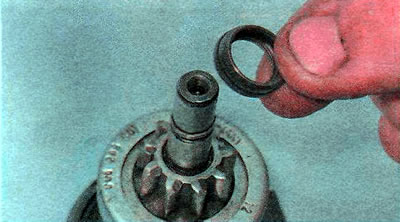
16. Remove the drive.
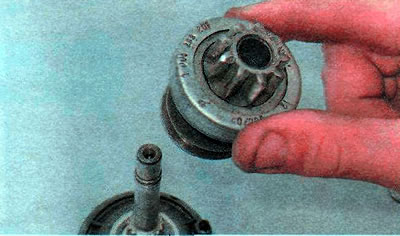
17. We examine the details of the starter. We replace badly worn and damaged parts.
Assembly
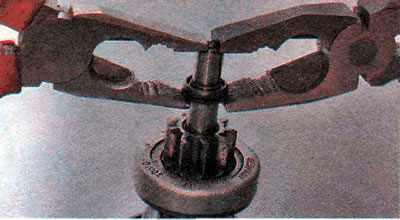
Install the parts in reverse order. We press the drive stroke limiter ring against the retaining ring with pliers.
Visitor comments