


Contents: System control panel and switches ⬇ Anti-icing air valve servomotor ⬇ Air duct valve servomotor for foot…⬇ Central ventilation duct servomotor ⬇ Right ventilation duct servomotor ⬇ Left ventilation duct servomotor ⬇ Temperature sensor of the right…⬇ Temperature sensor of the left…⬇ Blower Motor Regulator ⬇ Solar sensor ⬇
System control panel and switches
Removal
1. Disconnect the negative battery cable.
2. Remove the ashtray from the instrument panel.
3. Remove the radio and its mount.
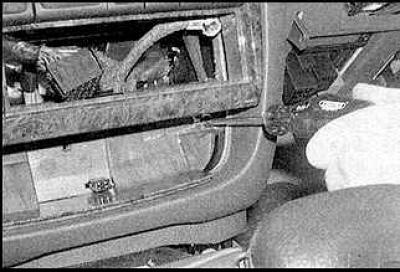
4. Remove the screws from the bottom of the instrument panel.
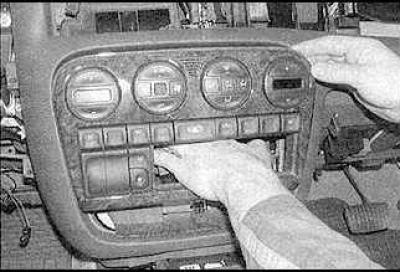
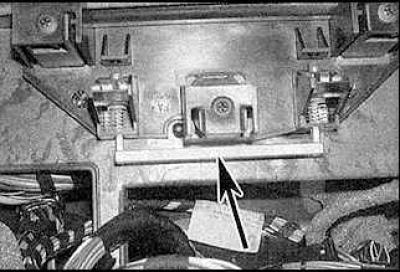
5. Pull down the aluminum plate on the back of the control panel through the radio mounting hole.
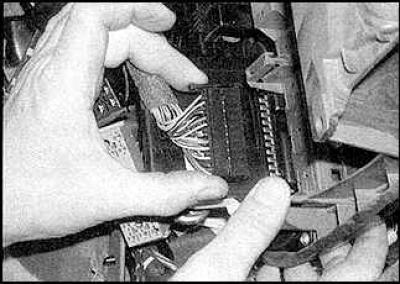
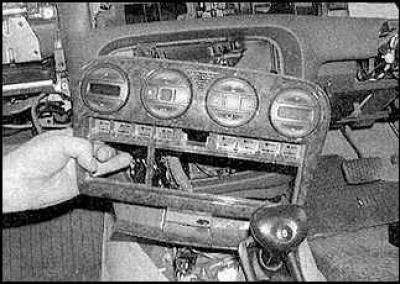
6. Disconnect the wires from the connectors and remove the control panel.
Installation
Installation is carried out in the reverse order of removal.
Anti-icing air valve servomotor
Removal
1. Disconnect the negative battery cable. Remove the driver's side lower trim panel and remove the air duct located in the footwell.
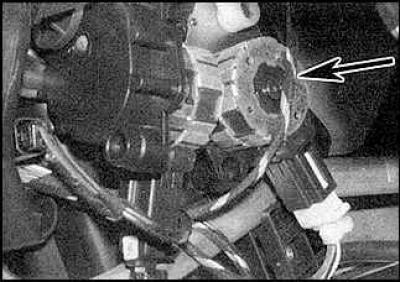
2. The servomotor is mounted on the right side of the air distribution unit (shown by arrow).
3. Disconnect the servo motor wire from the multi-pin connector.
4. Remove the screws and remove the servo motor.
Installation
Installation is carried out in the reverse order of removal.
Air duct valve servomotor for foot warmers
Removal
1. Remove the defroster air valve servomotor.
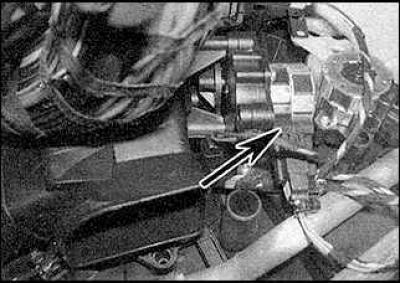
2. The servomotor is mounted on the right side of the air distribution unit in front of the defroster air valve servomotor (indicated by the arrow).
3. Disconnect the servo motor wire from the multi-pin connector.
4. Remove the screws and remove the servo motor.
Installation
Installation is carried out in the reverse order of removal.
Central ventilation duct servomotor
Removal
1. Disconnect the negative battery cable.
2. Remove the driver's side lower trim panel and remove the footwell air duct.
3. The servomotor is mounted on the right side of the air distribution unit above the defroster air valve servomotor.
4. Disconnect the servo motor wire from the multi-pin connector.
5. Remove the screws and remove the servo motor.
Installation
Installation is carried out in the reverse order of removal.
Right ventilation duct servomotor
Removal
1. Disconnect the negative battery cable.
2. Remove the driver's side lower trim panel and remove the footwell air duct.
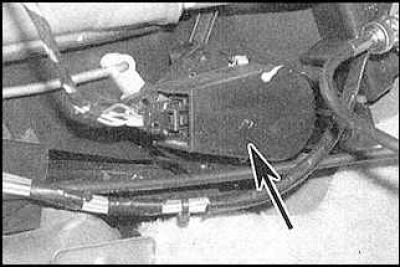
3. Remove the servo motor cover (arrow). Disconnect the servo motor wire from the multi-pin connector.
4. Remove the screws and remove the servo motor.
Installation
Installation is carried out in the reverse order of removal.
Left ventilation duct servomotor
Removal
1. Disconnect the negative battery cable. Remove the glove box.
2. Disconnect the wiring harness bracket and air duct from the instrument panel.
3. Remove the servo motor cover. Disconnect the servo motor wire from the multi-pin connector.
4. Remove the screws and remove the servo motor.
Installation
Installation is carried out in the reverse order of removal.
Temperature sensor of the right ventilation duct
Removal
1. Remove the footwell air duct valve servomotor.
2. Disconnect the sensor wire from the multi-pin connector.
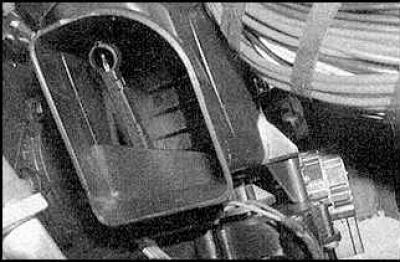
3. Remove the sensor.
Installation
Installation is carried out in the reverse order of removal.
Temperature sensor of the left ventilation duct
Removal
1. Disconnect the negative battery cable. Remove the glove box.
2. Disconnect the wiring harness bracket and air duct from the instrument panel.
3. Remove the sensor.
Installation
Installation is carried out in the reverse order of removal.
Blower Motor Regulator
Removal
1. Disconnect the negative battery cable. Remove the glove box.
2. Remove the regulator and disconnect the regulator wire from the multi-pin connector.
Installation
Installation is carried out in the reverse order of removal.
Solar sensor
Removal
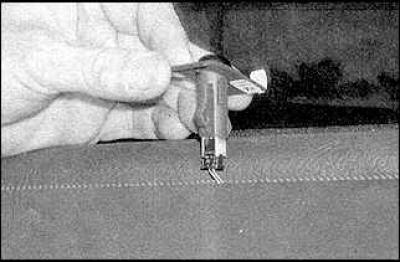
Remove the sensor from the instrument panel using a screwdriver.
Installation
Installation is carried out in the reverse order of removal.
Visitor comments