


2. After draining the system, close the radiator drain valve.
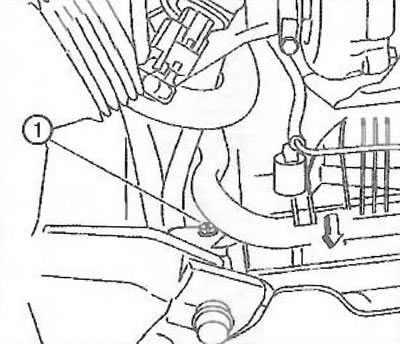
3. Open the ventilation valve (1) on the radiator.
4. Disconnect the quick-release connector (1) of the heater core inlet hose.
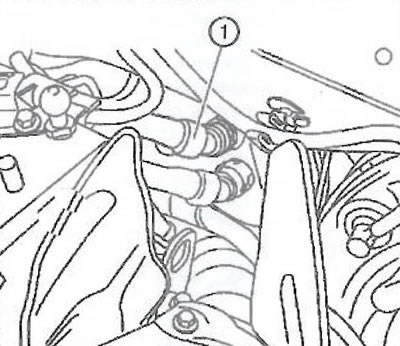
Note: Connect the heater core inlet hose quick connector and close the vent valve after coolant begins to flow out of it.
5. First, fill the coolant to the "Cold" level of the expansion tank. After the coolant level has stabilized, add coolant to the line of the lower edge of the return pipe (black arrow in the picture).
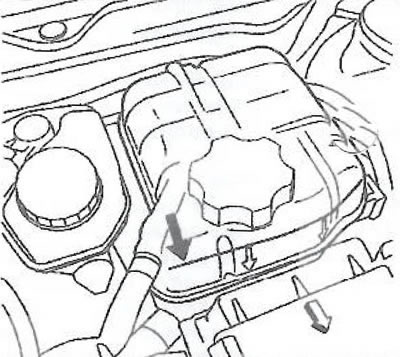
6. Install the expansion tank cap.
Note.
- After removing the heater core located in the passenger compartment, you must do the following:
- Immediately after starting the engine, press the accelerator pedal three times, but do not allow the engine speed to exceed 2500 rpm.
7. Start and warm up the engine at 2500 rpm until the radiator fan turns on for the first time.
Note: After removing the heater core located in the passenger compartment, let the engine run for two minutes at 2000-2500 rpm. This will allow the cooling system to be completely bled.
8. Bleed the cooling system by pressing the accelerator pedal three times, but do not allow the engine speed to exceed 2500 rpm.
9. Turn off the engine and let the engine cool down.
Note: After test running the engine, allow it to cool down and check the coolant level.
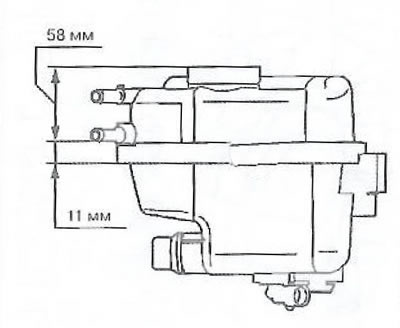
10. Check and, if necessary, adjust the coolant level. Cold state coil (filling level) after removing air from the system - the internal mark (1) plus 11 mm, which in total gives 200 ml of liquid.
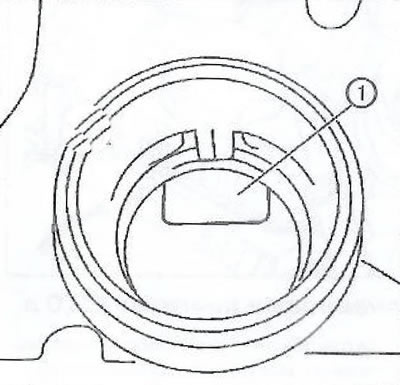
11. Using a homemade dipstick, check the filler level again. The distance from the edge of the filler neck to the coolant level should be 58 mm.
12. Install the expansion tank cap.
Visitor comments