


Adjusting the injectors
Warning! The nozzle must not be adjusted with a hardened needle, as the broken tip of the needle may get stuck in the nozzle hole and the nozzle will have to be replaced.
1. Insert the needle into the hole of the front windshield washer nozzle and turn it.
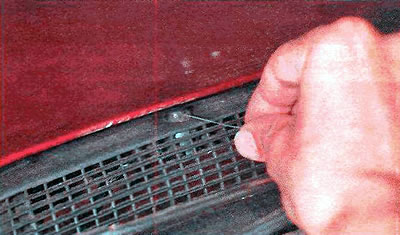
2. We turn the jets so that the inner jets of liquid hit the middle of the upper third of the windshield, and the outer ones - just below the middle.
3. Adjust the rear window washer nozzle in the same way.
Astra hatchback
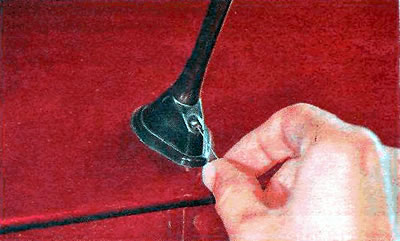
Zafira and Astra wagon
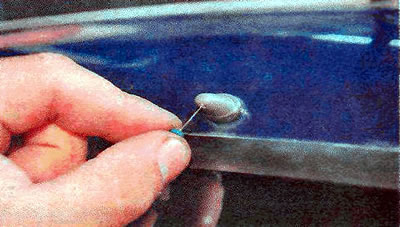
4. Turn the nozzle so that the stream of washer fluid hits the glass near the middle of the brush.
Replacing injectors
Note: If the fluid stream is weak from all nozzles, this may be due to insufficient washer fluid in the reservoir, damage to the washer tubes, or a malfunction of the washer pumps.
Front windscreen washer model Astra
1. Open the hood.
2. Remove the ventilation grille (see "Astra Front Windscreen Wiper Drive Replacement").
3. Disconnect the hoses from the injector.
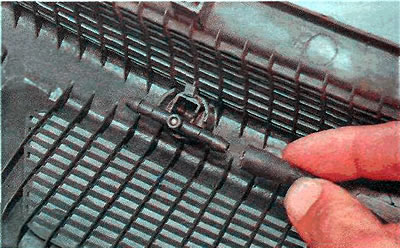
4. Remove the nozzle by lightly tapping it with a plastic or rubber hammer.
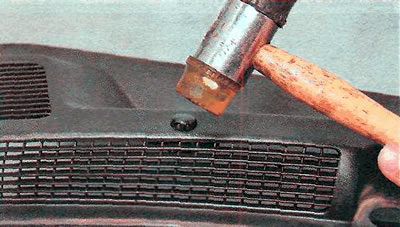
5. Install the new nozzle in the reverse order and adjust it.
Front windscreen washer model Zafira
1. Open the hood.
2. Pull up and remove the engine shield seal.
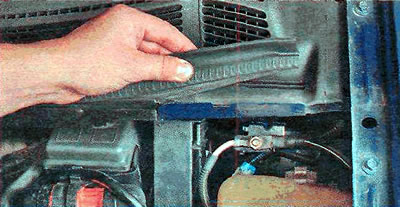
3. Overcoming the resistance of the clamps, remove the central part of the ventilation grille upwards.
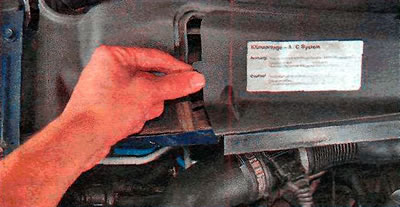
4. Remove the nozzle downwards.
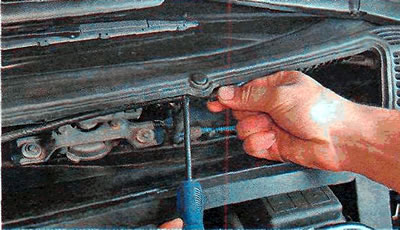
5. Move the sealing rubber along the hose.
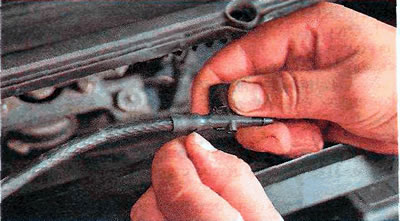
6. Disconnect the hose from the injector.
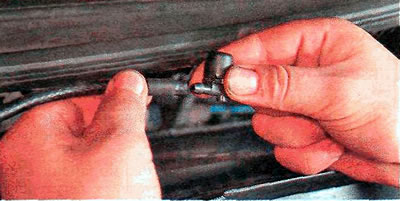
7. Install the parts in the reverse order, except that first move the sealing rubber to the end of the hose, and then put it on the nozzle nipple.
Rear windscreen washer for Astra hatchback
1. Prepare the car for work (see "Preparing the car for maintenance and repair").
2. Using a thin slotted screwdriver, pry up the nozzle and carefully, so that the hose does not come off, remove it from the antenna housing.
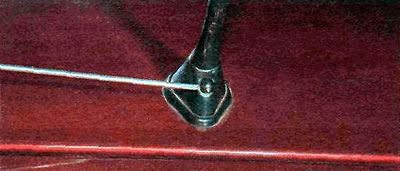
3. Disconnect the hose from the nozzle.
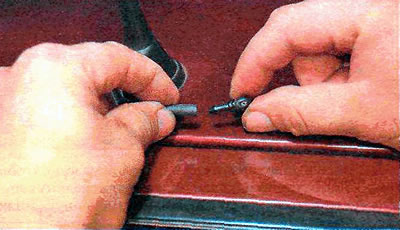
4. Install the parts in reverse order.
Rear windscreen washer for Zafira and Astra wagon models
[Material copied from this resource: opelbook]
1. Prepare the car for work (see "Preparing the car for maintenance and repair").
2. Using a thin slotted screwdriver, carefully pry up the nozzle and remove it from the trunk door.
Tip: To avoid scratching the paintwork, wrap the screwdriver blade with electrical tape.
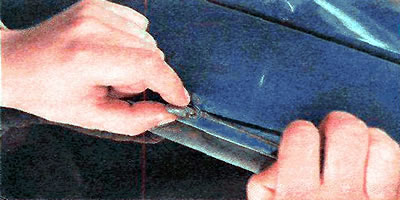
3. Disconnect the hose from the nozzle.
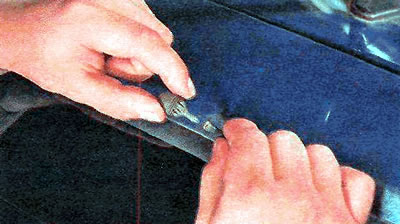
4. Install the parts in reverse order.
Visitor comments