


2. If equipped, remove the front passenger airbag switch (1) and disconnect the electrical connector.
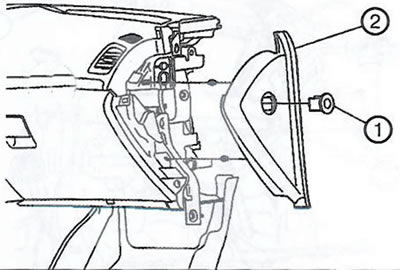
3. Using a plastic spatula, pry up and remove the right outer trim cover of the instrument panel (2).
4. Loosen the four screws (1) and disconnect the electrical connectors.
5. Remove the glove box assembly (2).
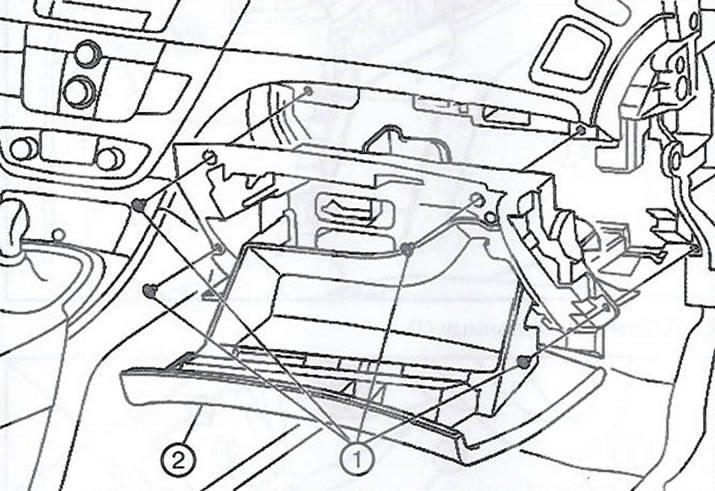
6. Loosen the three mounting bolts (1), then, pressing the extension of the lower side trim panel (2), pull it towards you to disconnect it from the instrument panel, and remove it.
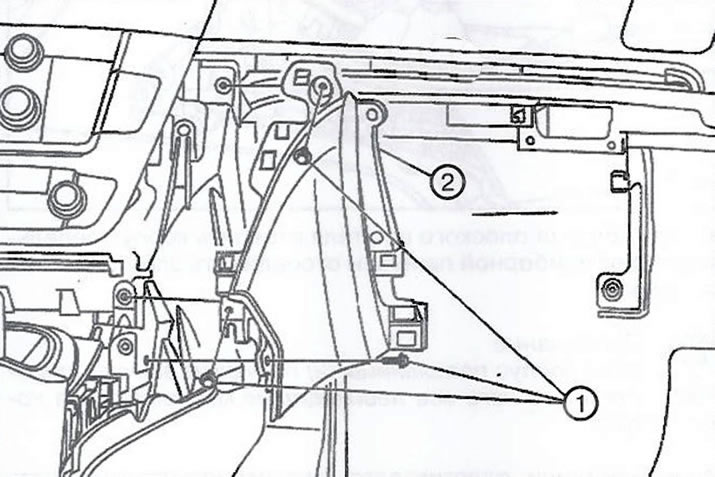
7. Using a plastic spatula, pry up and remove the left outer instrument panel trim cover (1).
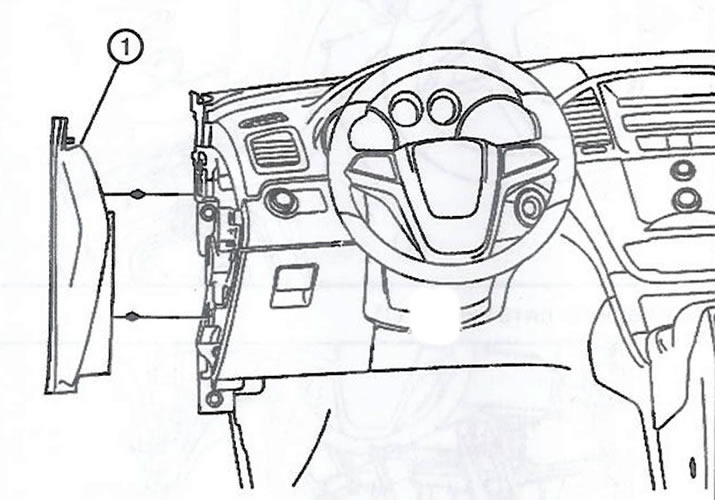
8. Pry and pull outward to remove the front floor console panel extensions (1) on both sides.
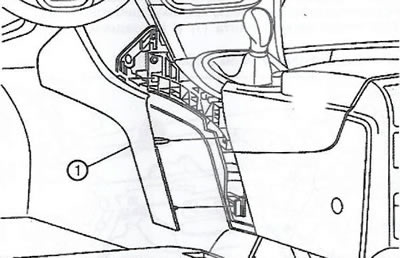
9. Remove the ashtray (1).
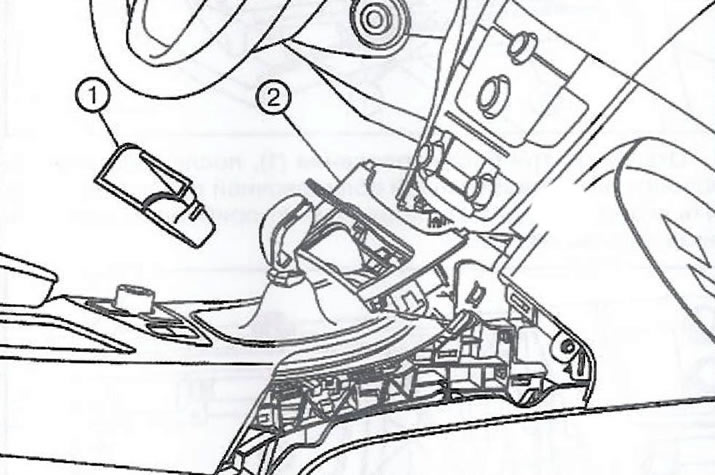
10. Using a flat spatula, detach the ashtray housing (2) from the instrument panel and disconnect the electrical connectors.
Note: If the ashtray housing (2) is to be replaced, transfer all necessary components from it to the new part.
11. Using a plastic spatula, pry and remove the driver's side molding (1) from the instrument panel.
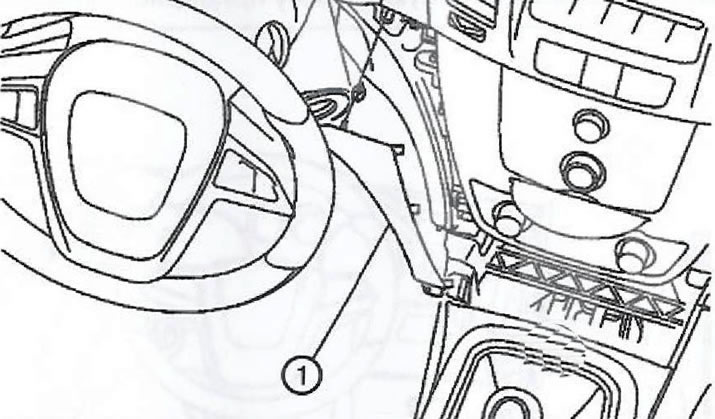
12. Unscrew the five screws (1).
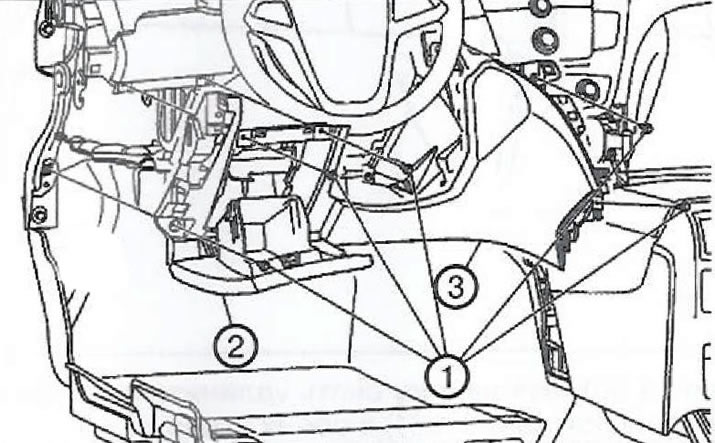
13. Remove the storage compartment (2).
Note: When replacing the lower trim panel, move the storage compartment (2) to the new panel.
14. Pry up the lower trim panel (3) and, pulling it towards you, unhook the fastening clips to the instrument panel. Remove the lower trim panel (3).
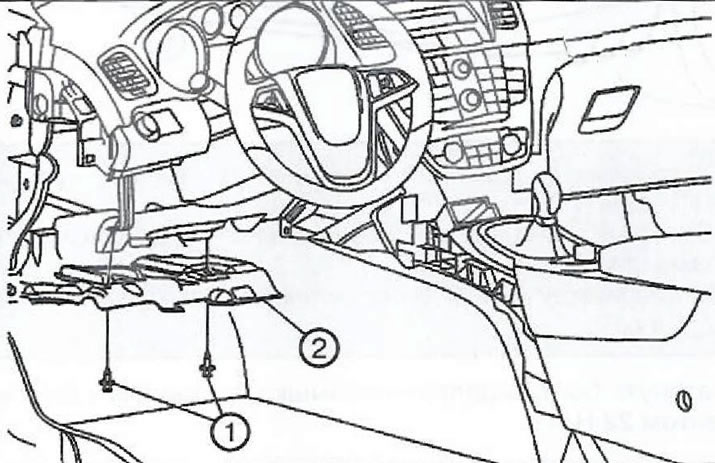
15. Using the VO-569-A tool, remove the two fasteners (1) and remove the lower trim panel insulator (2).
Article posted on an online resource www.OPELBOOK.ru
16. Remove the radio.
17. Remove the heater and air conditioner control panel.
18. Remove the front passenger compartment speakers.
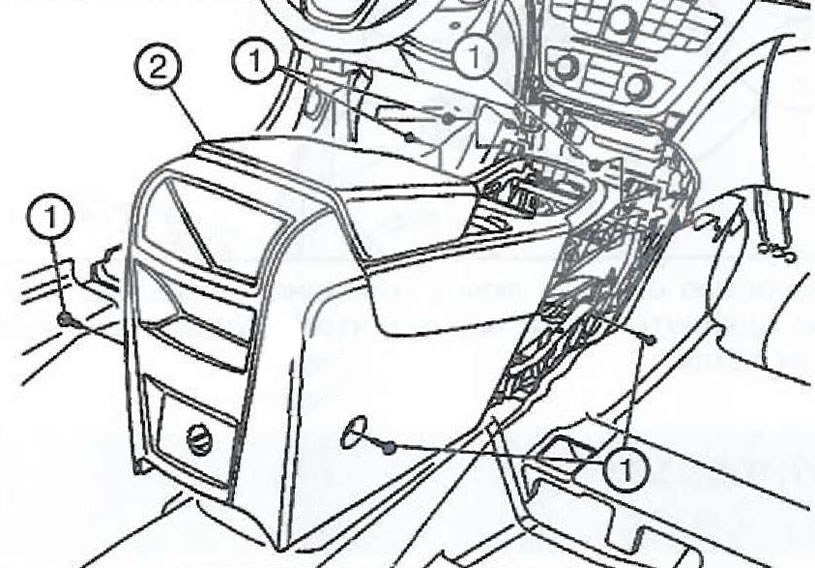
19. Loosen the six screws (1) and remove the front floor console (2).
Note: To remove the screws securing the front floor console, move the front seats to the desired position.
20. Remove the steering column trim covers.
21. Remove the instrument cluster.
22. Remove the front body pillar trim panels.
23. Loosen the seven screws (1) securing the instrument panel.
Note: Tightening torque: 9Nm
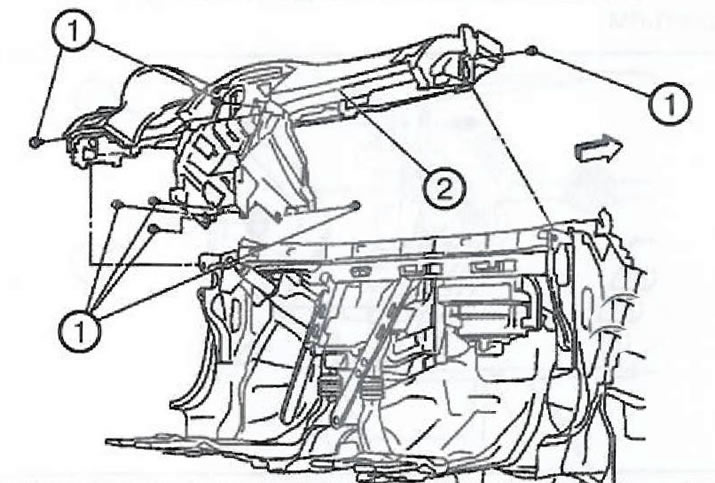
24. Disconnect the wiring harness from the instrument panel assembly.
25. With the help of an assistant, remove and take out the instrument panel (2) from the vehicle.
Note: If the instrument cluster is to be replaced, transfer all necessary components to the new instrument cluster.
26. Installation is carried out in the reverse order of removal.
Visitor comments